Tired of Distractions? Raycast Focus Has the Solution!
Discover how Raycast Focus blocks distractions and boosts productivity with by allowing you to block apps and websites. Learn how it can become the ultimate focus tool with a few tweaks!
Ever feel like your workspace is working against you? Distractions popping up left and right, making it nearly impossible to stay on task? Well, what if I told you there’s a tool that can silence the noise and put you in the zone in seconds? Enter Raycast Focus—a feature designed to create the perfect distraction-free work environment at the click of a button. Today, we’re diving into how it works and how you can use it to transform your workflow. Let’s get started!
What is Raycast Focus?
Raycast Focus lets you create a distraction-free work environment by allowing you to block apps and websites. It pairs this with the Pomodoro timer technique, allowing for goal-based focused working sessions. The best part about Raycast Focus is that you can activate it in seconds. Here’s how it works.
Update Raycast to get Focus
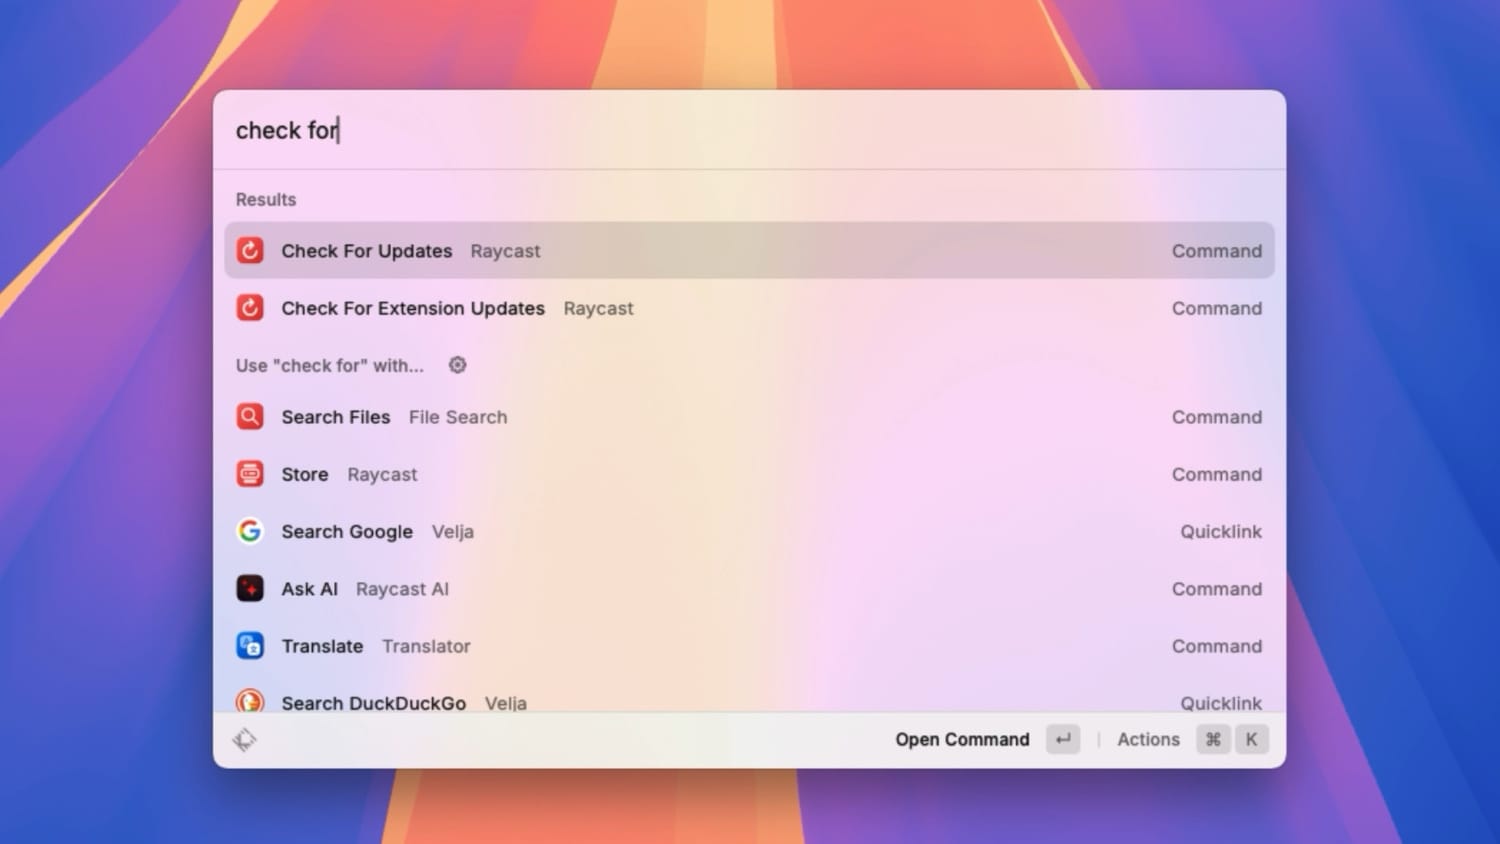
Raycast - one of the best free Mac apps - has released the Raycast Focus update with version 1.89. To access this feature, launch Raycast and search for Check for Updates. Hit the Enter or Return key on your keyboard, and Raycast will search for the update.
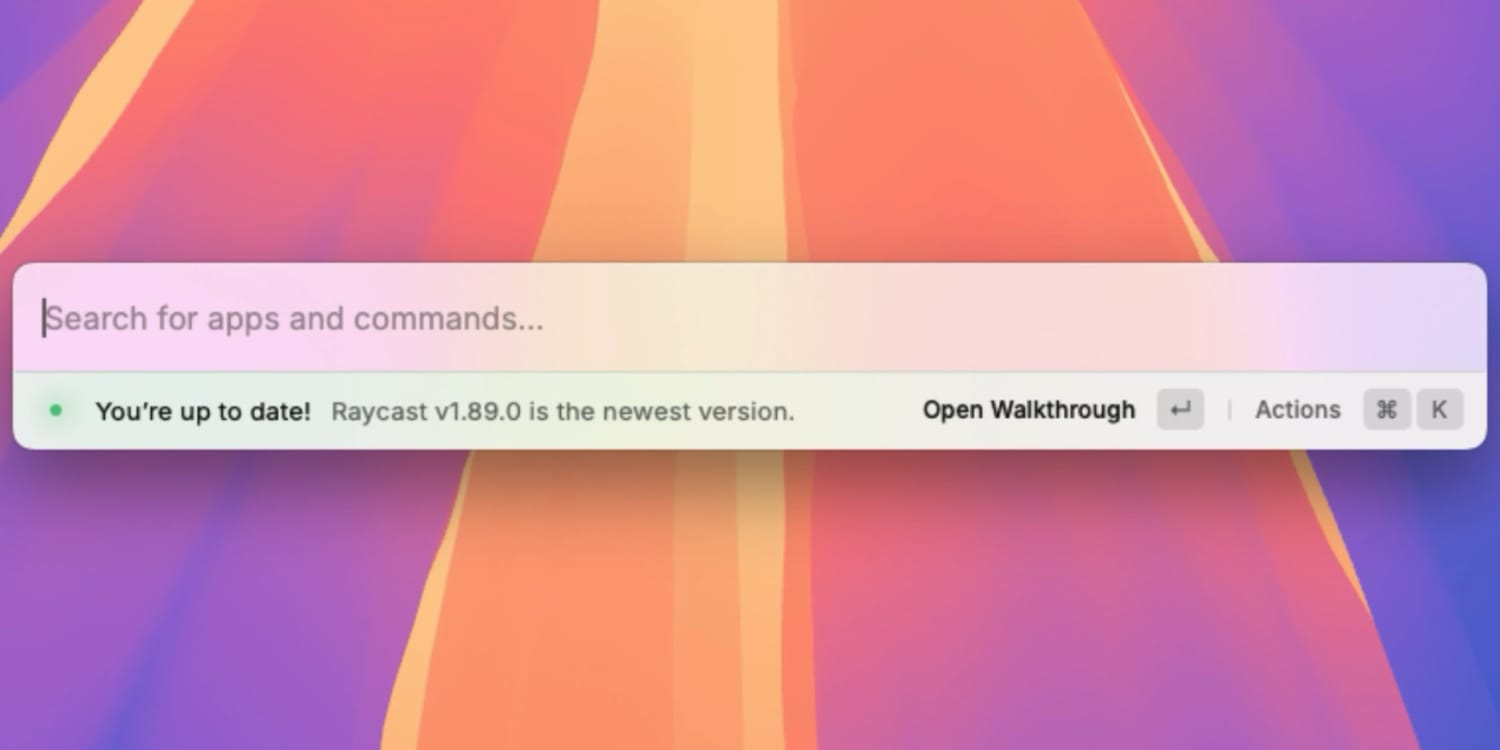
Since I have already installed this update, it’s showing that my Raycast is up to date. If you see a pending update, hit enter to install it.
How to Use Raycast Focus
Using Raycast Focus is as simple as launching an app.
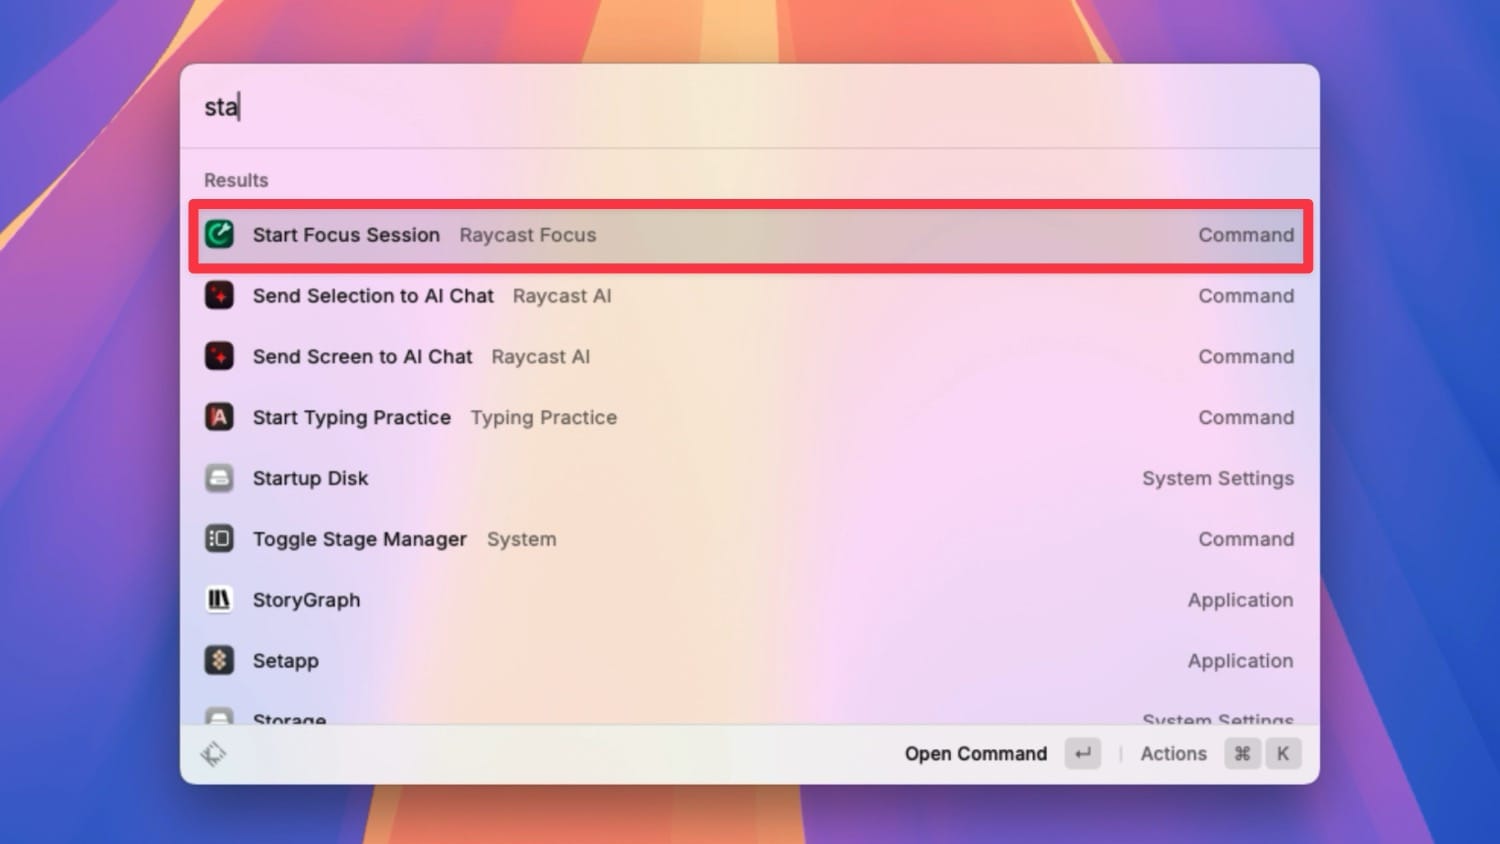
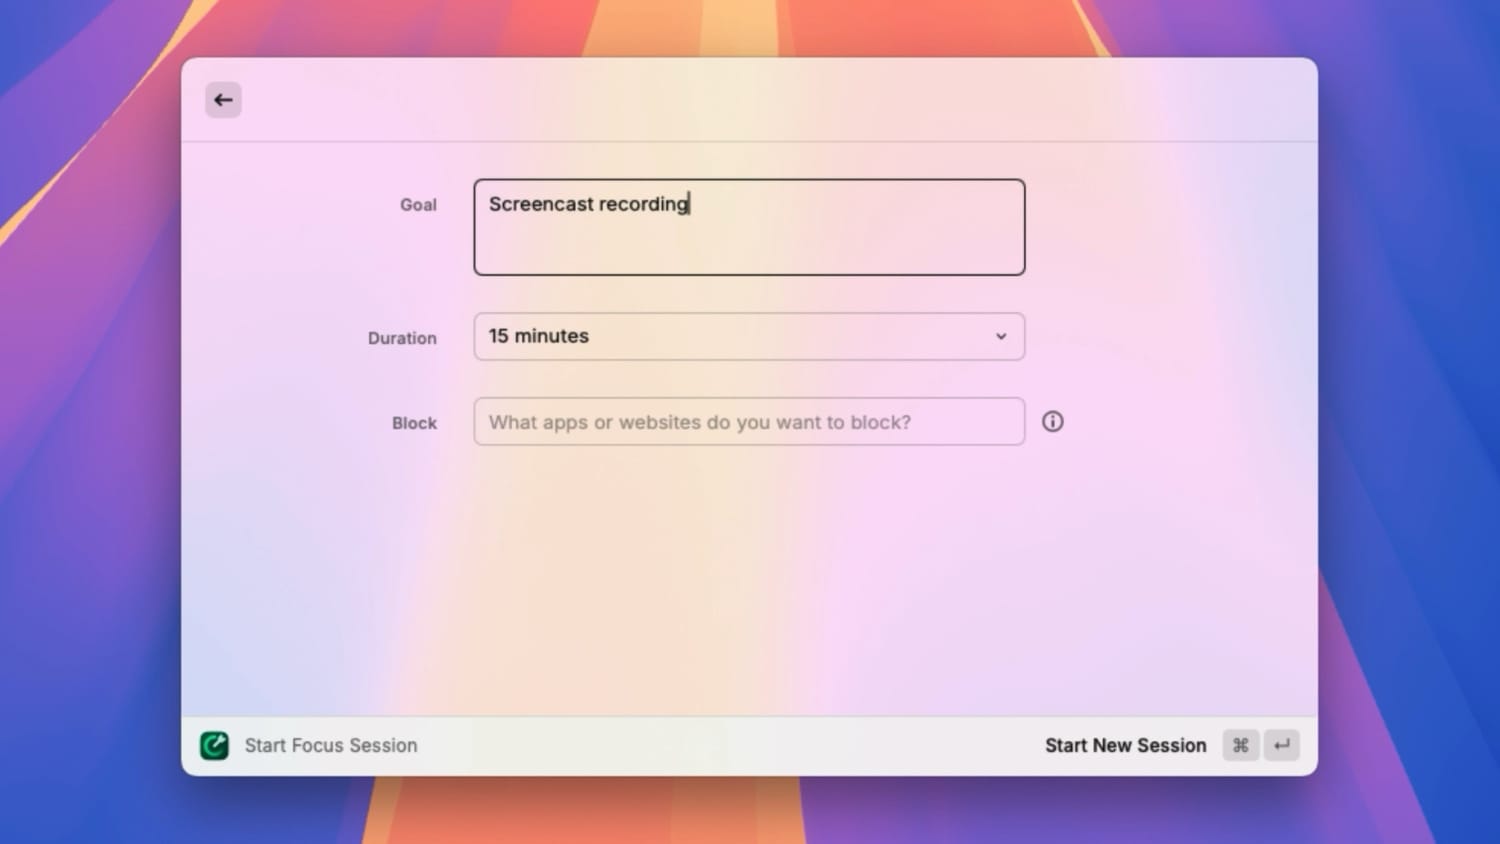
1. Search for Start Focus Session and hit enter to open it up.
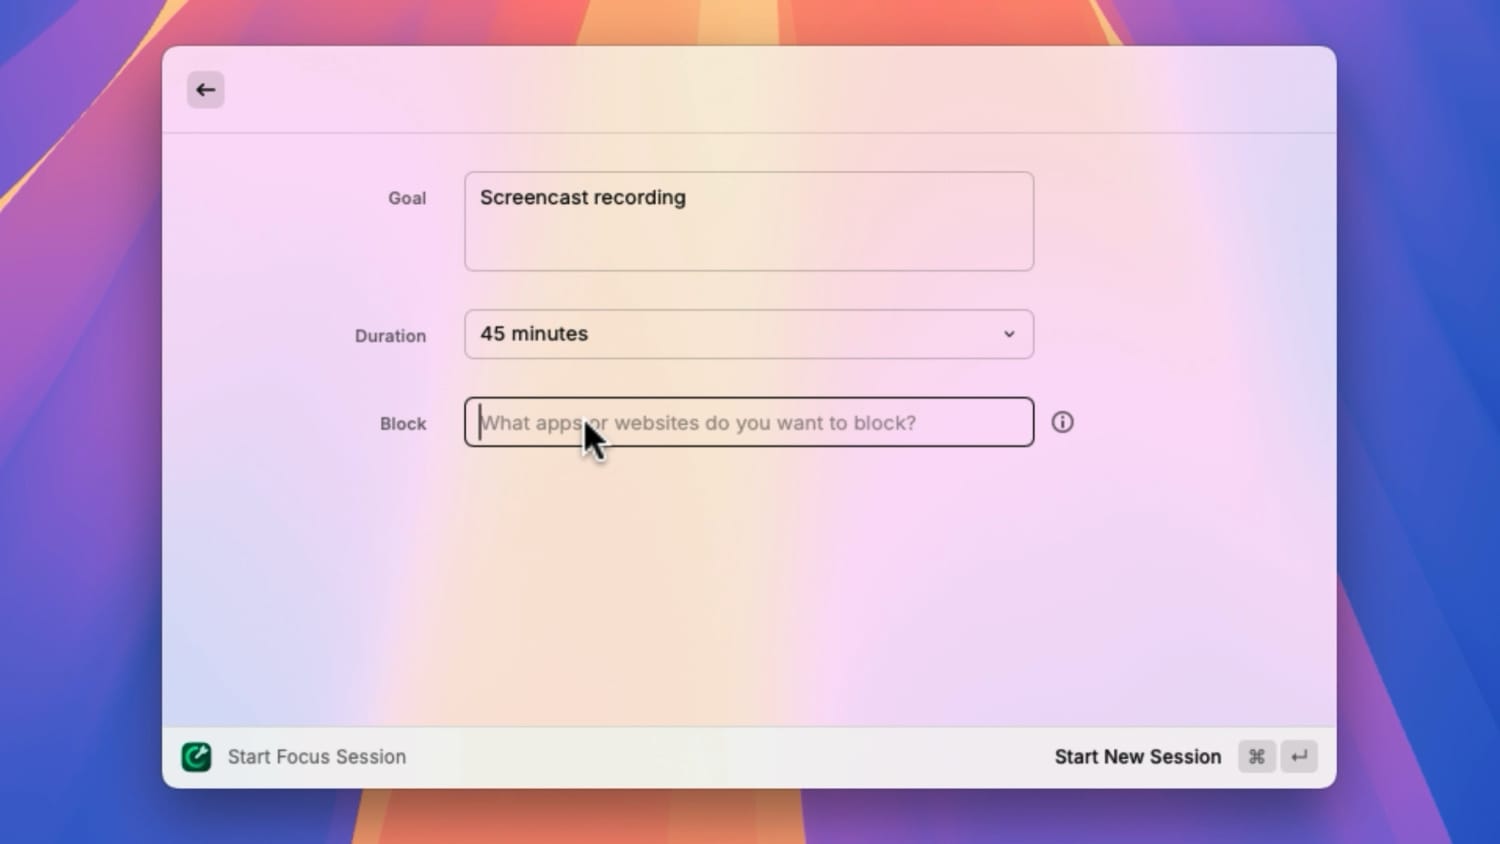
2. Here, you can set a goal for the session. Let’s add Screencast Recording, as that’s what I am doing right now.
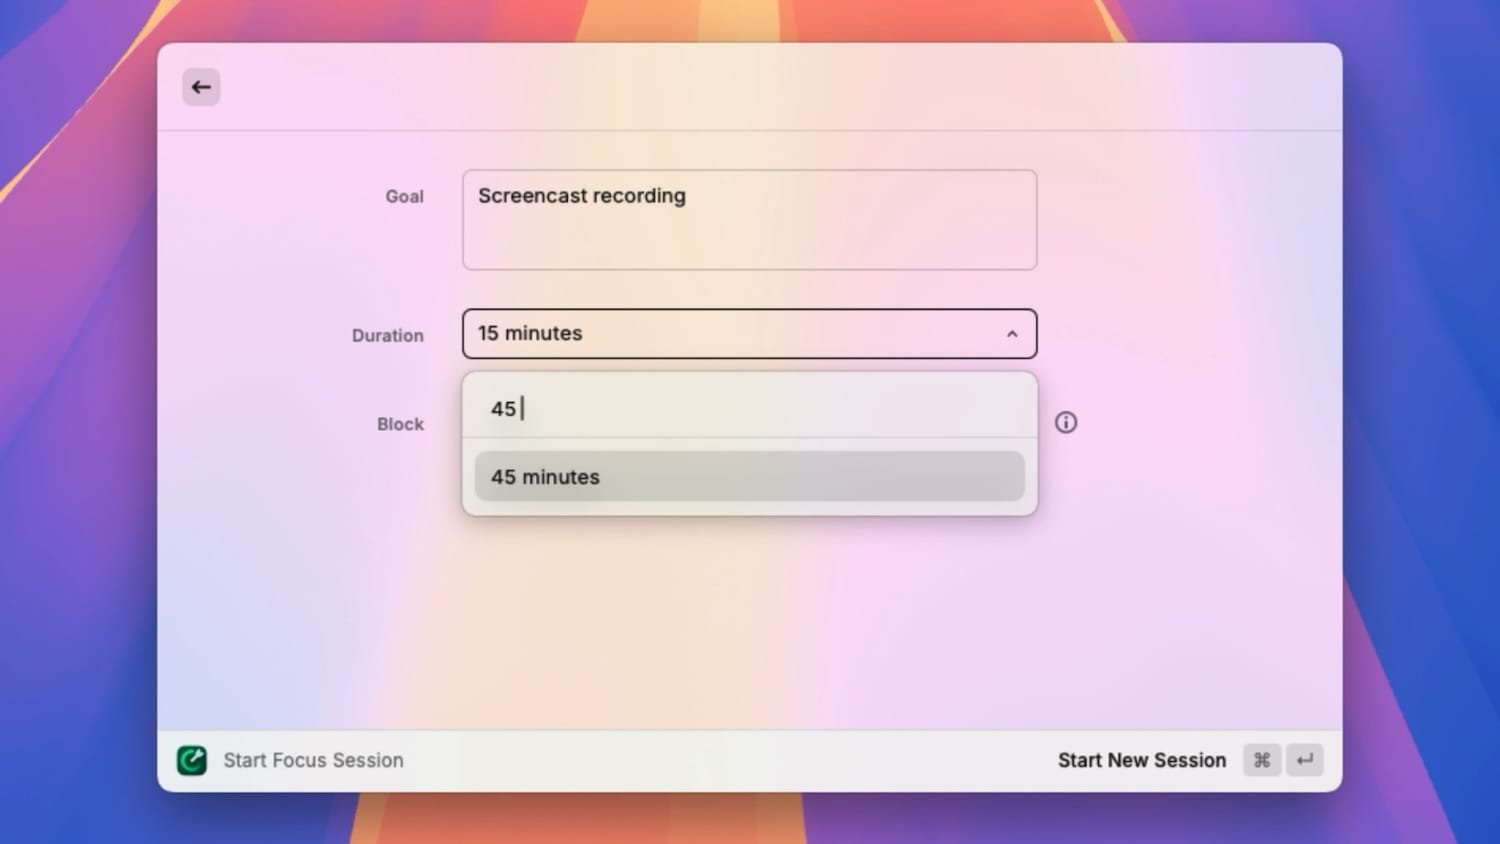
3. In the next field, you can add duration. You can select from the preset or type your own. I like to work in 45-minute chunks.
4. Now, decide which apps and websites you want to block. There are a few ways to tackle this. You can enter the app's name, select a category of apps, or enter individual websites.
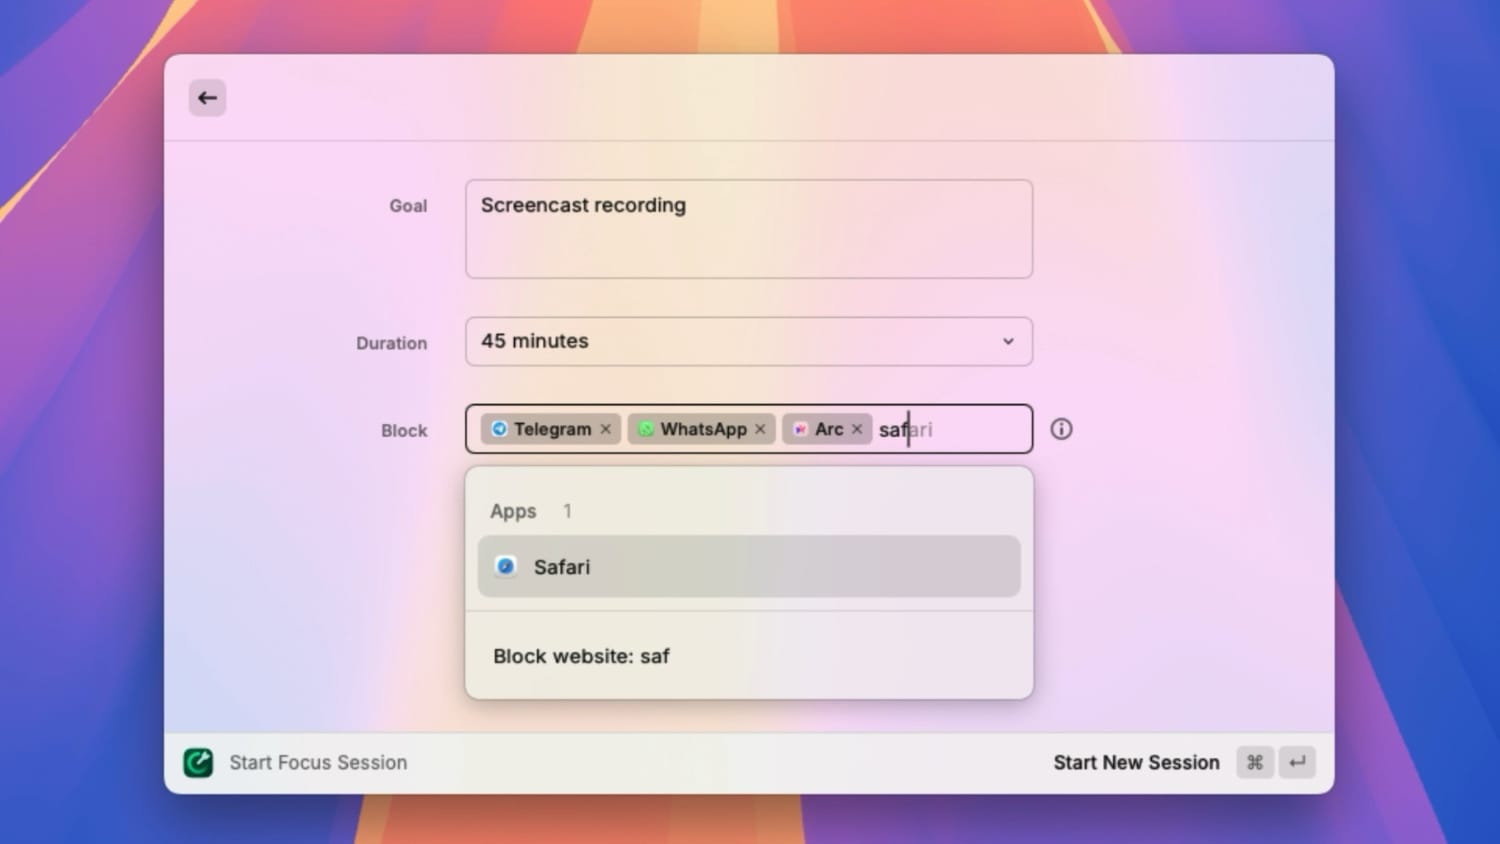
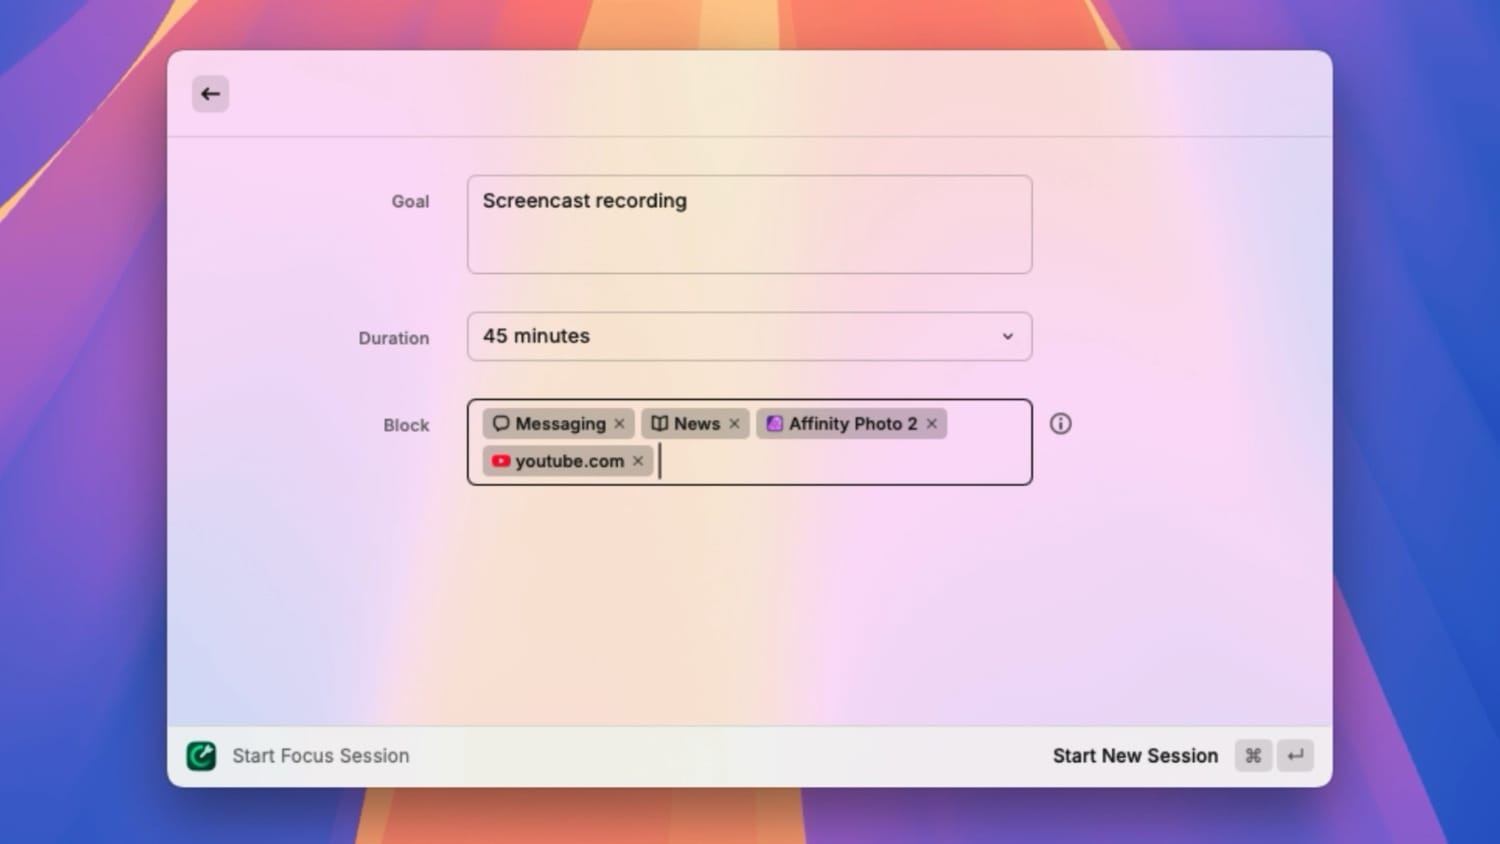
To block specific apps, type their name and hit enter to add them to the list. Let’s say I want to block my messaging apps and browser. I will type their name and hit enter to add them.
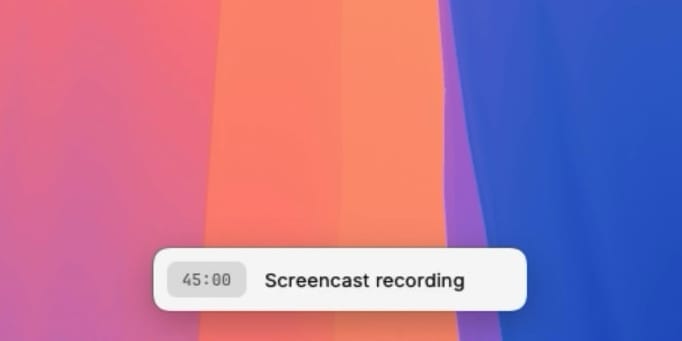
5. Finally, hit the ⌘Enter keyboard shortcut to activate focus. Notice that Raycast has added a floating timer at the bottom of my screen.
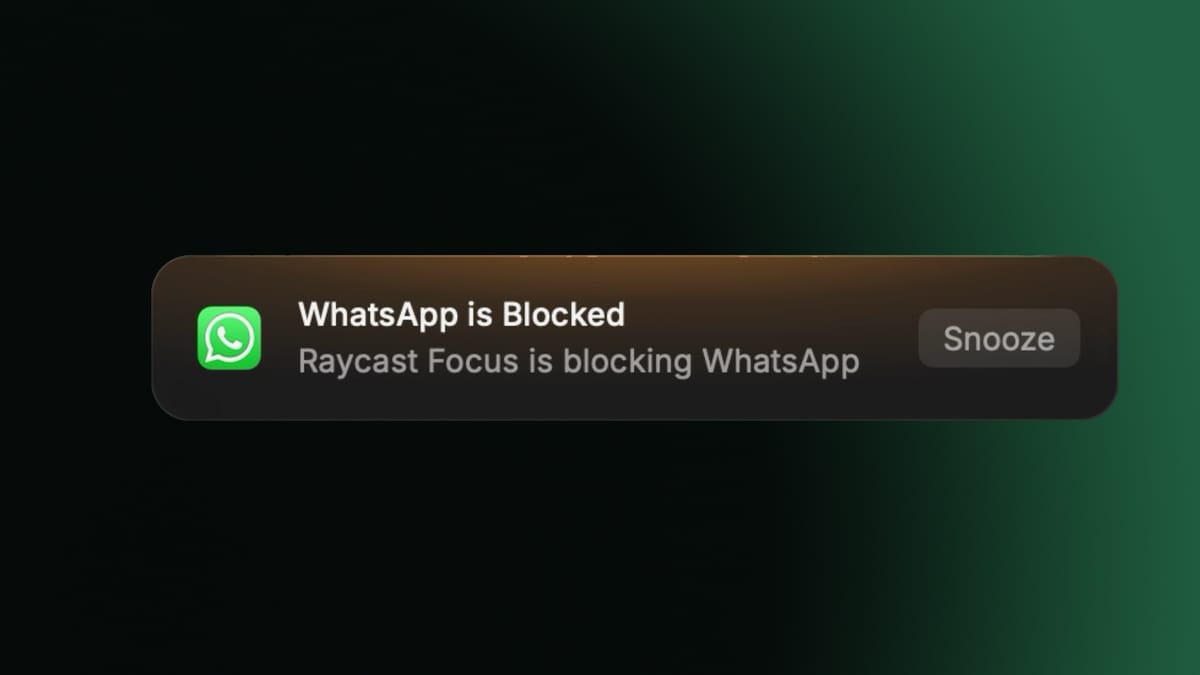
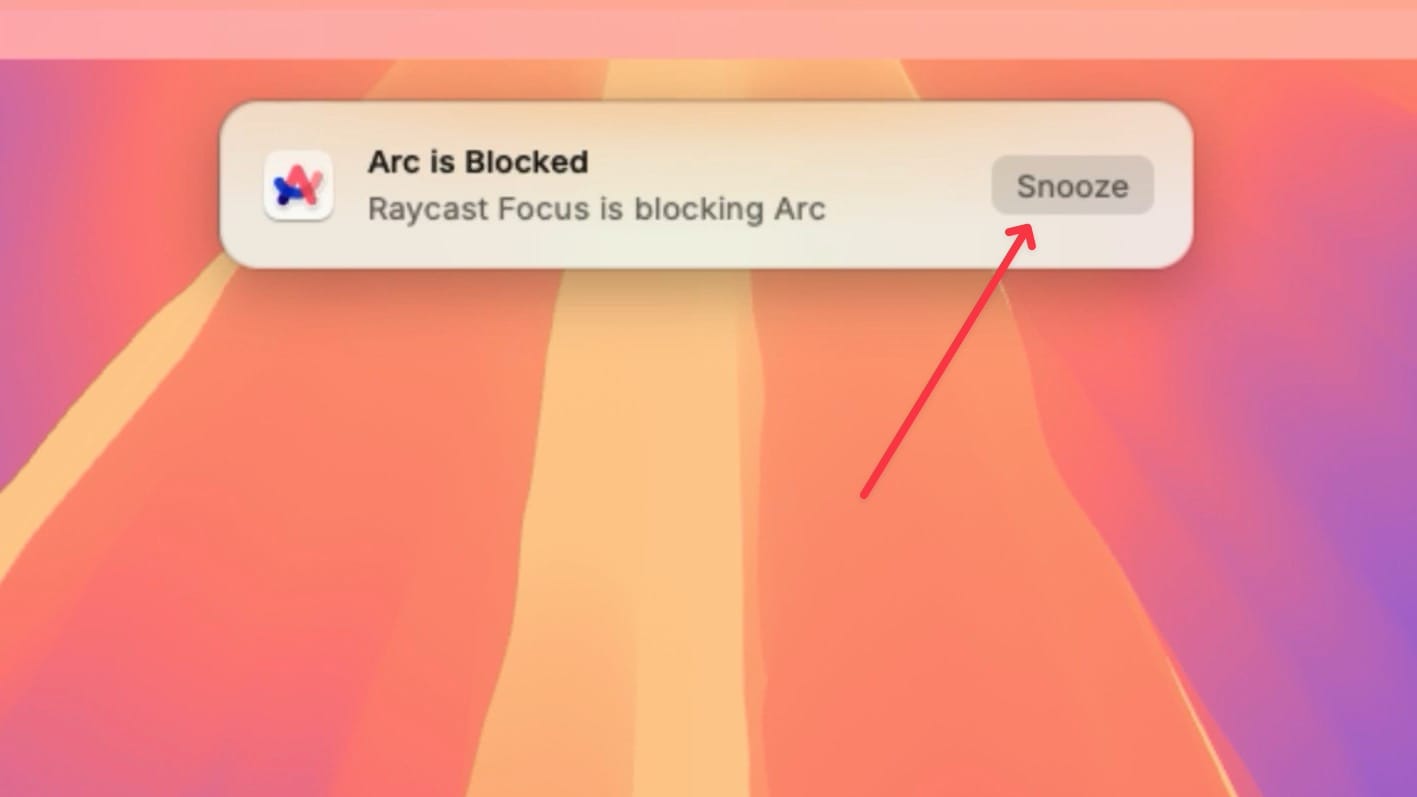
Raycast will now block notifications from all these apps, and you can work without getting distracted. If you try to launch the blocked apps, you will get a nice pop-up with a glow, reminding you that the Raycast Focus is blocking the app.
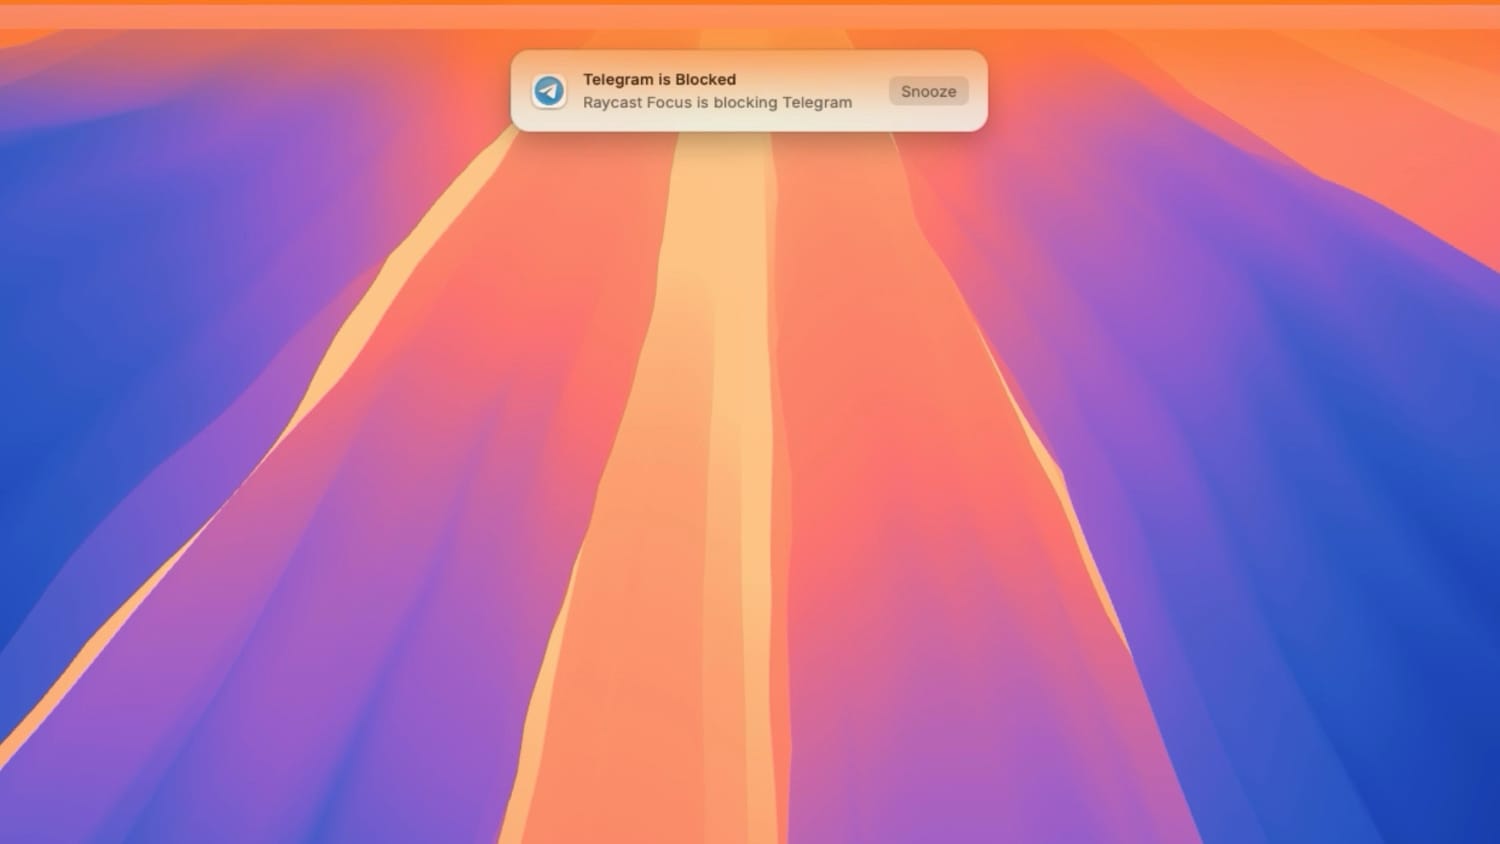
If you need to use the app, you can click the snooze button. It will allow you to use the app for 3 minutes before blocking it again.
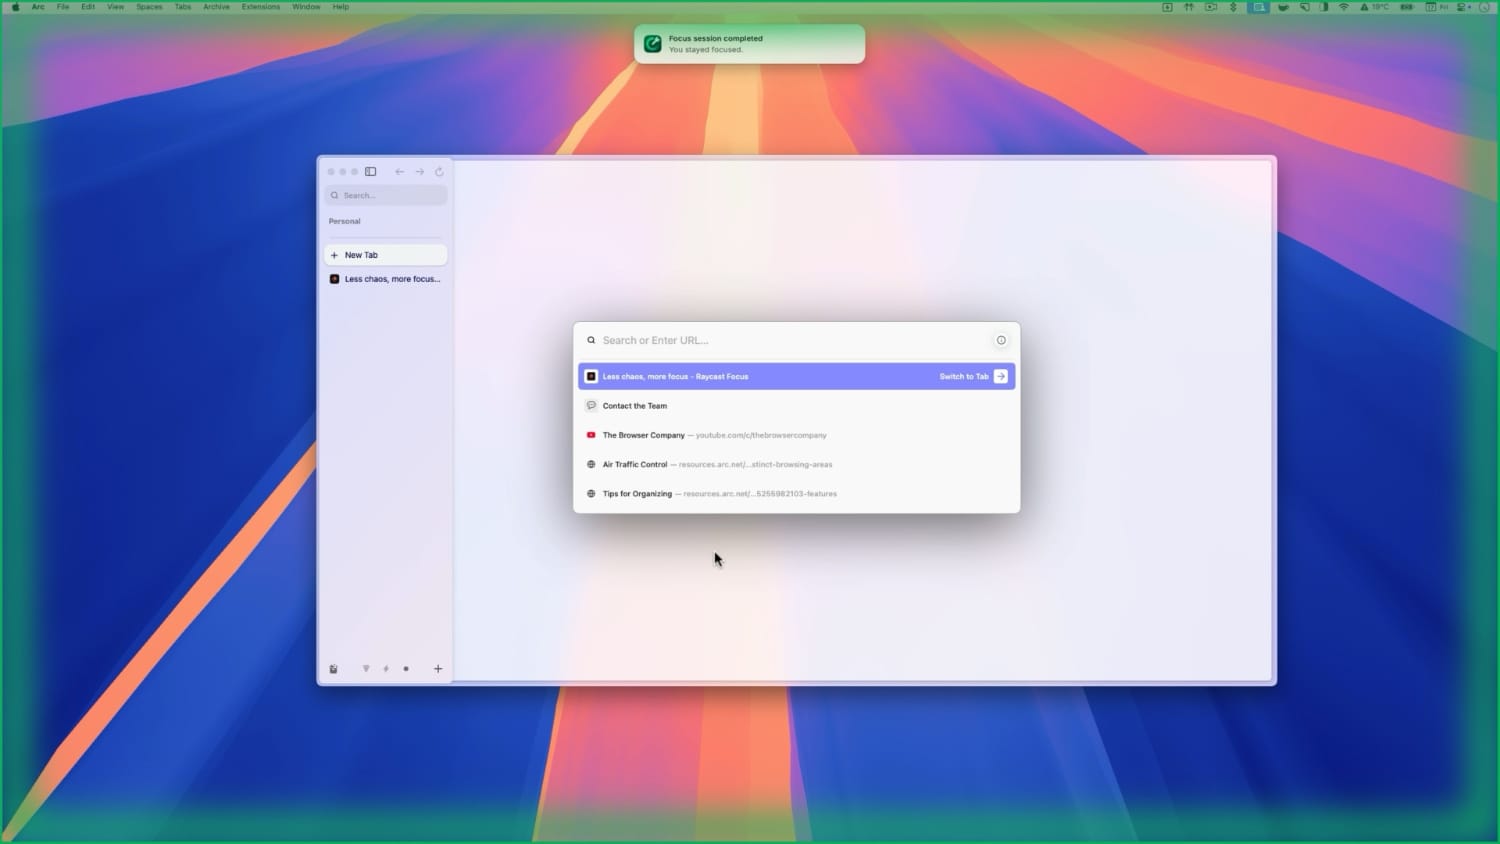
When you finish the session time or mark it as complete, you get a green glow with a message that your focus session is complete. I am not going to lie, it gives me a jolt of happiness whenever I see the message.
Block individual websites
The floating timer window has a couple more features, which we will get into, but let’s first see how you can block individual websites using Raycast Focus. Let’s say your work happens in the browser and you only want to block websites instead of the whole app.
1. Open the Raycast Focus session and fill in the first two fields. Raycast retains the last focus session details. You can leave it as is or enter new metrics.
2. Now type the website URL you want to block. Hit enter after typing the URL to add it to the block list.
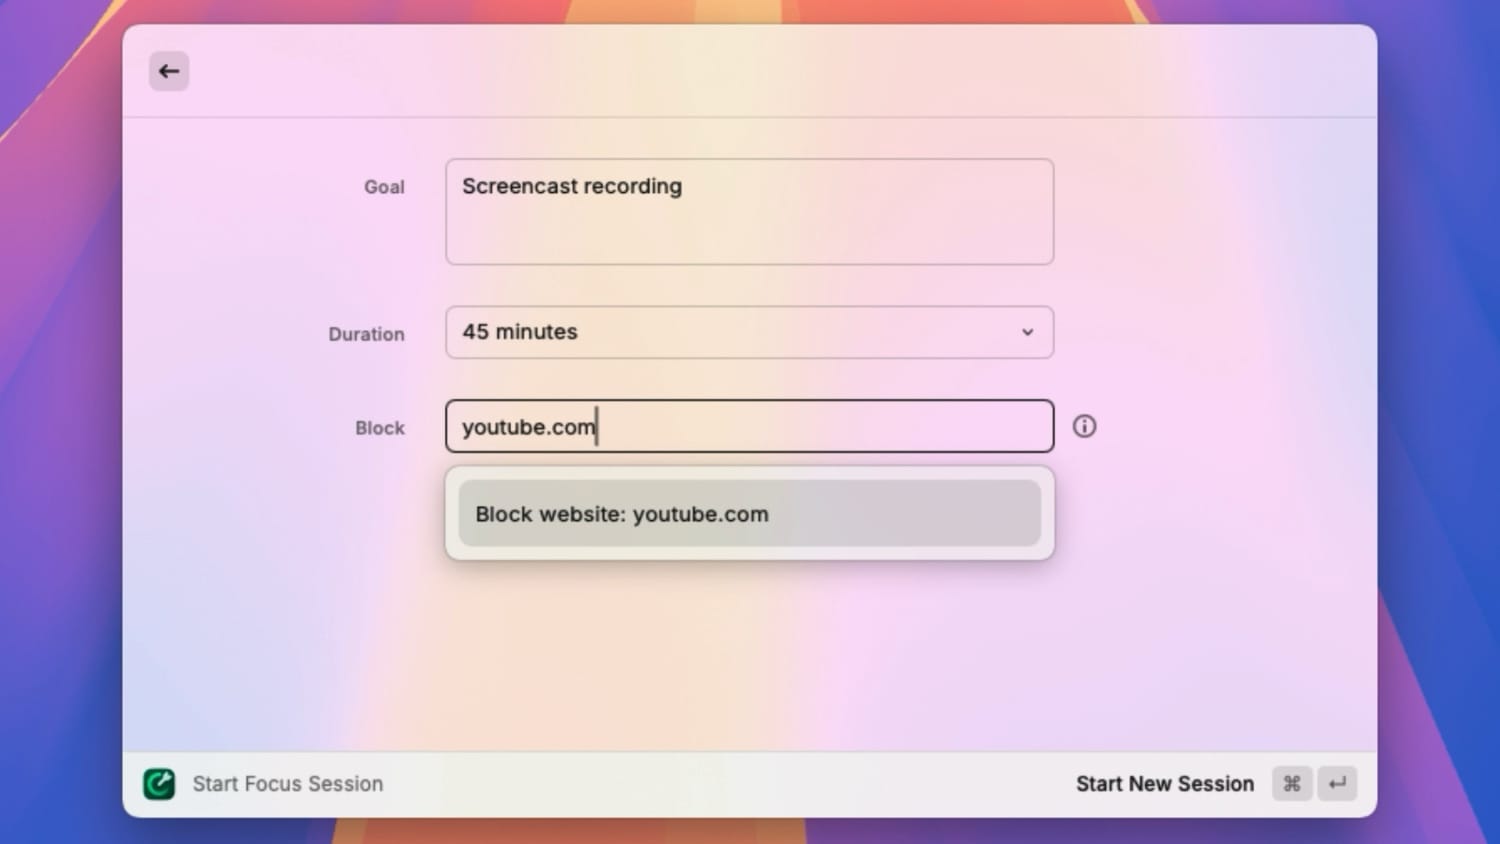
3. Hit the ⌘Enter keyboard shortcut to initiate the focused session.
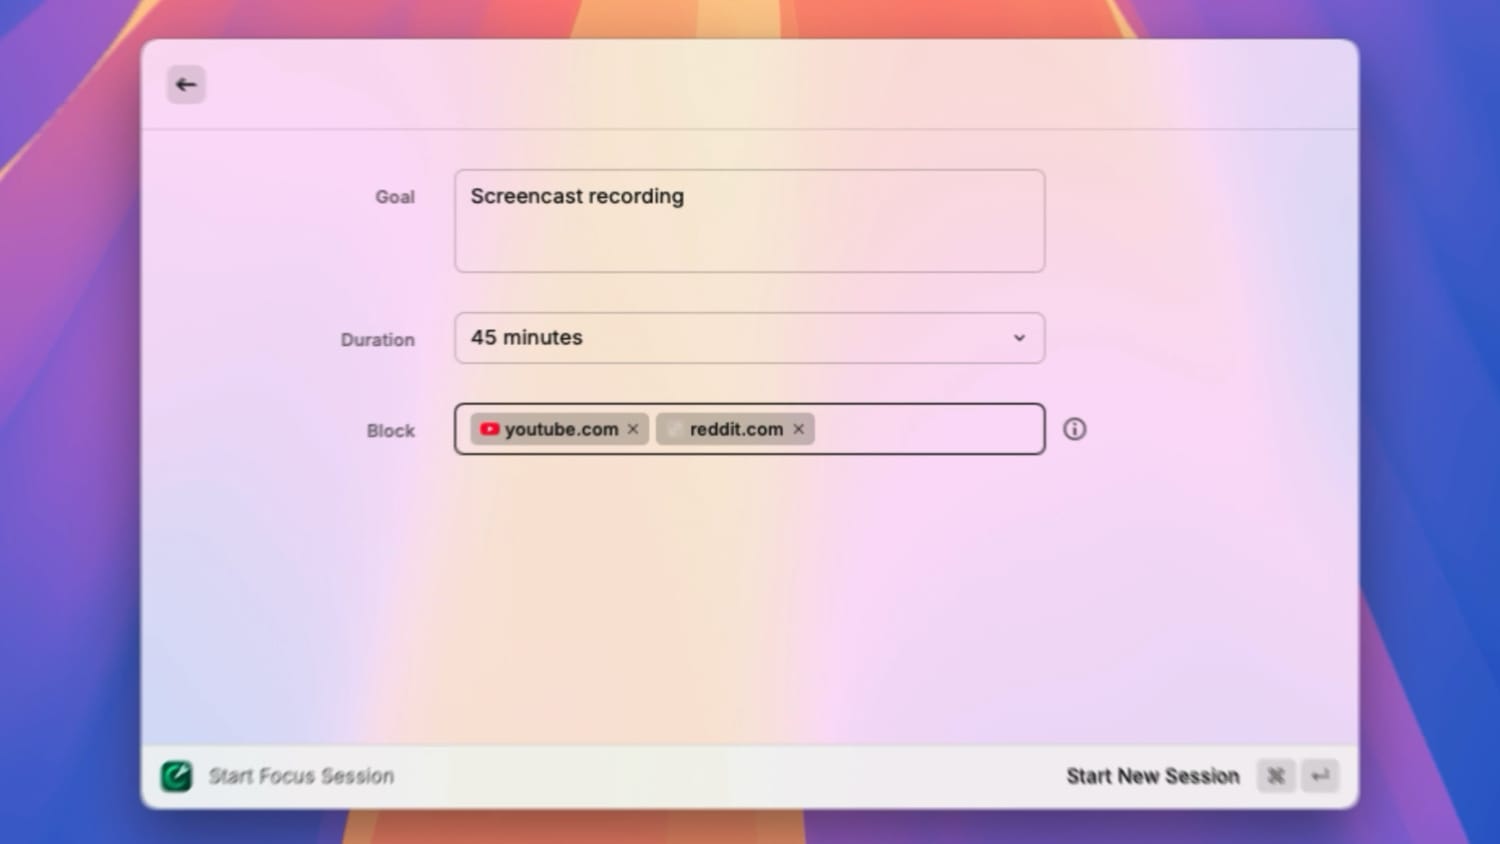
When you try to open these websites, you will see a message that Raycast has blocked them. This will work regardless of the browser you use.
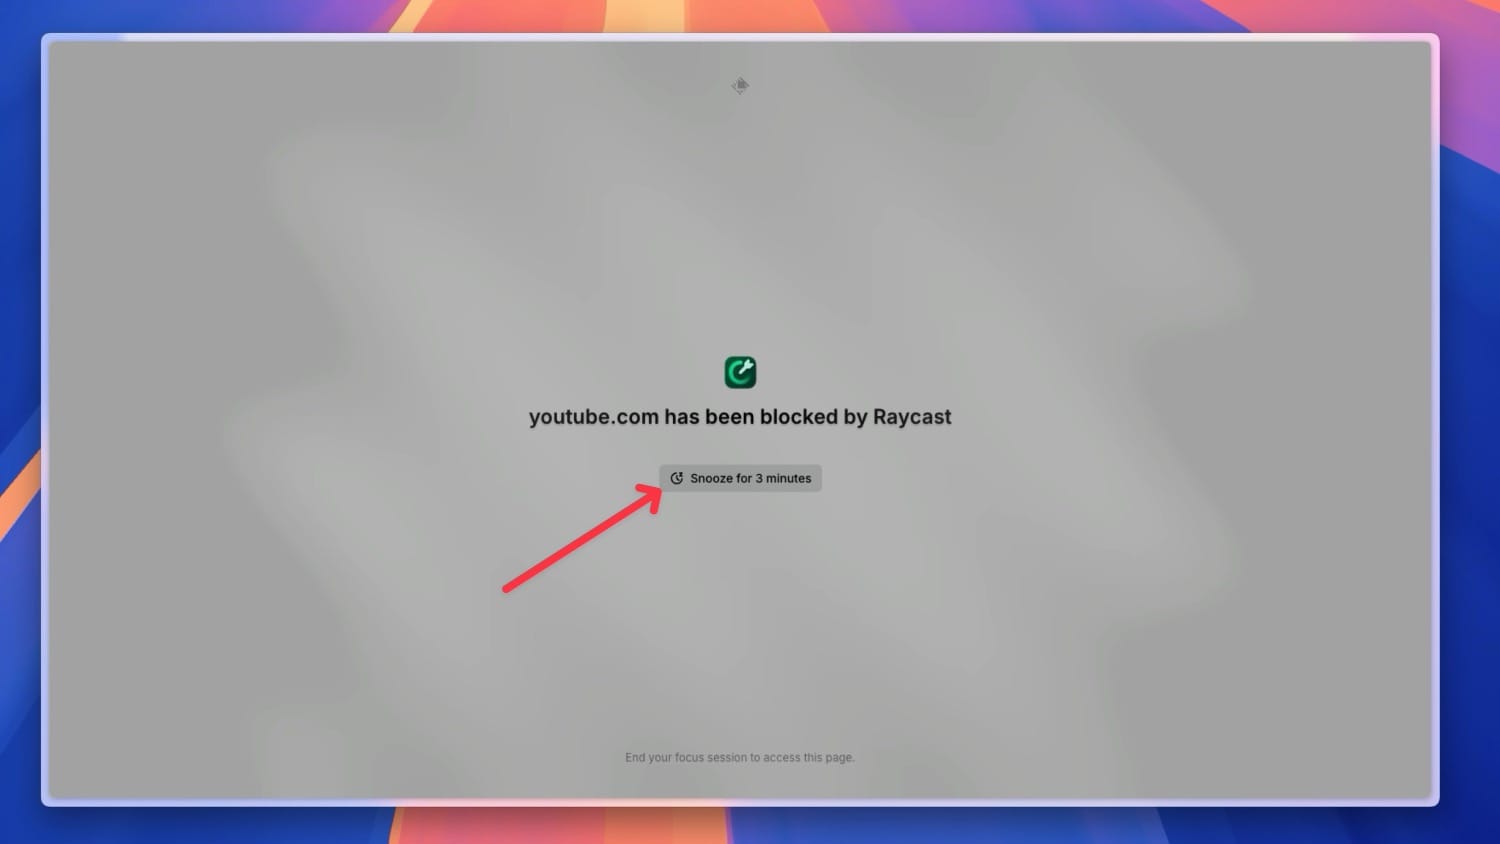
Like with apps, you get a snooze button that you can click to unblock these websites for three minutes.
Block apps and websites by categories
Blocking individual apps and websites can be cumbersome. To help with this Raycast has added smart categories that block a smart premade group of websites and apps.
1. When creating a Raycast Focus session, hit the down arrow on the keyboard or left-click to access these lists.
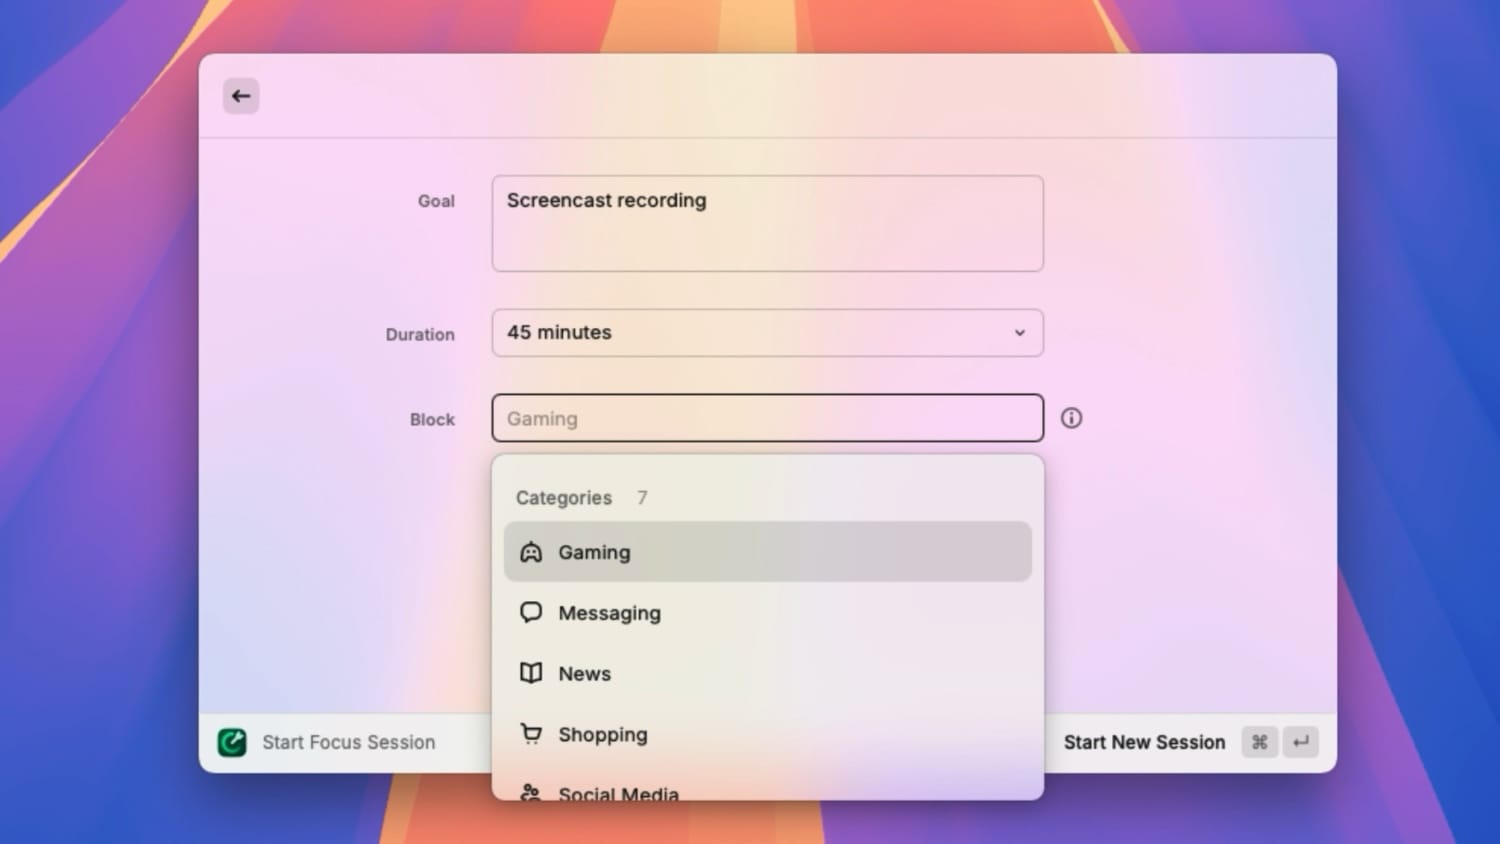
There are seven categories - Gaming, Messaging, News, Shopping, Social Media, Streaming, and Travel.
To see a list of apps and websites covered under these categories, hover your cursor on a category. These lists are smart and consider the apps installed on your Mac.
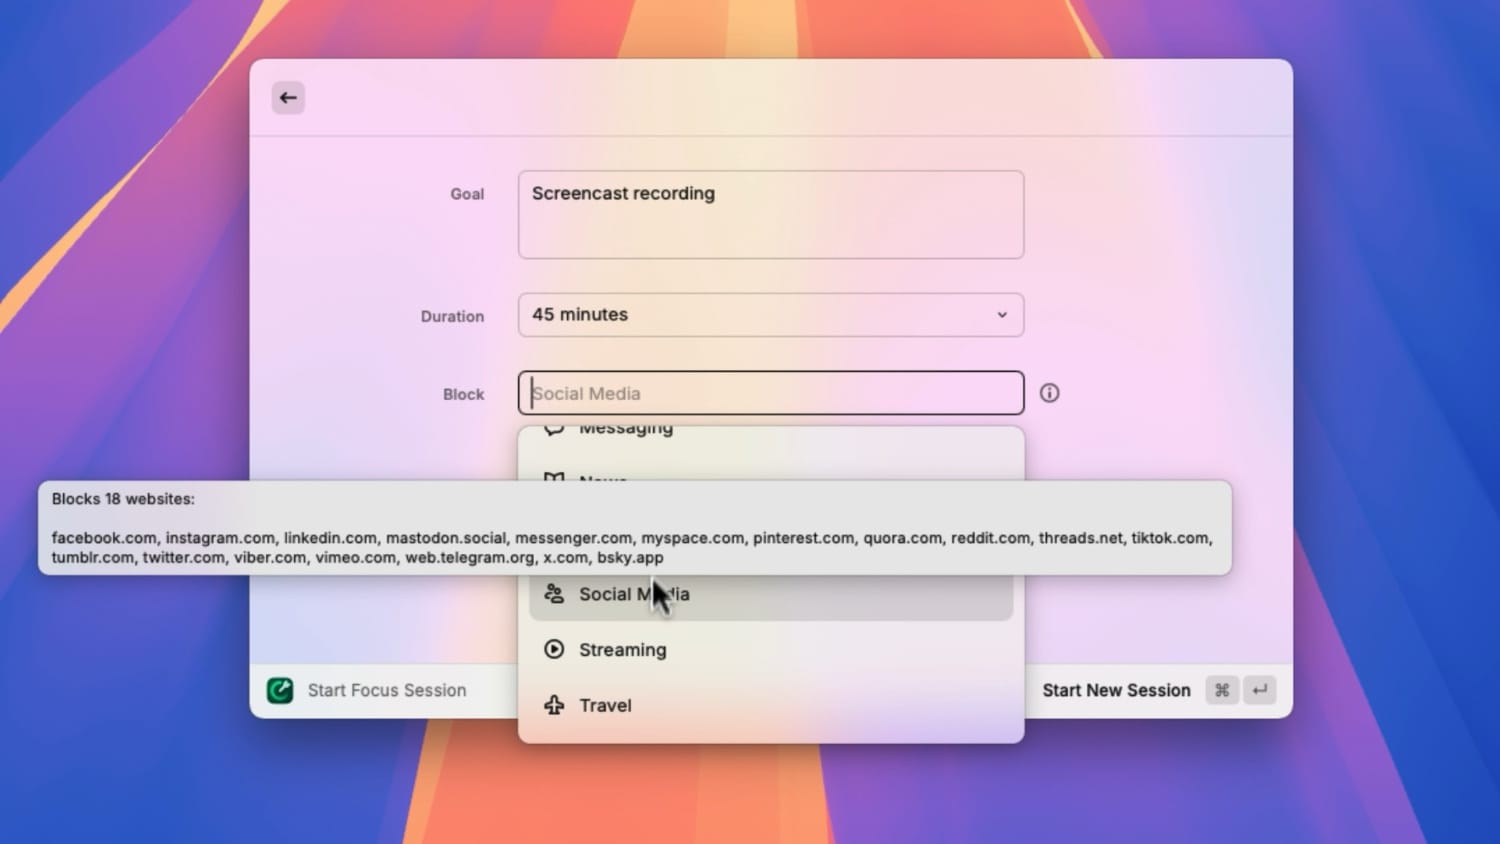
2. Like with apps and websites, you can hit enter to add them to the block list. Of course, you can still add individual apps and websites not covered under these categories.
Quick toggle Raycast Focus
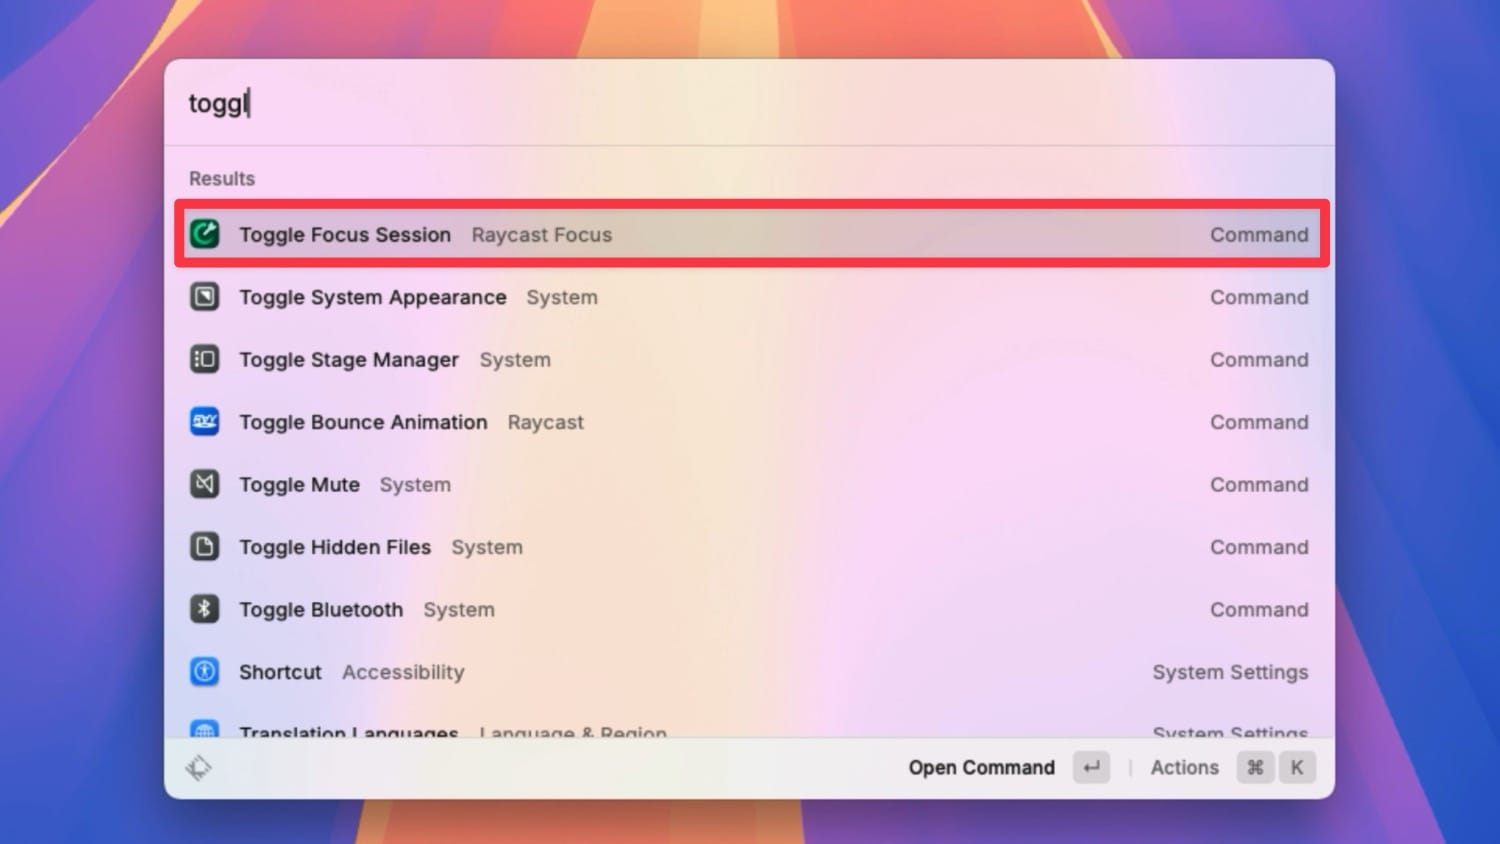
As I showed, Raycast remembers the last focus session you created. If you want to turn it on without changing anything, search for Toggle Focus Session and hit enter to start the focus session without entering the focus editing mode.
The Floating Window
Let’s now talk about the floating window that appears when you start a session.
1. You can hover over it to get the option to Pause or Complete the session.
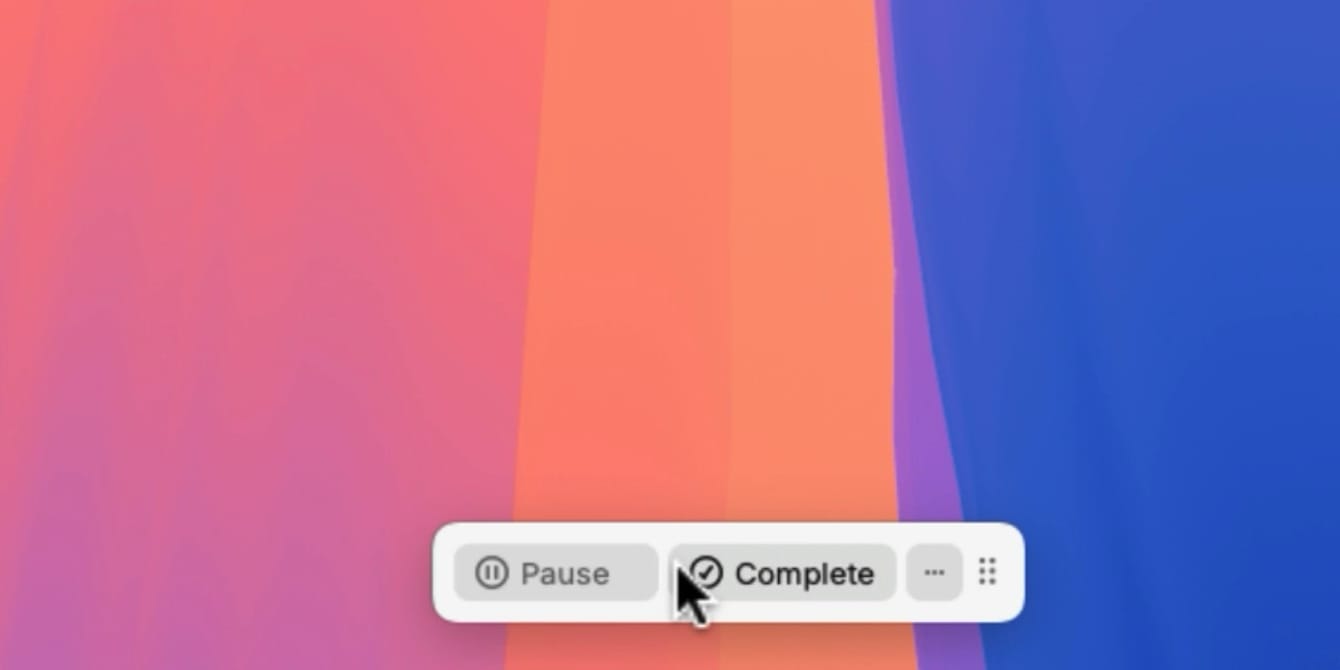
2. By default, the window appears at the bottom of the screen, but you can drag and drop it anywhere on the screen.
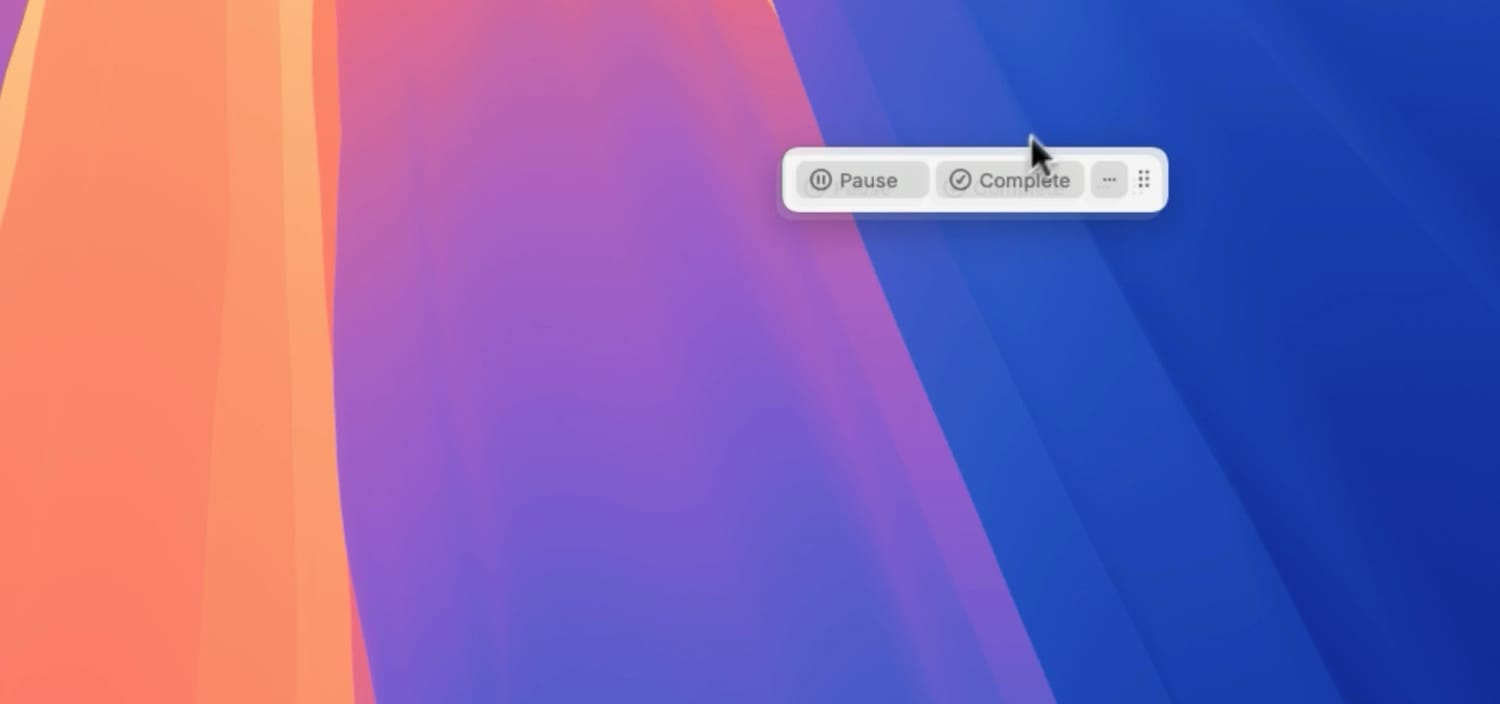
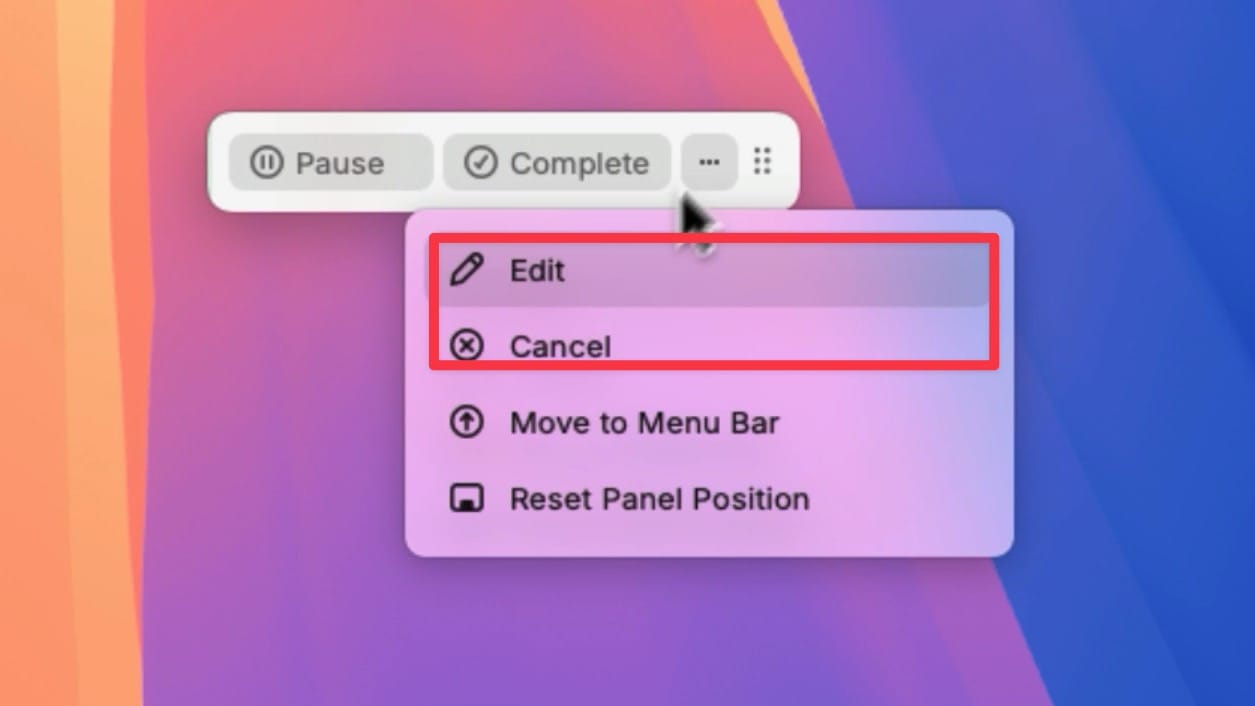
3. You can click the three-dot menu to get additional options. You can use the Edit button to edit the focus session or cancel it using the Cancel button.
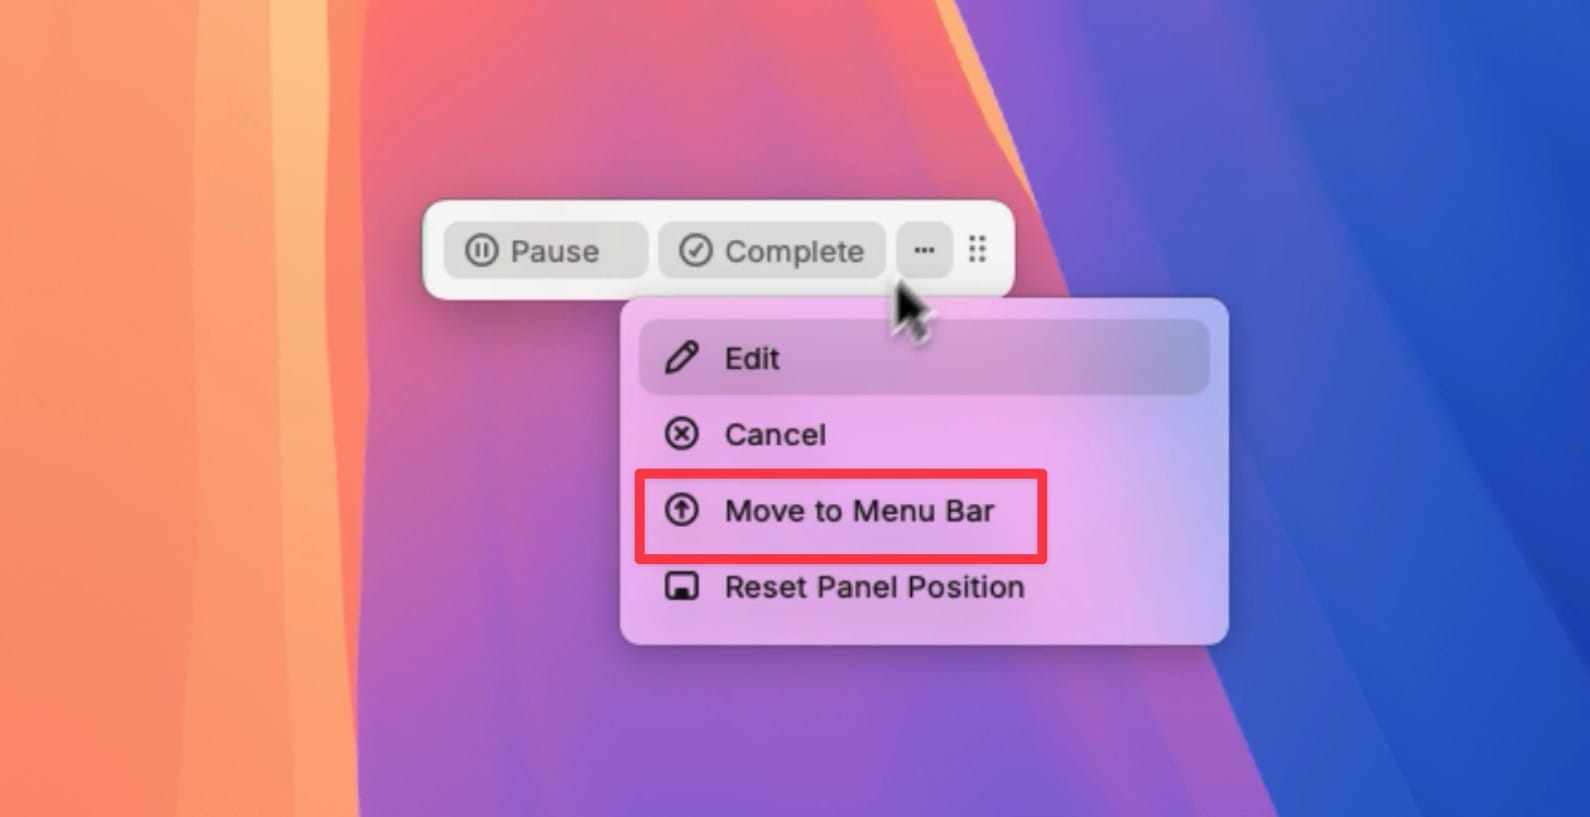
4. Clicking the Move to Menu Bar button will attach the floating window to the Menu Bar.
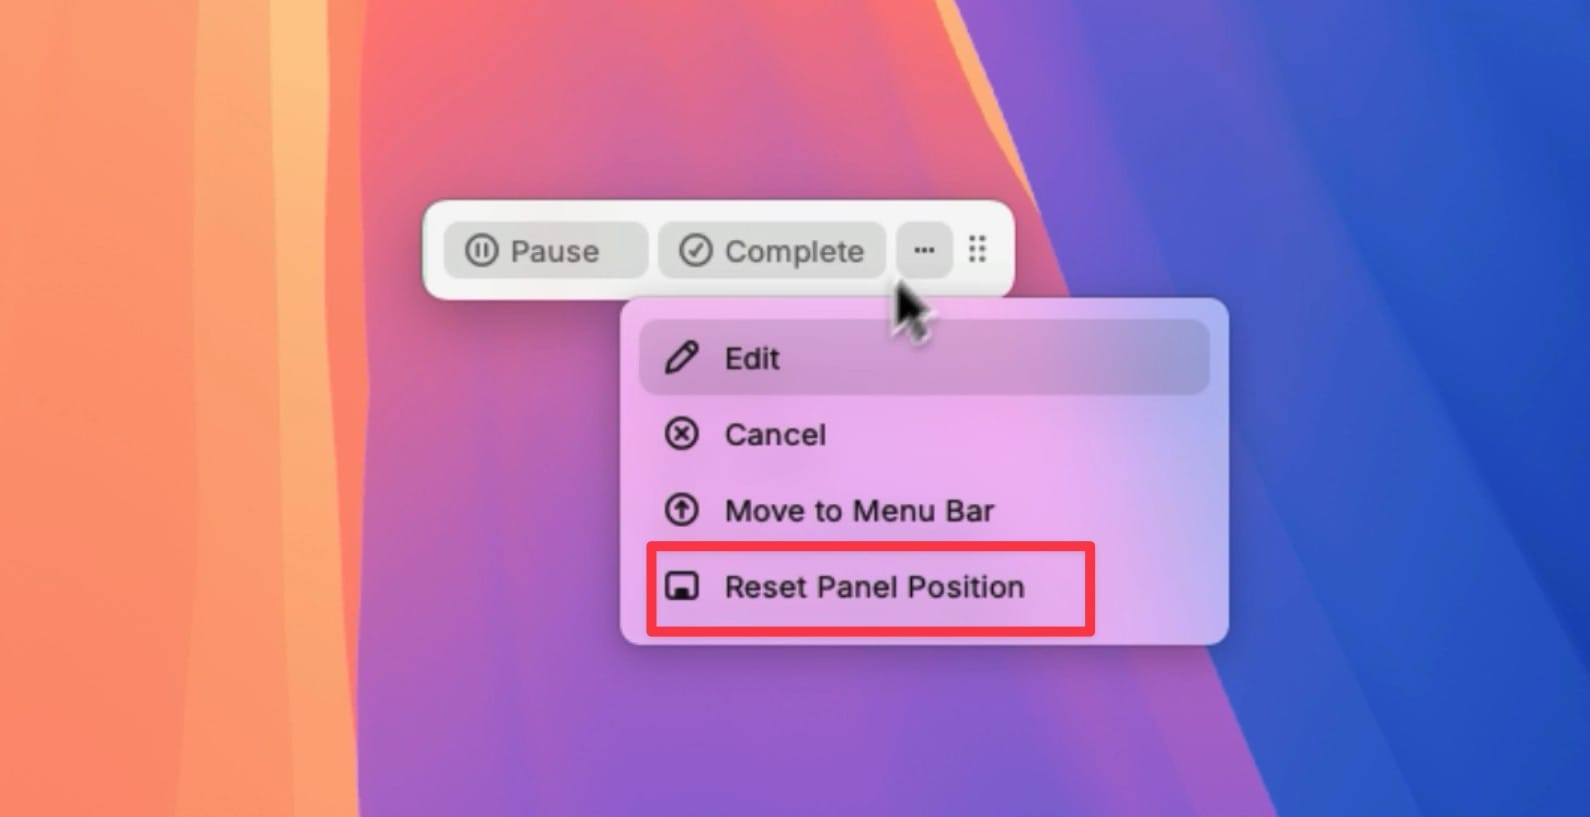
5. Finally, hitting the Reset Panel Position button will bring it back to its original position.
Customizing Raycast Focus
Since Raycast Focus is a new feature, you don’t get a lot of customization options. Currently, you can only customize the snooze duration and assign it a keyboard shortcut.
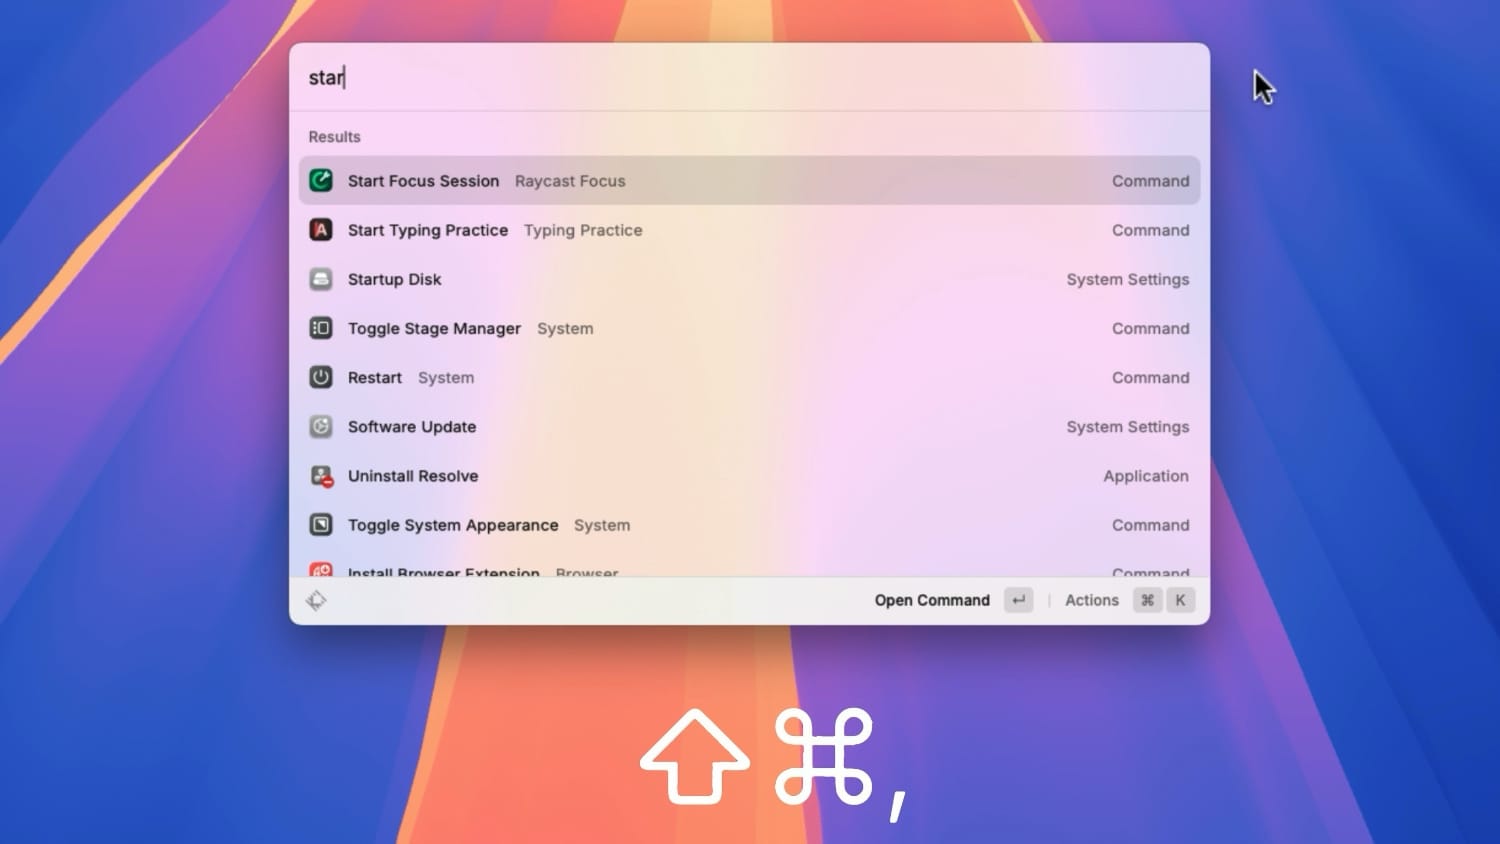
1. Search for Start Raycast Focus, and instead of hitting enter to open it, hit the keyboard shortcut ⇧⌘, (Shift+Command+,) to open its settings.
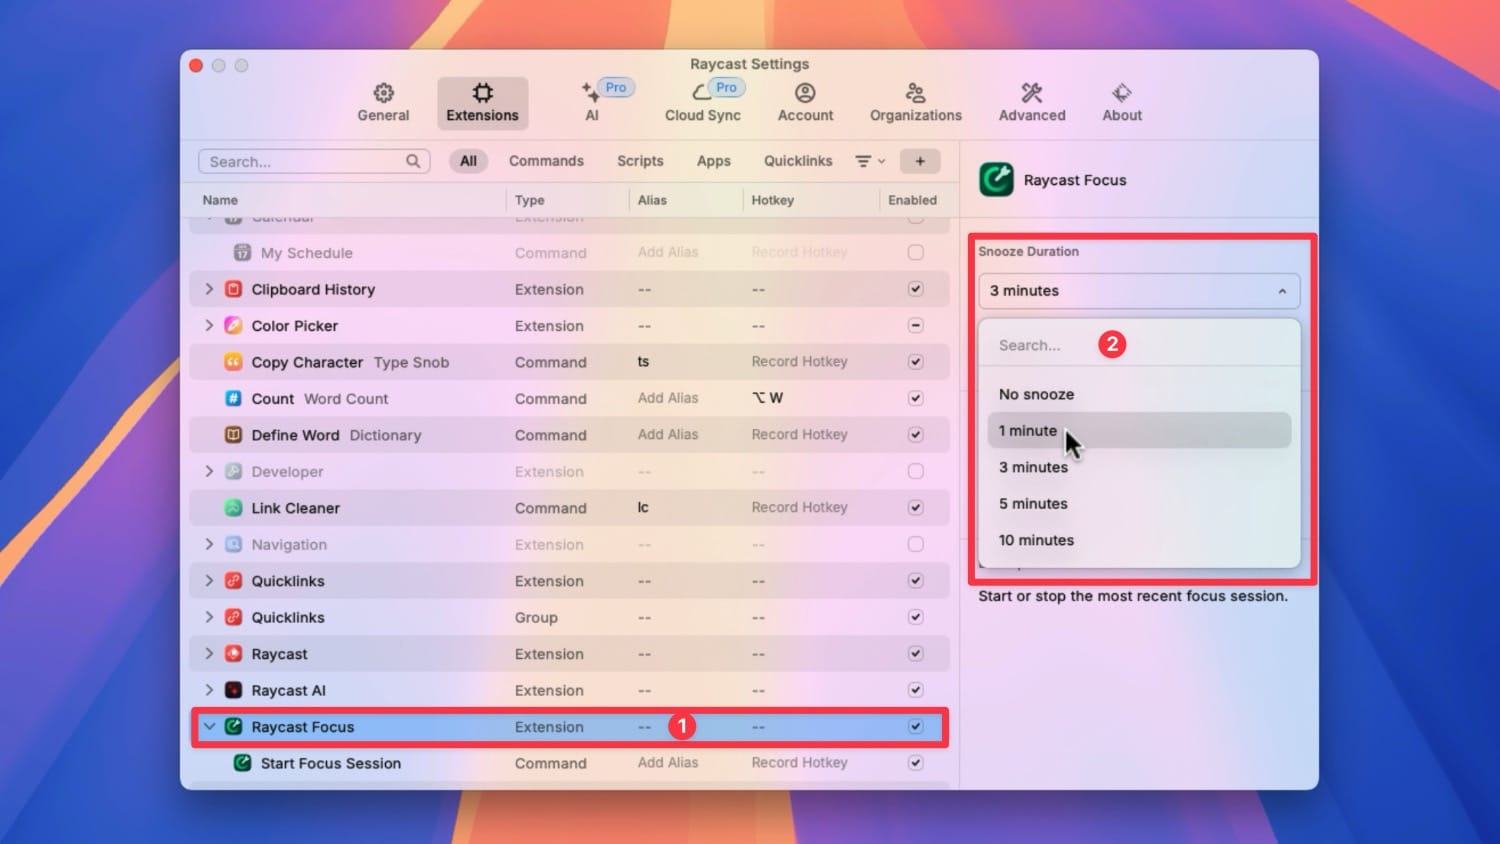
2. Here, you can change the default snooze duration. I like to set it to 1 minute and recommend you to do the same. You don’t want to be distracted for too long during a focus session.
3. You can also click the Record Hotkey field to record a keyboard shortcut. I will set it to ⌘⇧F. Now when I hit the keyboard shortcut, Raycast Focus will open instantaneously.
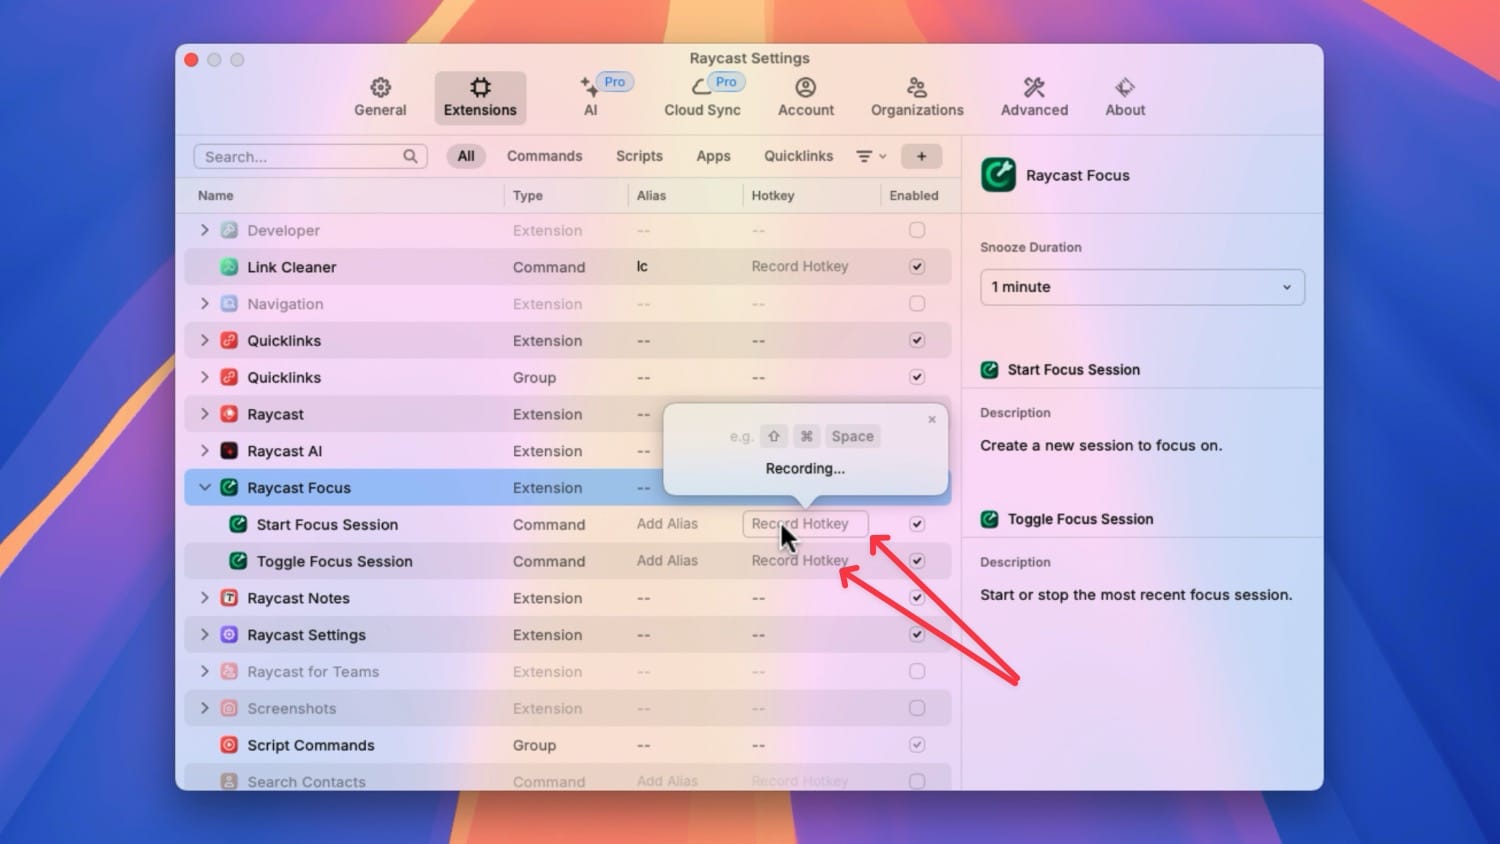
Similarly, you can set a keyboard shortcut for Toggle Raycast Focus to initiate a focused session in seconds.
Missing Features
Raycast Focus is an incredible feature that allows me to create focused sessions in seconds. That said, there are two missing features that I want to see going forward.
First, I would like to be able to add allowed apps instead of blocklist apps. That way, I can allow the apps and websites I need to work on and block everything else.
The second feature that I would love to see in the future is the ability to create and save focus sessions. This will allow us to create multiple focus sessions and save them so we don’t have to create new sessions from scratch each time.
If Raycast adds these two missing features, it could become the best and quickest way to create a fully focused work environment.
