Turn Any Folder on Your Mac into a Powerful Image Converter!

If you are a proficient Mac user, you might already know that you can convert image formats on Mac with the Quick Actions tool. It’s a quick process that takes only a couple of clicks. But did you know you can automate this and have your Mac do this task for you? In this guide, I will show you how to turn any folder on your Mac into a powerful image converter.
Make an image converter folder on the Mac
Your Mac's Automator app lets you create simple to complex automation. We will use the same app for this guide.
1. You can launch the Automator app from the Applications folder or use the Spotlight Search.

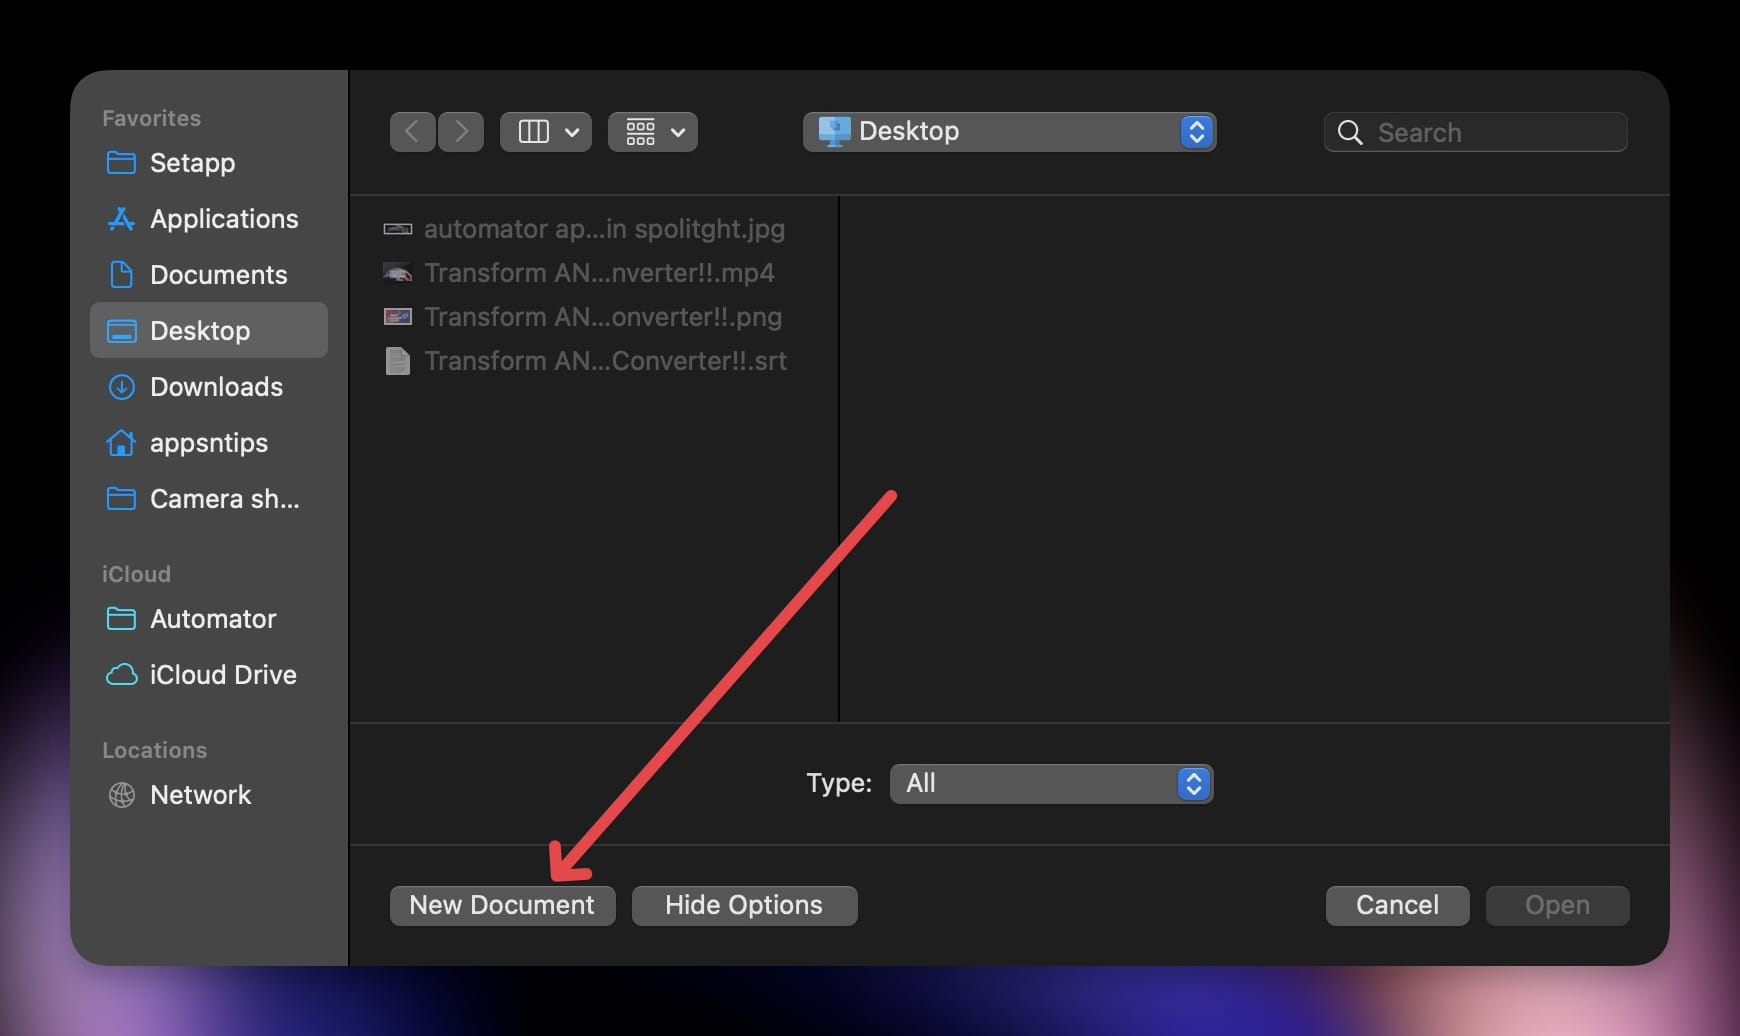
2. In the open window, click the New Document button to create a new Automator document.
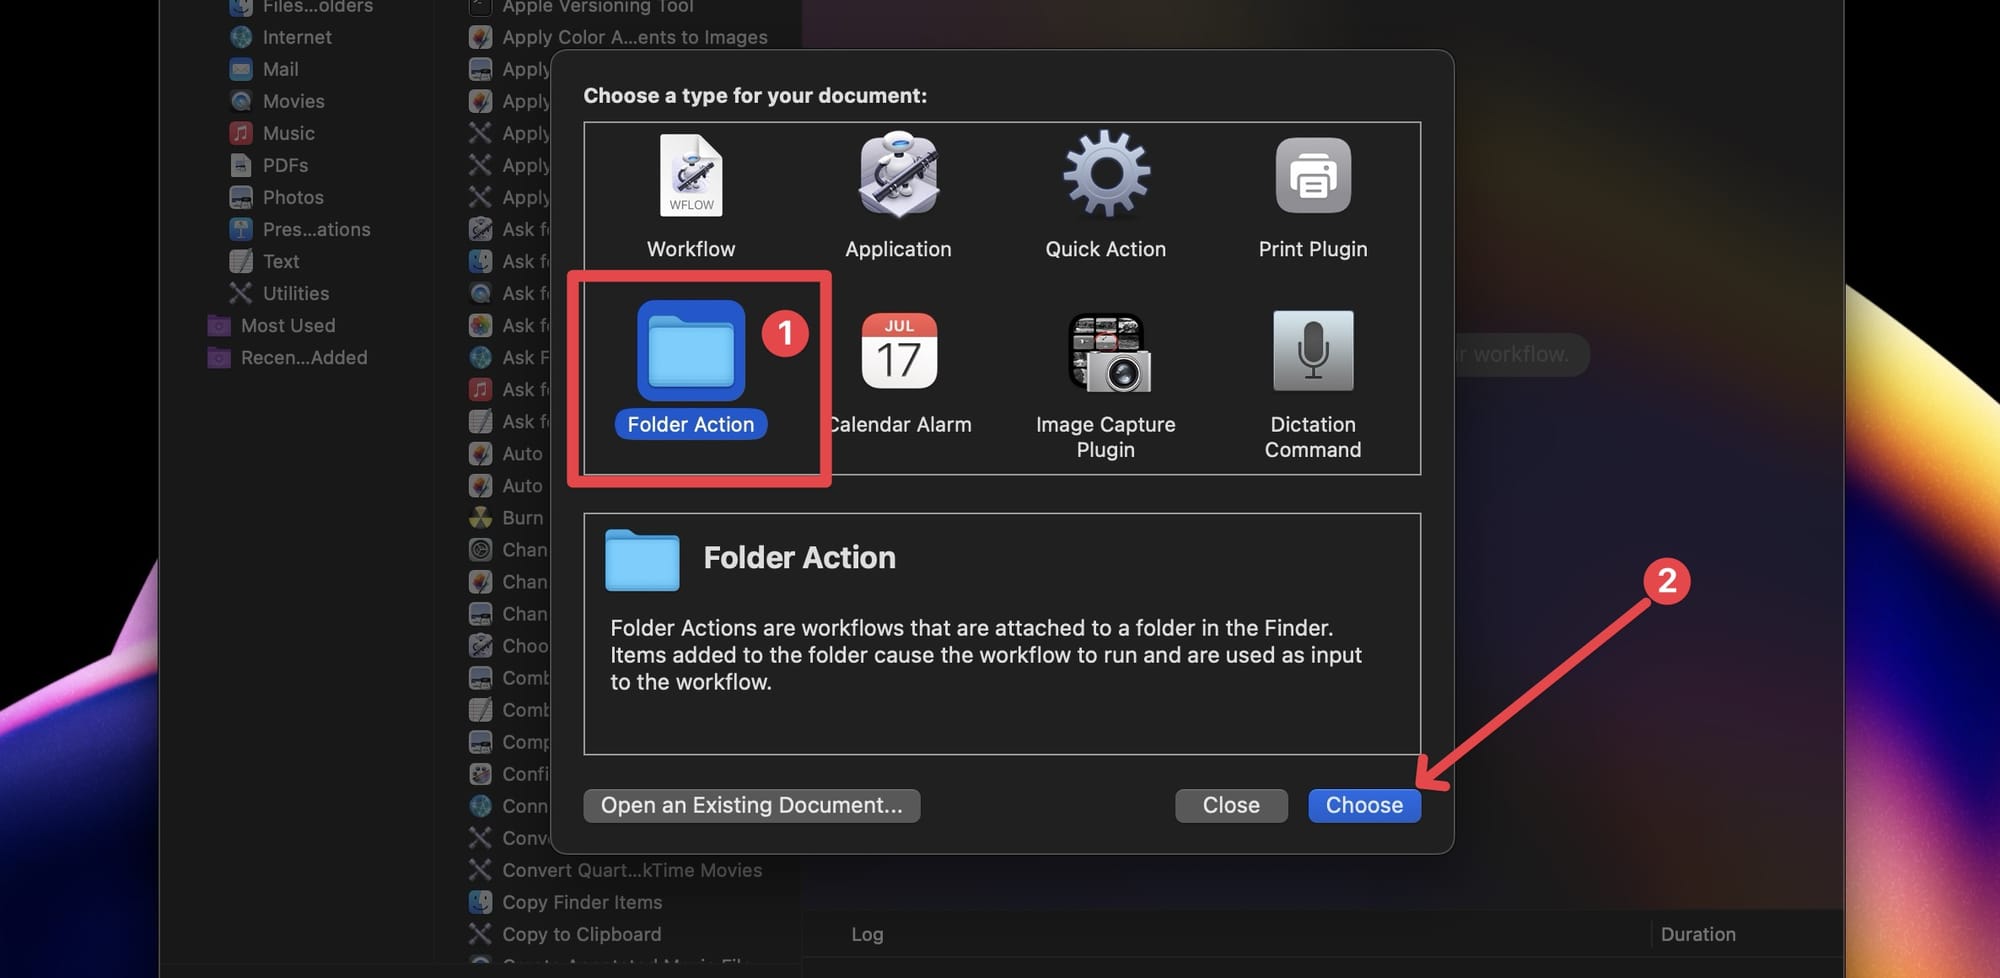
3. Select the Folder Action option and click the Choose button to proceed.
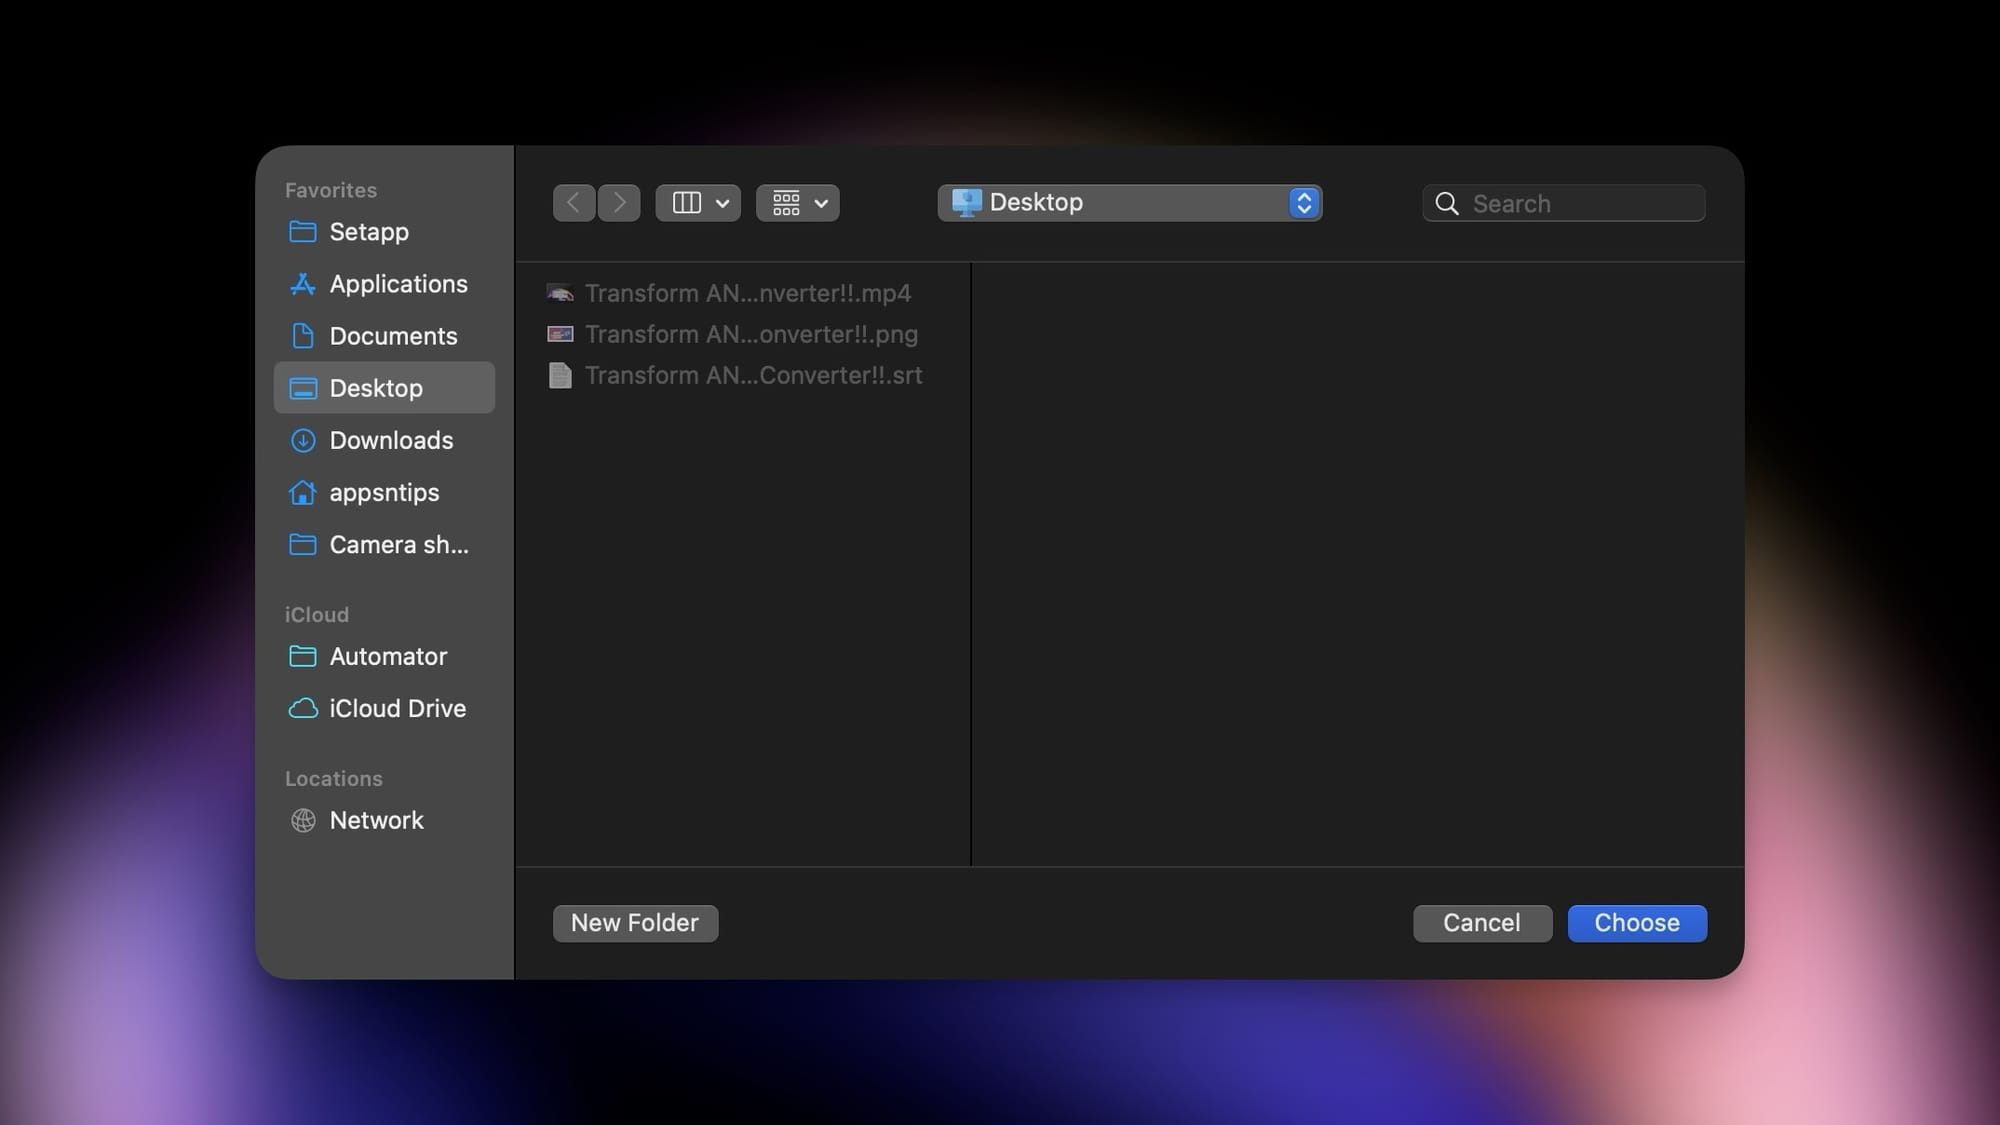
4. Now click the Choose folder dropdown and select the Other… option.

5. Select the folder you want to act as your image converter. I will choose the Desktop folder, as it’s the place where all my images go before I upload or share them. But you can choose any folder or create a new one.
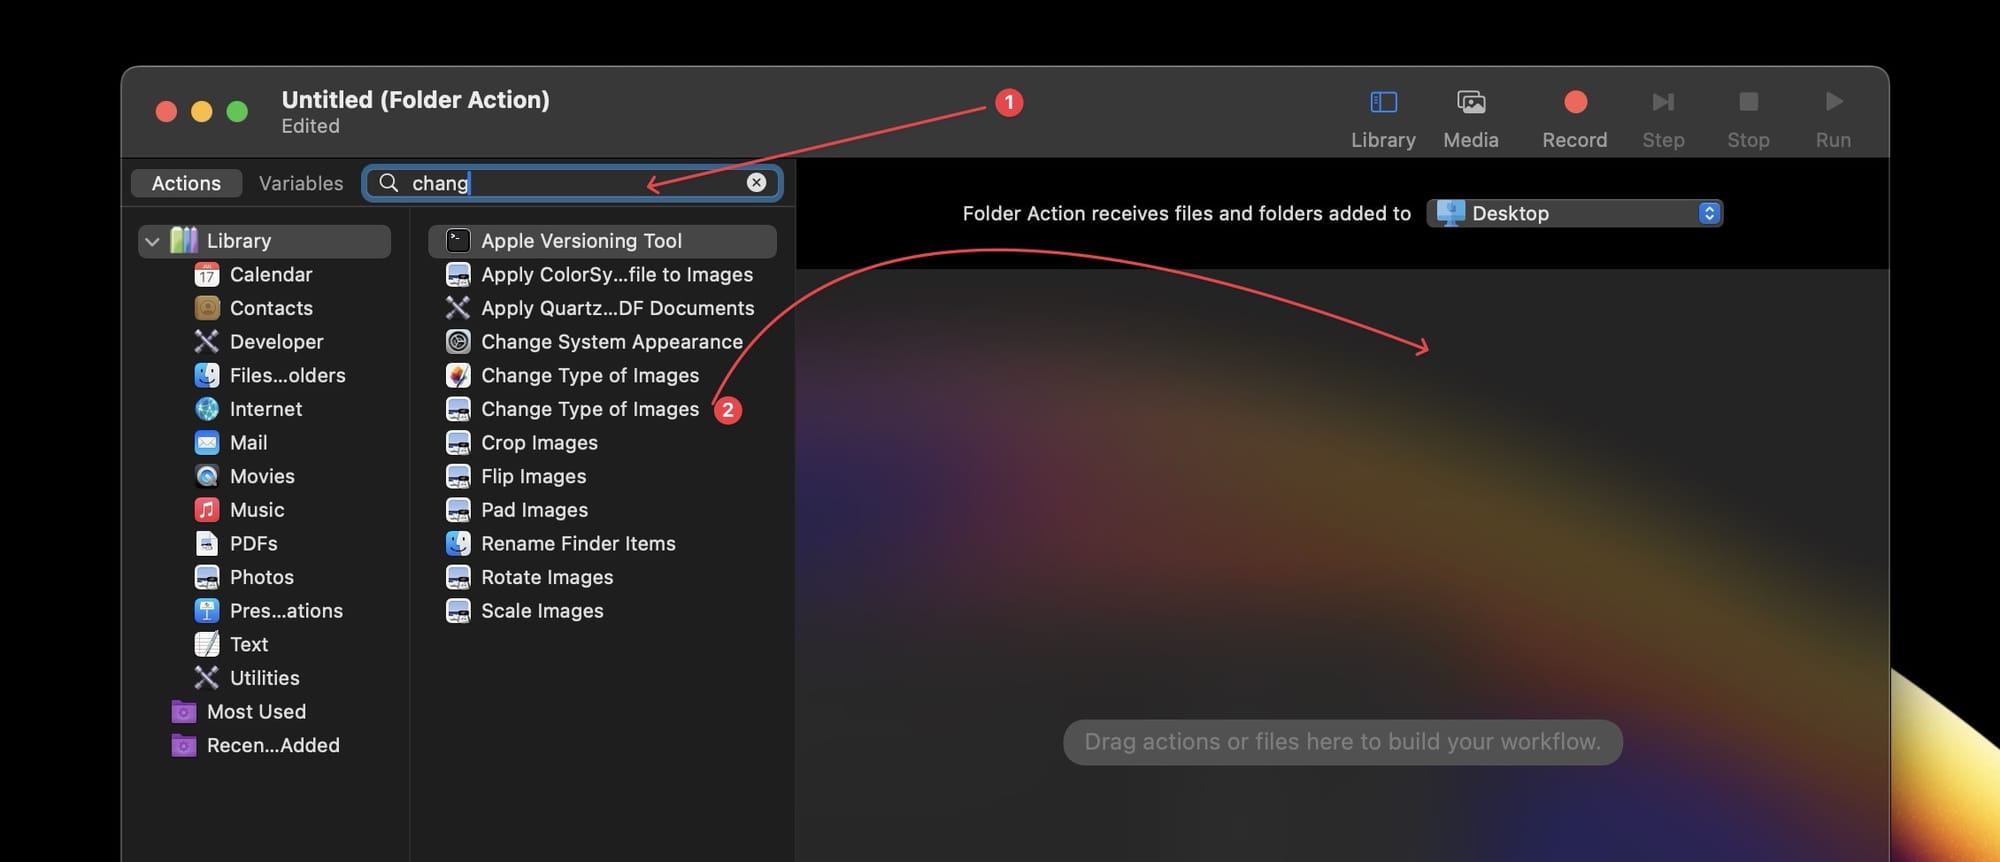
6. Now, use the sidebar search field to find the Change Types of Images action and drag and drop it into the workflow area.
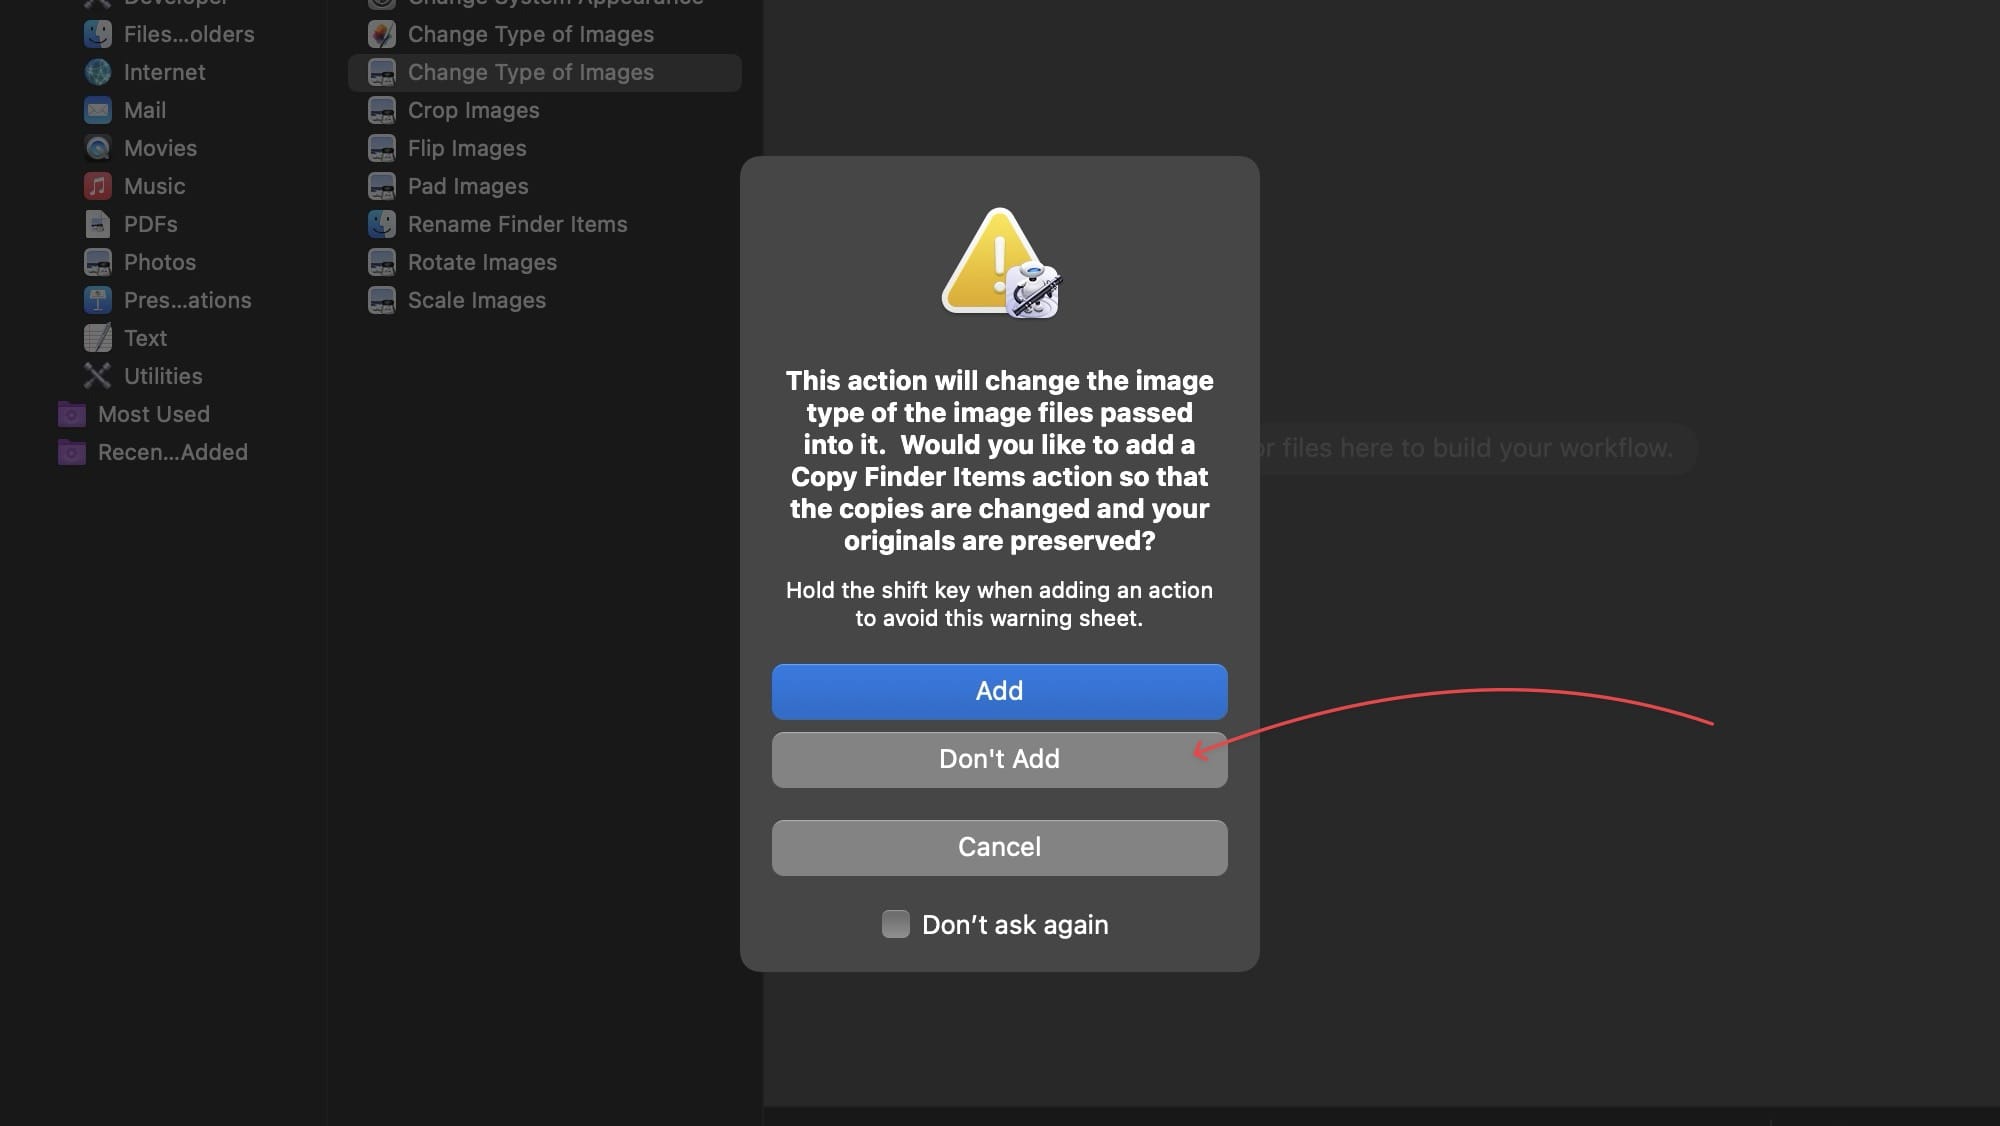
7. You will see a dialog prompt. Click the Add button to preserve the original image with the converted images. If you only want the converted images choose the Don’t Add option.
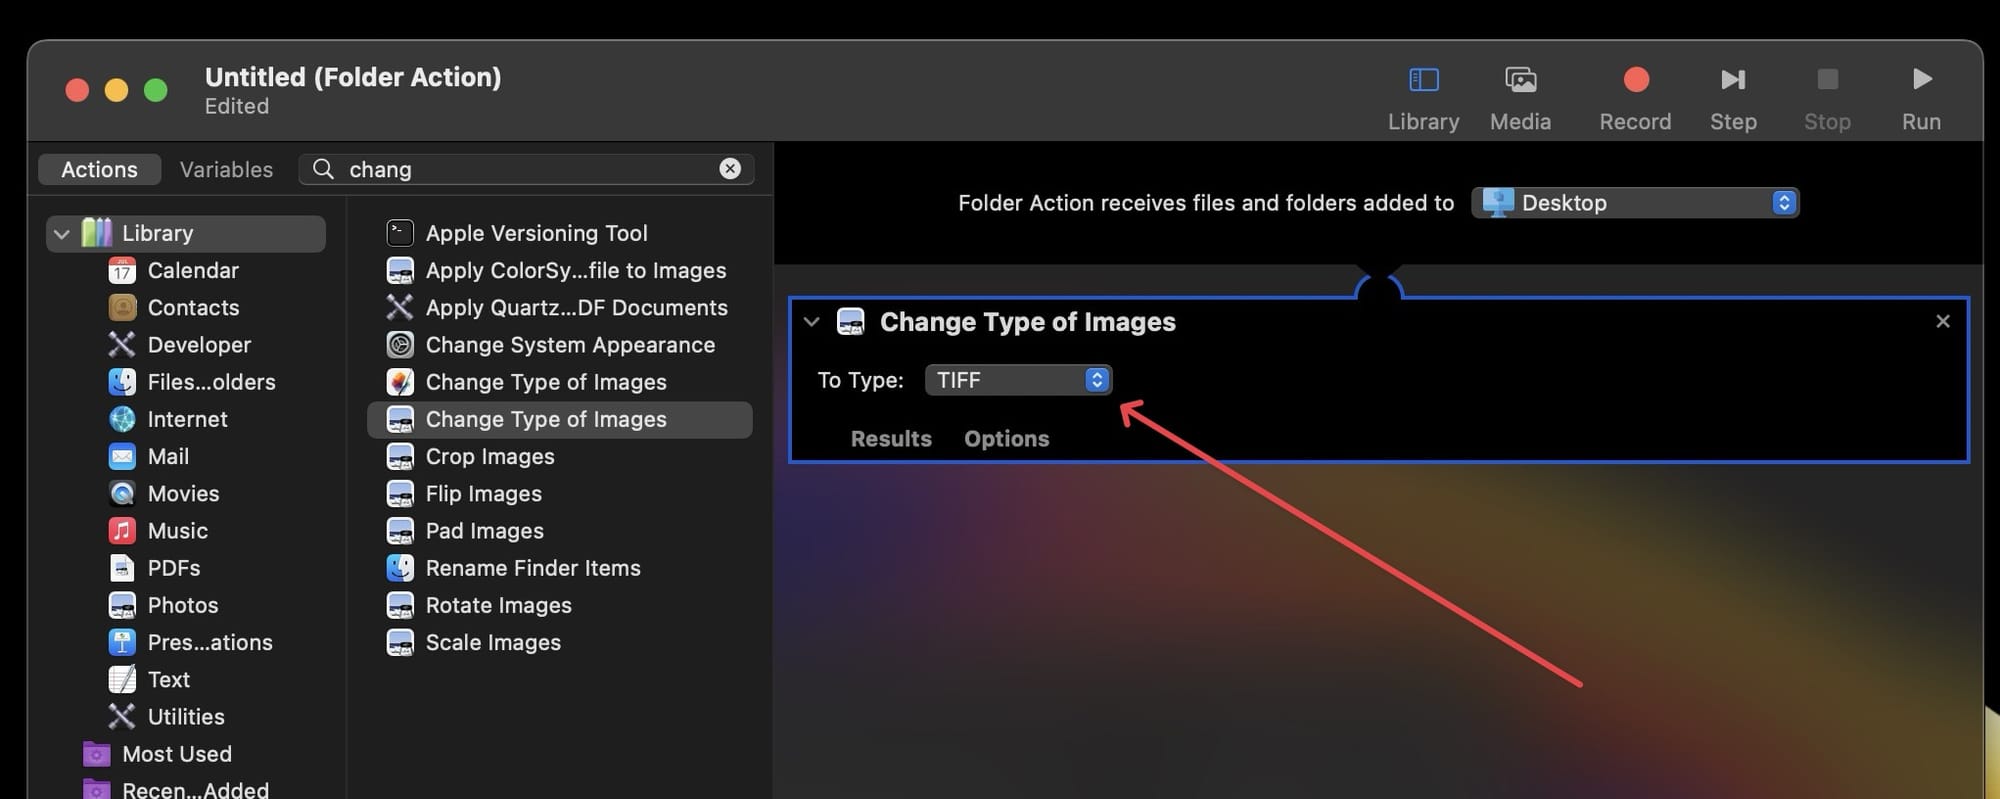
8. Now, use the dropdown menu next to Type: and set your image format. I will choose JPEG, but you can select any available format.
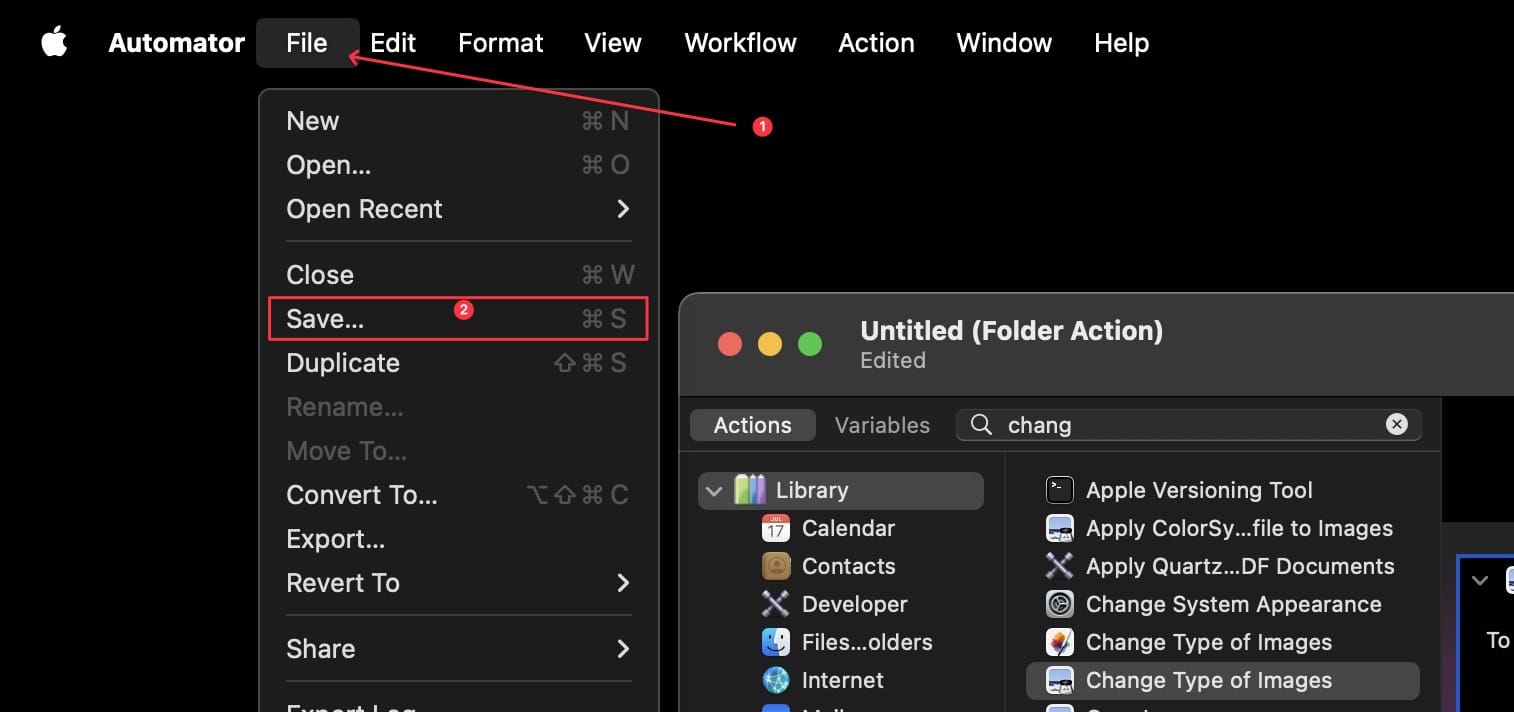
9. The last step is to save our workflow. Go to the File Menu and click the Save button. Alternatively, the ⌘S keyboard shortcut.
10. Give it a proper name. I will name it Image Converter. Finally, click the Save button to save it.

That’s it. Now, when you drop any image into this folder, it will automatically convert it to JPEG format.
If you found this guide exciting and useful, click here to learn how to scan documents on your iPhone for free.

Comments ()