How to Take a Scrolling Screenshot on Mac
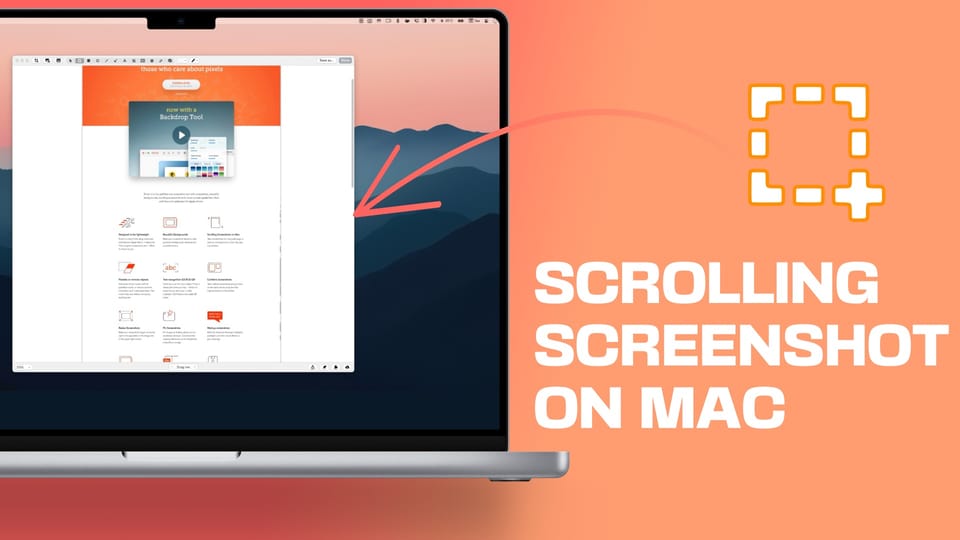
macOS has a powerful built-in screenshot tool that lets you capture a screenshot of your entire screen, a selected app window, and a portion of your screen. You can even record videos using this tool. However, there’s one missing feature, which is the ability to capture scrolling screenshots. In this guide, I will show you how to take a scrolling screenshot on Mac for free.
Take a scrolling screenshot on Mac
If you have read our favorite macOS tips and tricks article, you know that you can use the keyboard shortcut CMD+Shift+3/4/5 to take a screenshot of a window or entire screen or record video with ease. However, one missing feature is the ability to take scrolling screenshots.
To get this feature for free, we recommend the excellent free Mac app tool called Shottr. The app is free to download and use for 30 days. Even after the free trial expires it reminds you to buy the paid version but that’s not mandatory. You can keep using this app for free.
To proceed with our guide, first, download and install Shottr on your Mac by using the link. Now, follow the steps below to take a scrolling screenshot to capture the entire webpage or anything else you want on your Mac.
1. Use Spotlight to launch the Shottr app on your Mac.

2. While it’s not necessary, we recommend using the Setup Hotkeys button to set up a keyboard shortcut for scrolling screenshots.
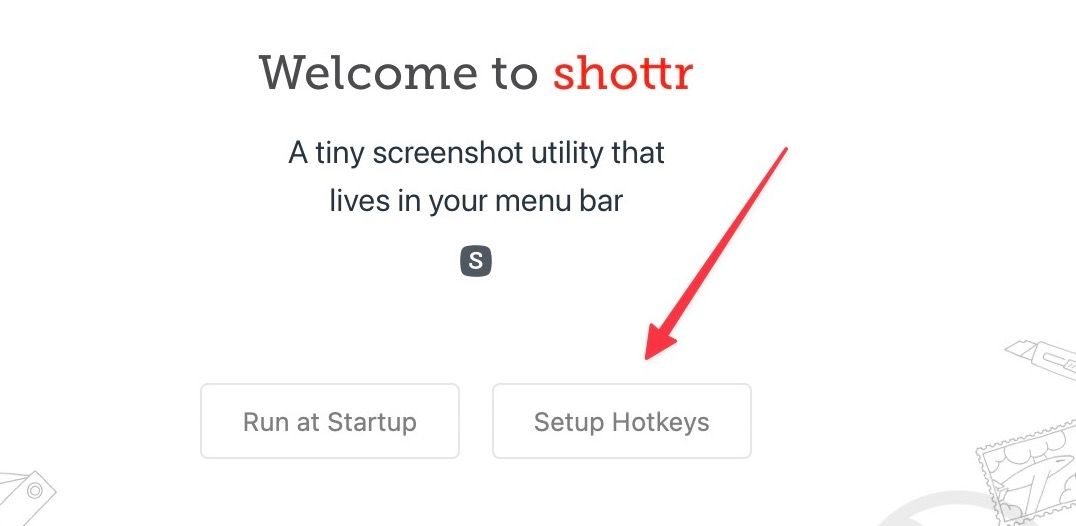
As you can see I have set CMD+Shift+0 as a keyboard shortcut for taking scrolling screenshots.
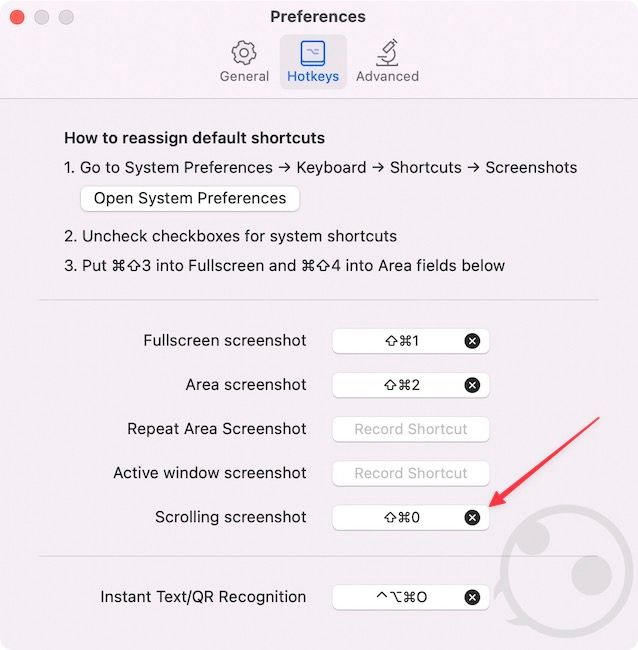
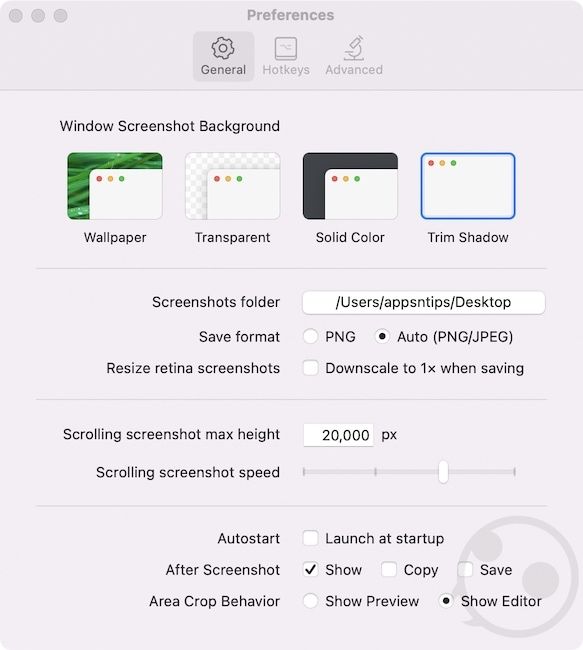
3. You can also use the General section to set other parameters for your screenshots.
4. When you use it for the first time, Shottr will ask permission to capture your screen. Click on Open System Preferences and grant it the required permission.
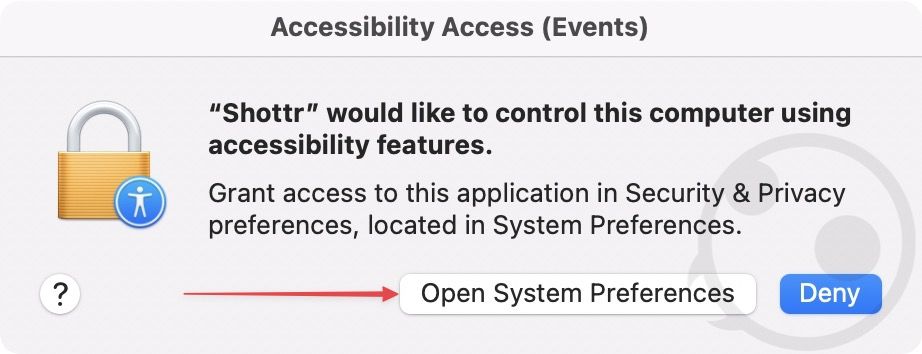
5. Shottr need another permission to work. You will get the same box dialog with open Open System Settings button when you try to capture a scrolling screenshot.
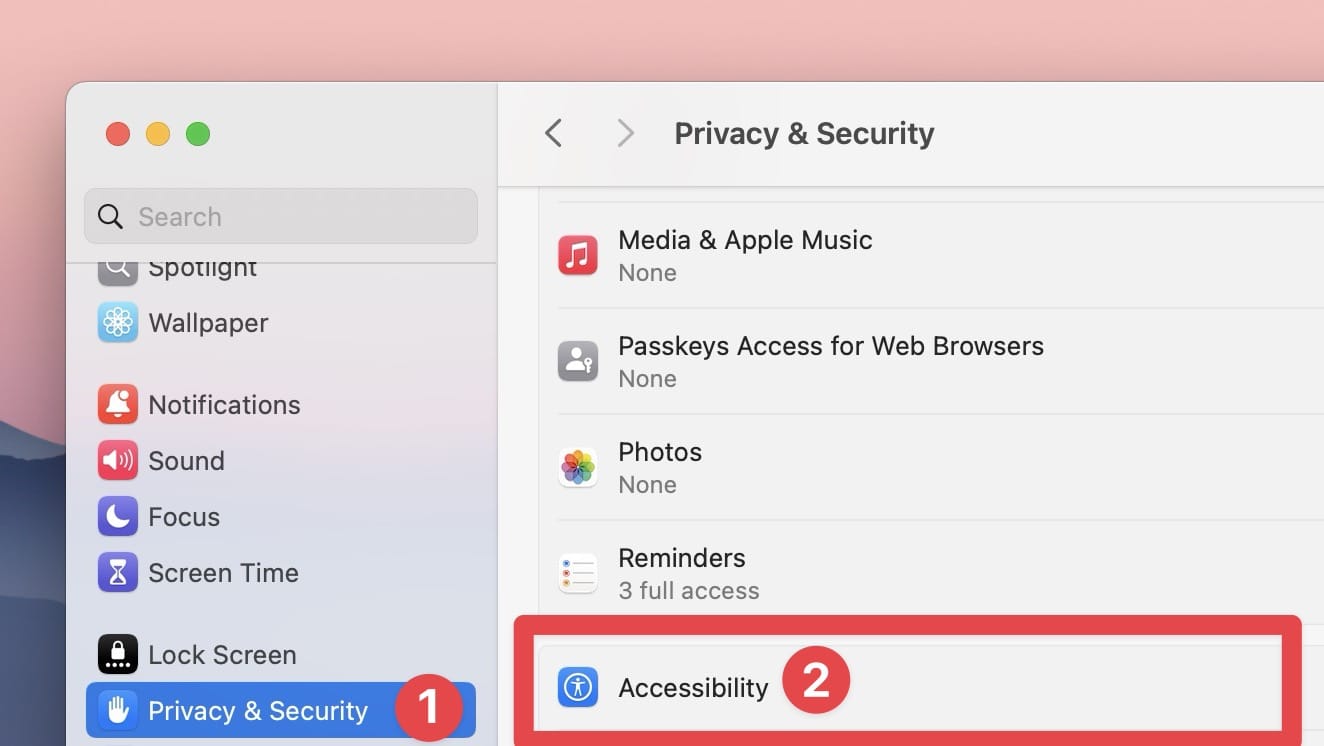
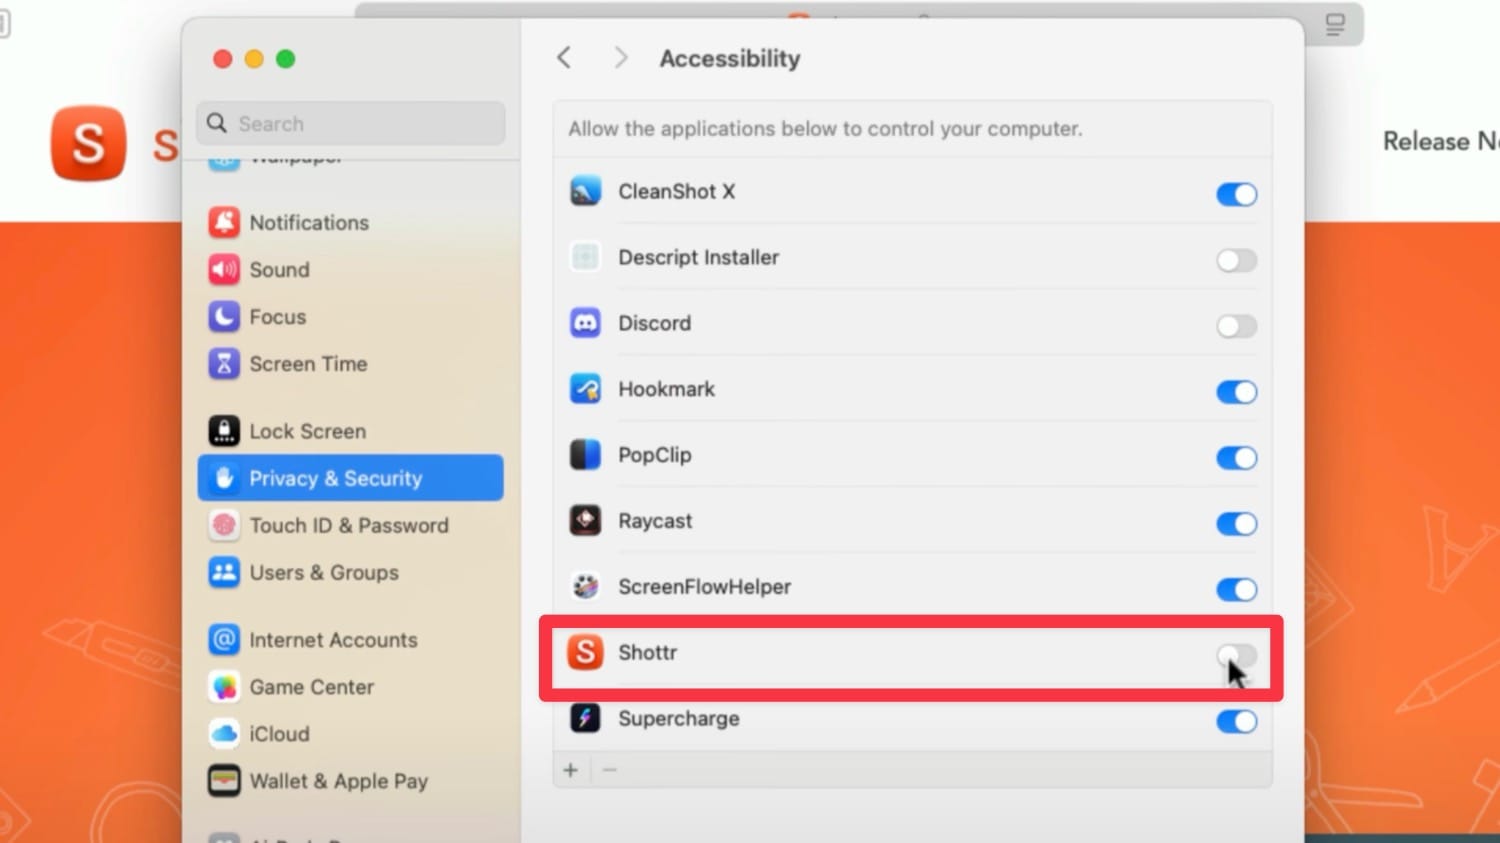
If you don’t get it. go to System Settings → Privacy & Security → Accessibility and enable the toggle next to Shottr. Confirm with your password and now we are good to go.
6. Now, open the webpage you want to capture and hit the hotkey to start your scrolling screenshot capture. Alternatively, use its Menu Bar icon to select the Scrolling Capture option.
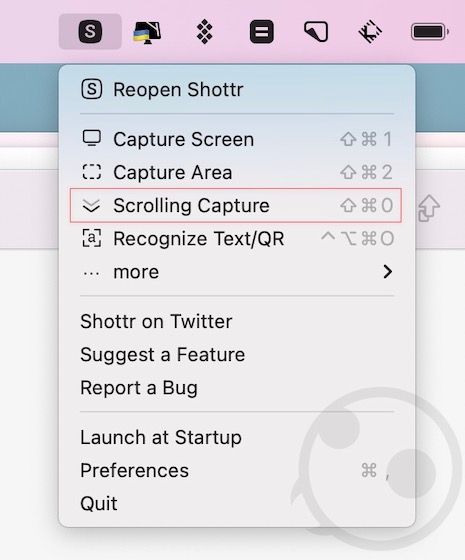
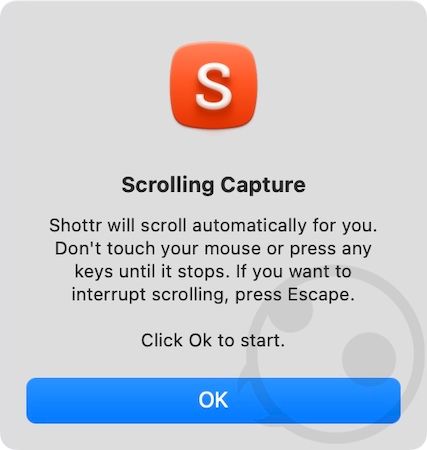
6. Click and drag the crosshair to set the width of the capture. Now, Shottr will show you a prompt that it will automatically scroll and capture the screenshot for you. Click the Ok button to proceed.
7. As you can see, Shottr has automatically scrolled the entire webpage and captured it for me. You can now crop, edit, and markup the screenshot as you desire.
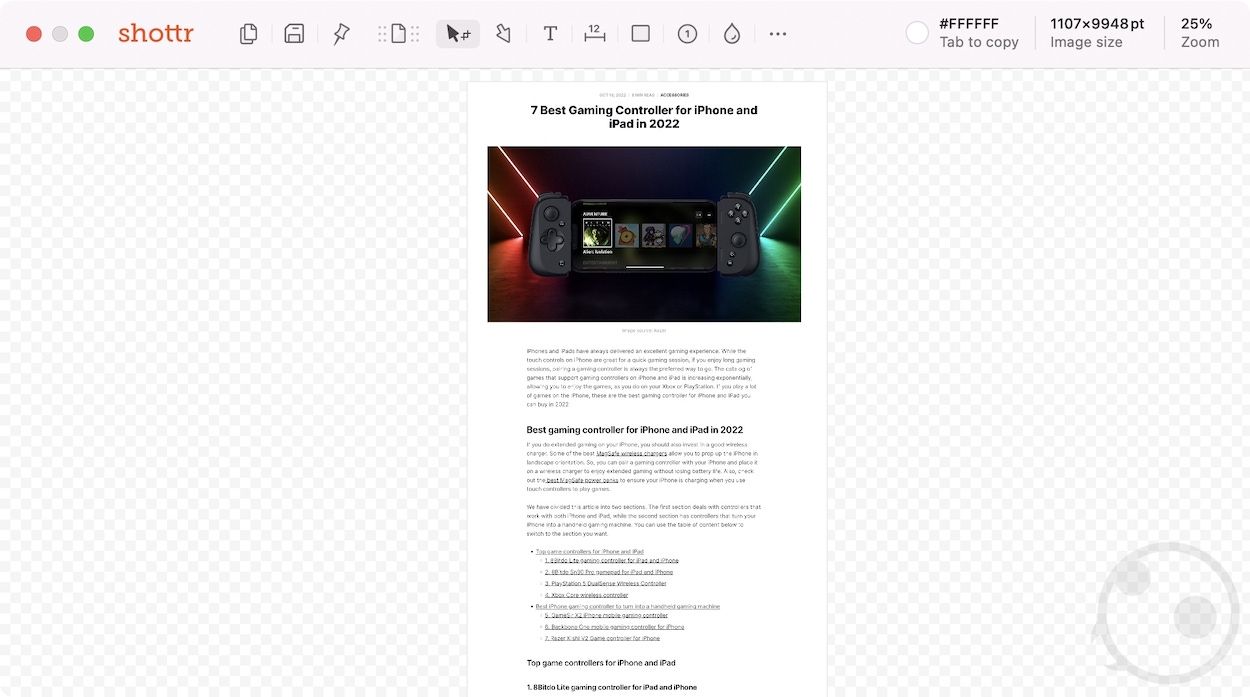
Capture the entire webpage by using scrolling screenshots on Mac
There are free apps that are better than even their paid counterparts, and Shottr is clearly one of them. We love using the app for capturing and annotating our screenshots. So install the app and use it to take screenshots like a pro. If you have any questions, you can ask them in the comments and we will answer them as soon as possible.


Comments ()