How to Retouch Photos on Mac using Photos App

The Photos app on Mac has some excellent photo editing features that most users don’t know. While the best third-party photo editing apps for Mac still run circles around the native Photos app, for someone with basic editing needs, the Photos app has come a long way. Not only it lets you adjust the color, white balance, levels, and curves, but it also has some advanced editing tools, such as a retouch and repair tool that lets you remove pimples and blemishes and repair artifacts in your photos. Here is how you can retouch photos using the Photos app on Mac.
Retouch photos on Mac using the Photos app
If you are only using the Photos app to organize, view, and sync your photos, it’s time that you give it a second look. The app now lets you password protects photos on iPhone, batch edit photos, and do much more. In this guide, we will see how you can use the retouch and repair tool to remove blemishes and objects and repair your photos.
1. Use Spotlight to launch the Photos app on your Mac and open the photo you want to retouch or repair.

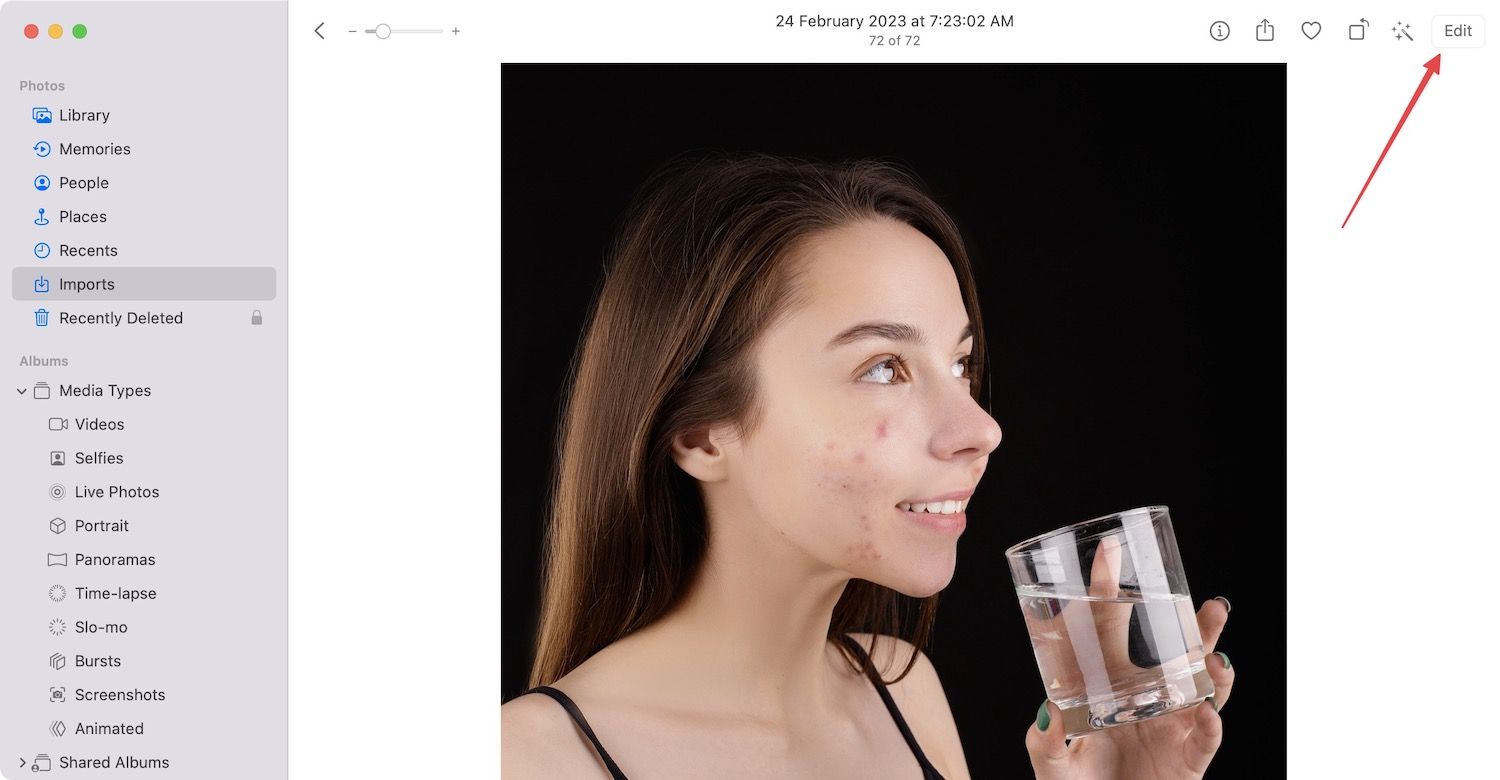
2. Click on the Edit button in the top-right corner.

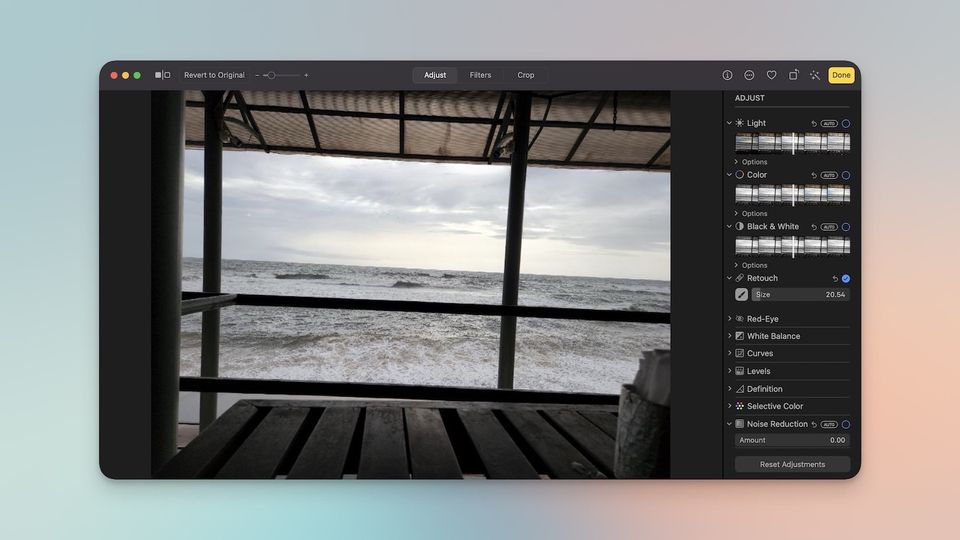
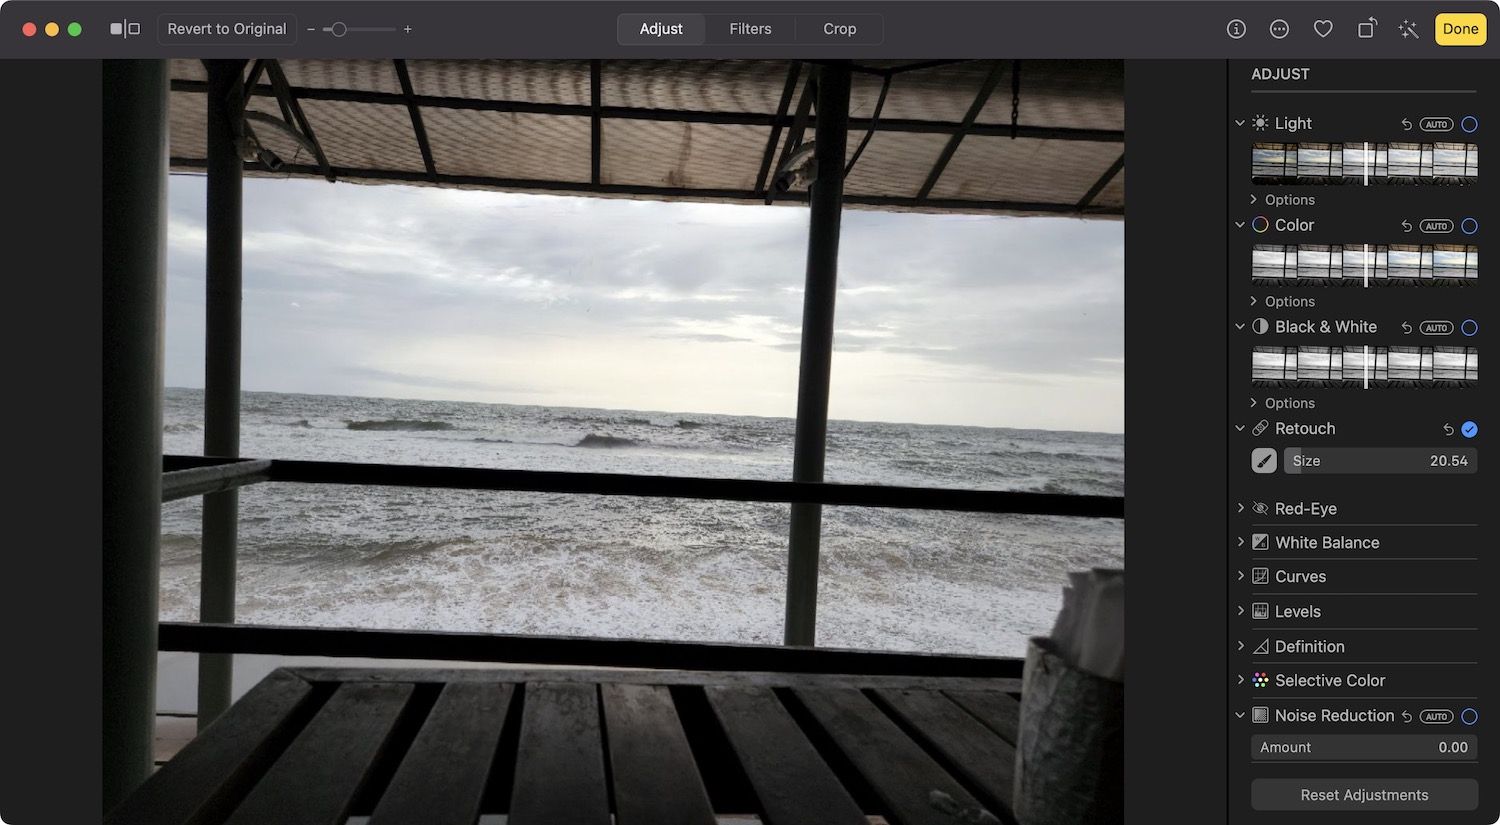
3. Now, click on the brush below the Retouch tool to select it. You will see that your cursor will change to a round brush.

4. You can change the brush size by using the slider or the open and close square brackets. Hitting ( will decrease the size of the brush while hitting ] will increase the size of the brush.

5. To remove a blemish or artifact, click to select it. Give it a few moments, and the Photos app will remove it. Ensure to use the retouch tool in small areas to get the best results. As you can see in the before and after photos below, we have completely removed the pimples on the skin.


7. Similarly, we have used the tool to remove the extra thread hanging at the top of the photo in the example below.


Use the Mac Photos app to remove unwanted objects
As you can see, the Mac photos app is quite good at removing blemishes and unwanted objects. Did you know about this hidden feature? Let us know in the comments below. Also, if you liked this guide, don’t forget to share it on social media to let more people know about it.


Comments ()