
How to Transfer Photos from iPhone to External Hard Drive
Learn how to transfer iPhone photos to external hard drive with this easy tutorial. No more worrying about storage space on your phone!

Have you ever looked at your iPhone and thought, "Where did all my storage go?" With countless photos and videos capturing memories, your phone can fill up faster than you expect. But what if I told you there’s a simple way to free up that space while keeping all your precious memories safe? In this guide, I will show you a step-by-step guide on how to transfer photos from your iPhone to an external hard drive.
Transfer iPhone photos & videos to external hard drive
To transfer iPhone photos & videos to an external hard drive, first, we need a compatible hard drive. I recommend buying a USB-C drive as they are compact and easy to carry. I have added some options below.
If you have an iPhone 14 series or older iPhone, you will need a Lightning flash drive like this SanDisk iXpand drive. With all that said, let’s see how to transfer photos and videos from an iPhone to an external SSD.
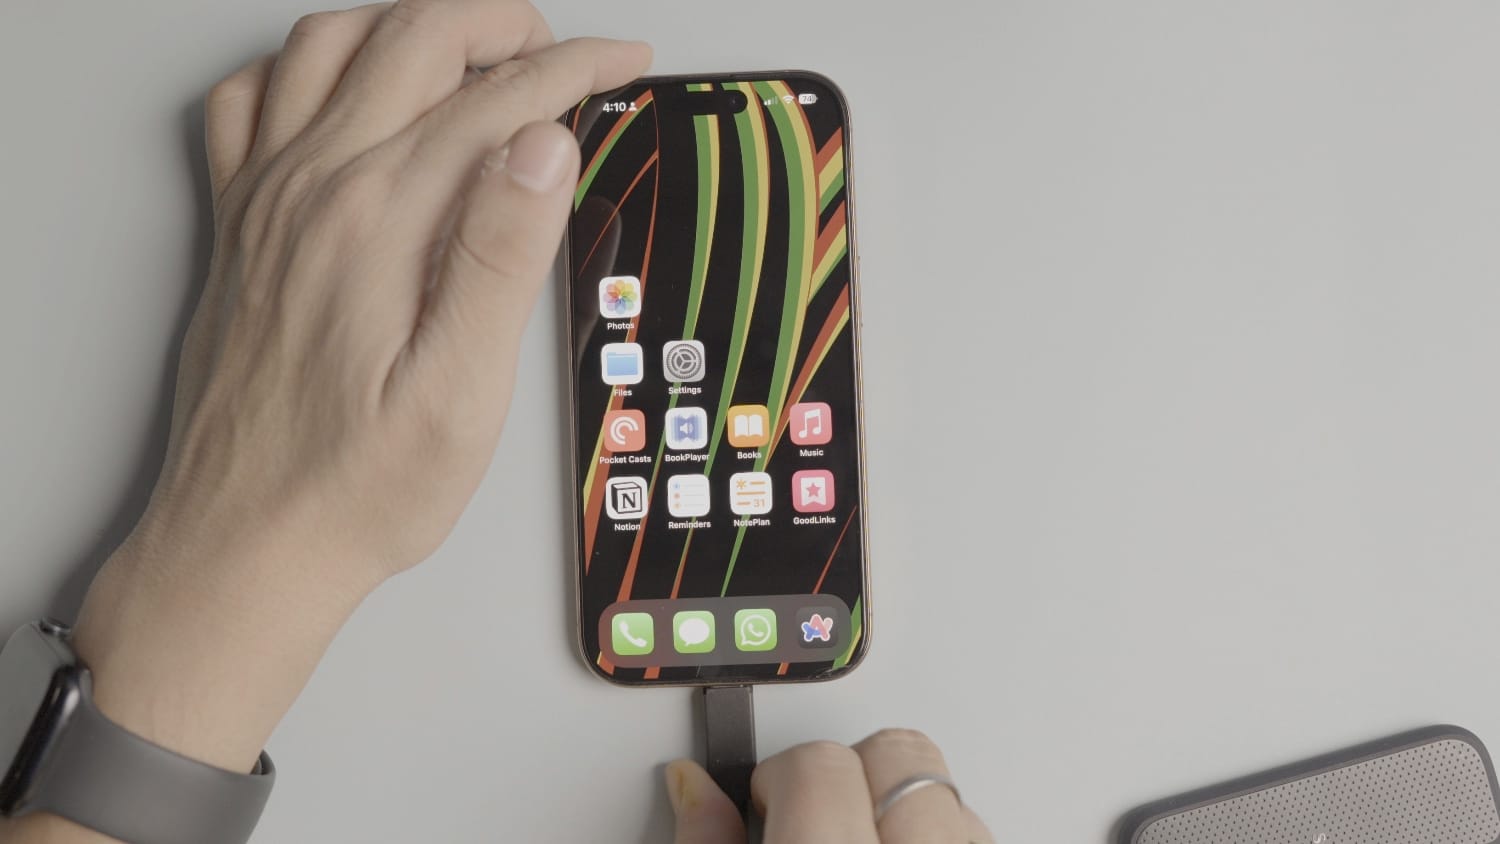
1. First you connect your external hard drive or SSD to the iPhone and open the Files app.
2. Now tap on the Browse tab at the bottom-right corner and you should see your external drive as an option under Locations.
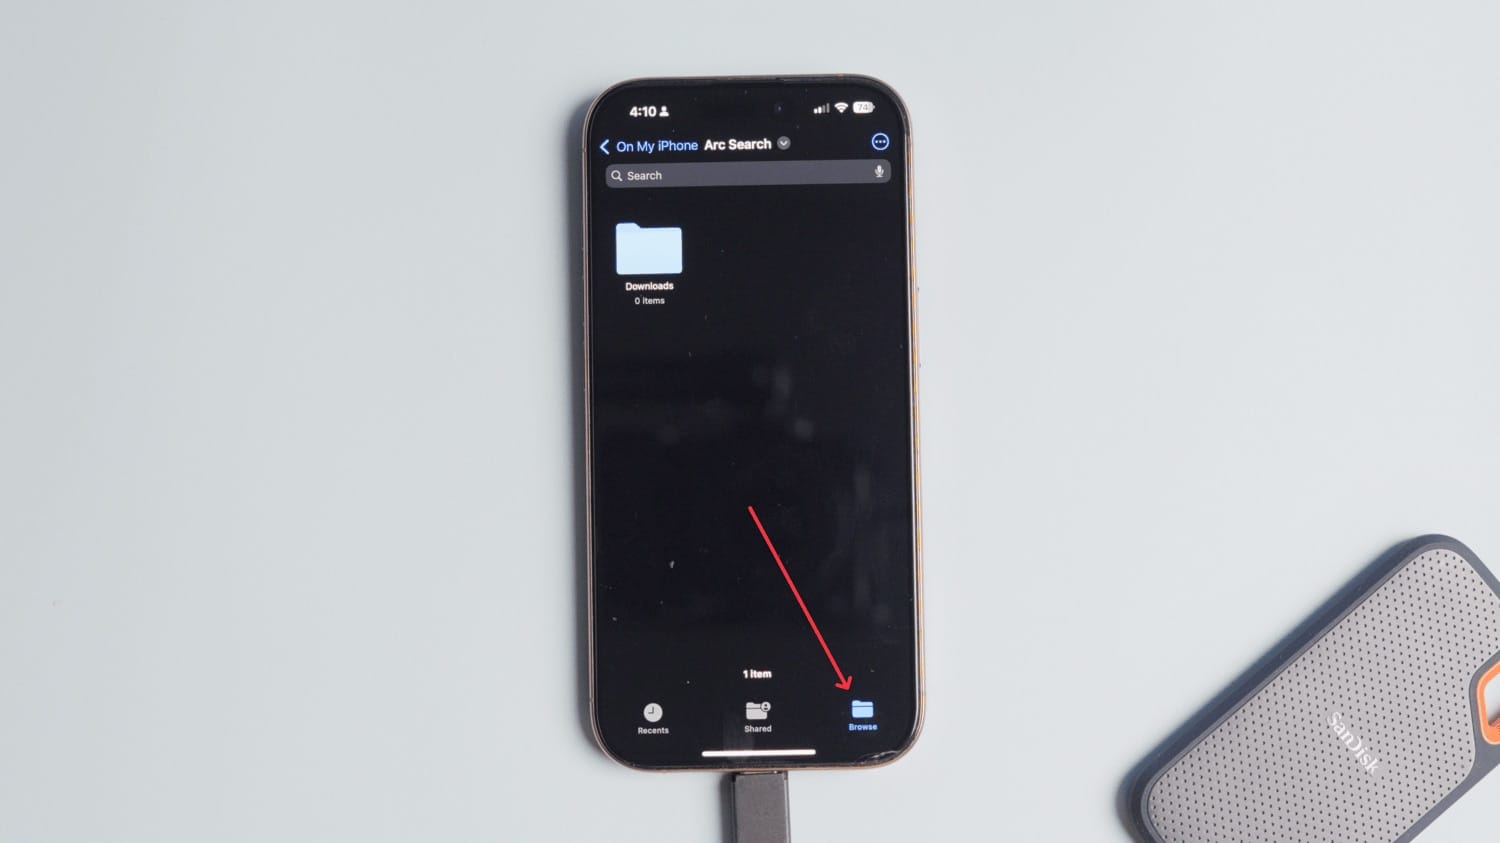
If you don’t see your drive don’t worry. Your File app might be showing the last location you navigated to. Tap the Browse button again, and it will take you to the home page.
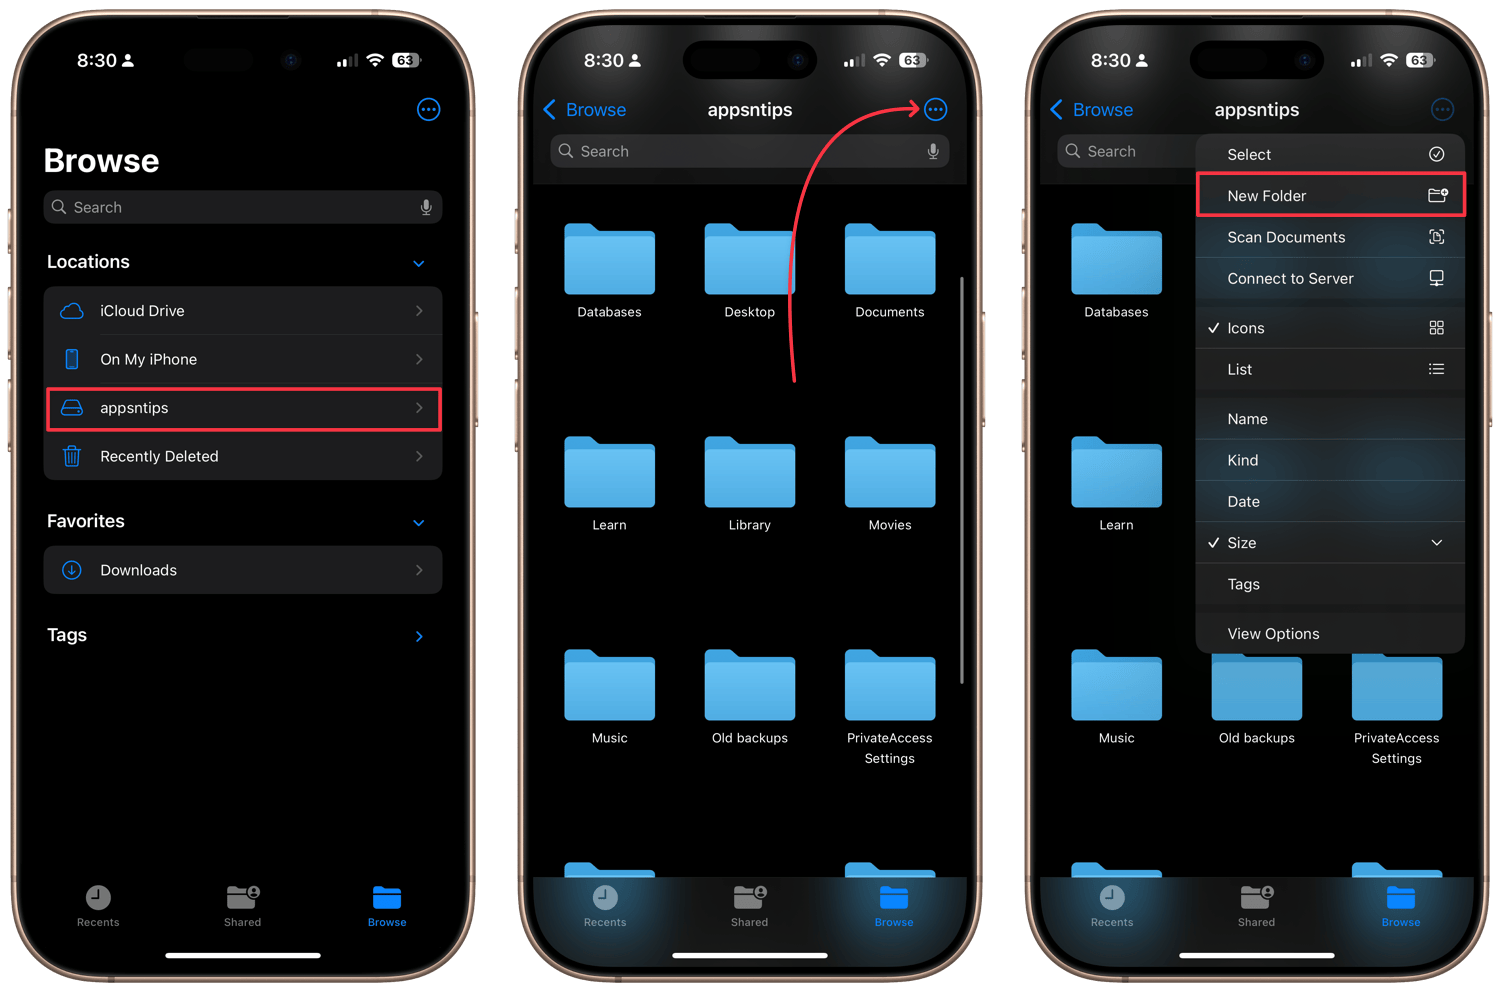
3. Now, before we transfer the photos, let’s open our external drive on iPhone and create a new folder. Tap the three-dot menu in the top-right corner and tap on New Folder.
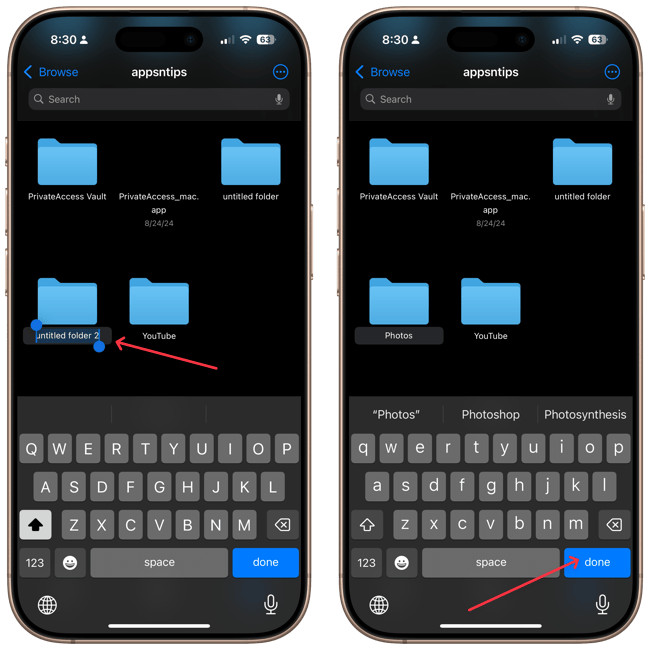
4. Give it a name and hit the Done button to save changes. I recommend this so your photos are not mixed with other files on the hard drive.
With the setup done, let’s transfer some photos and videos.
Transfer iPhone photos to external hard drive in HEIF format
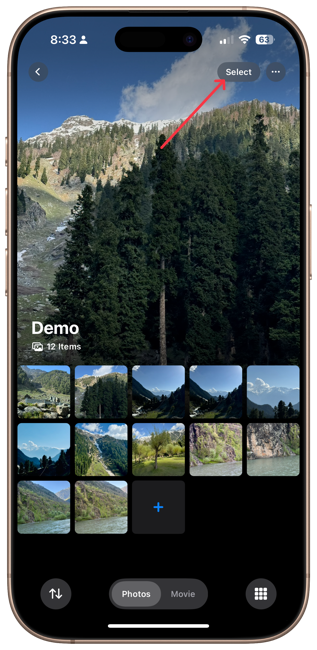
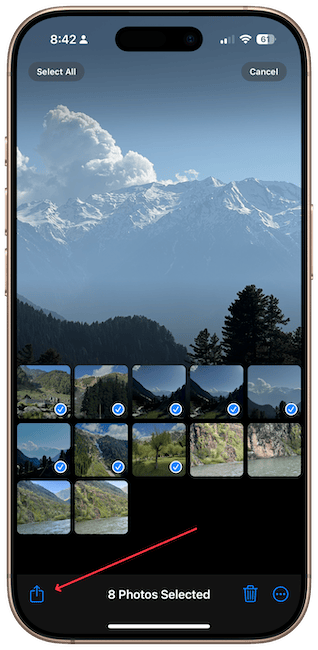
1. Launch the Photos app on your iPhone and select the photos and videos you want to transfer. To do this, first, tap the Select button in the top-right corner.
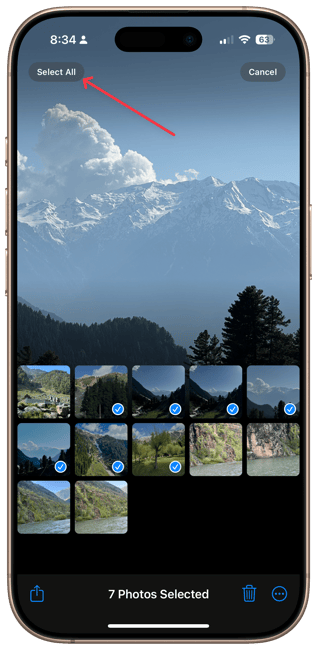
2. Now you can tap on the photos to select them individually, drag your finger to quickly select multiple photos or tap the Select All button to select all the images in one go.
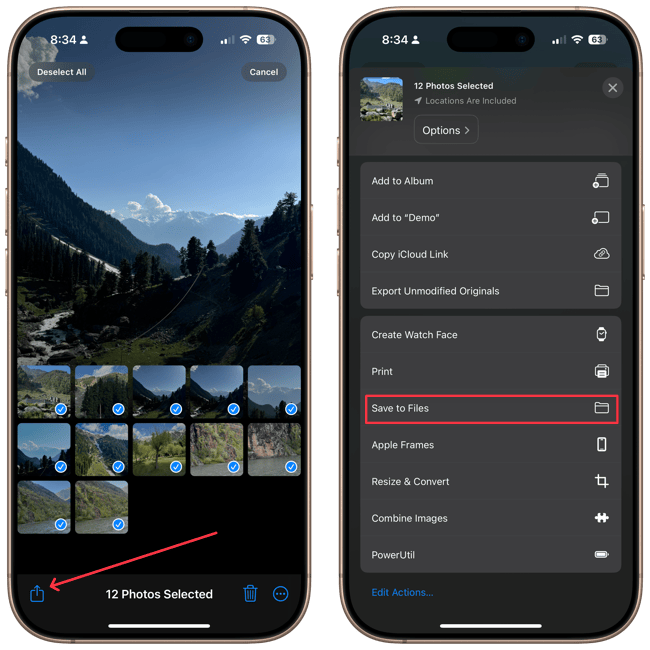
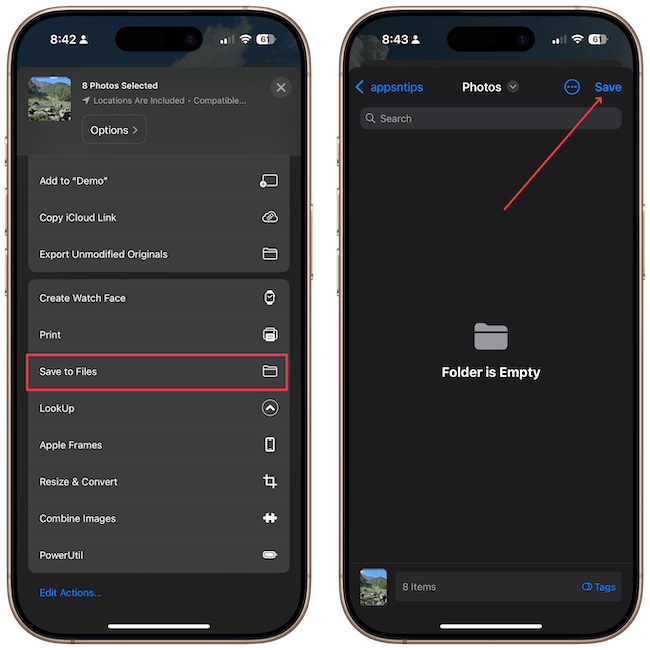
3. Tap the share button in the bottom-left corner and choose the Save to Files option.
4 Tap the back navigation arrow at the top-left corner until you reach the home page and navigate to the folder we created.
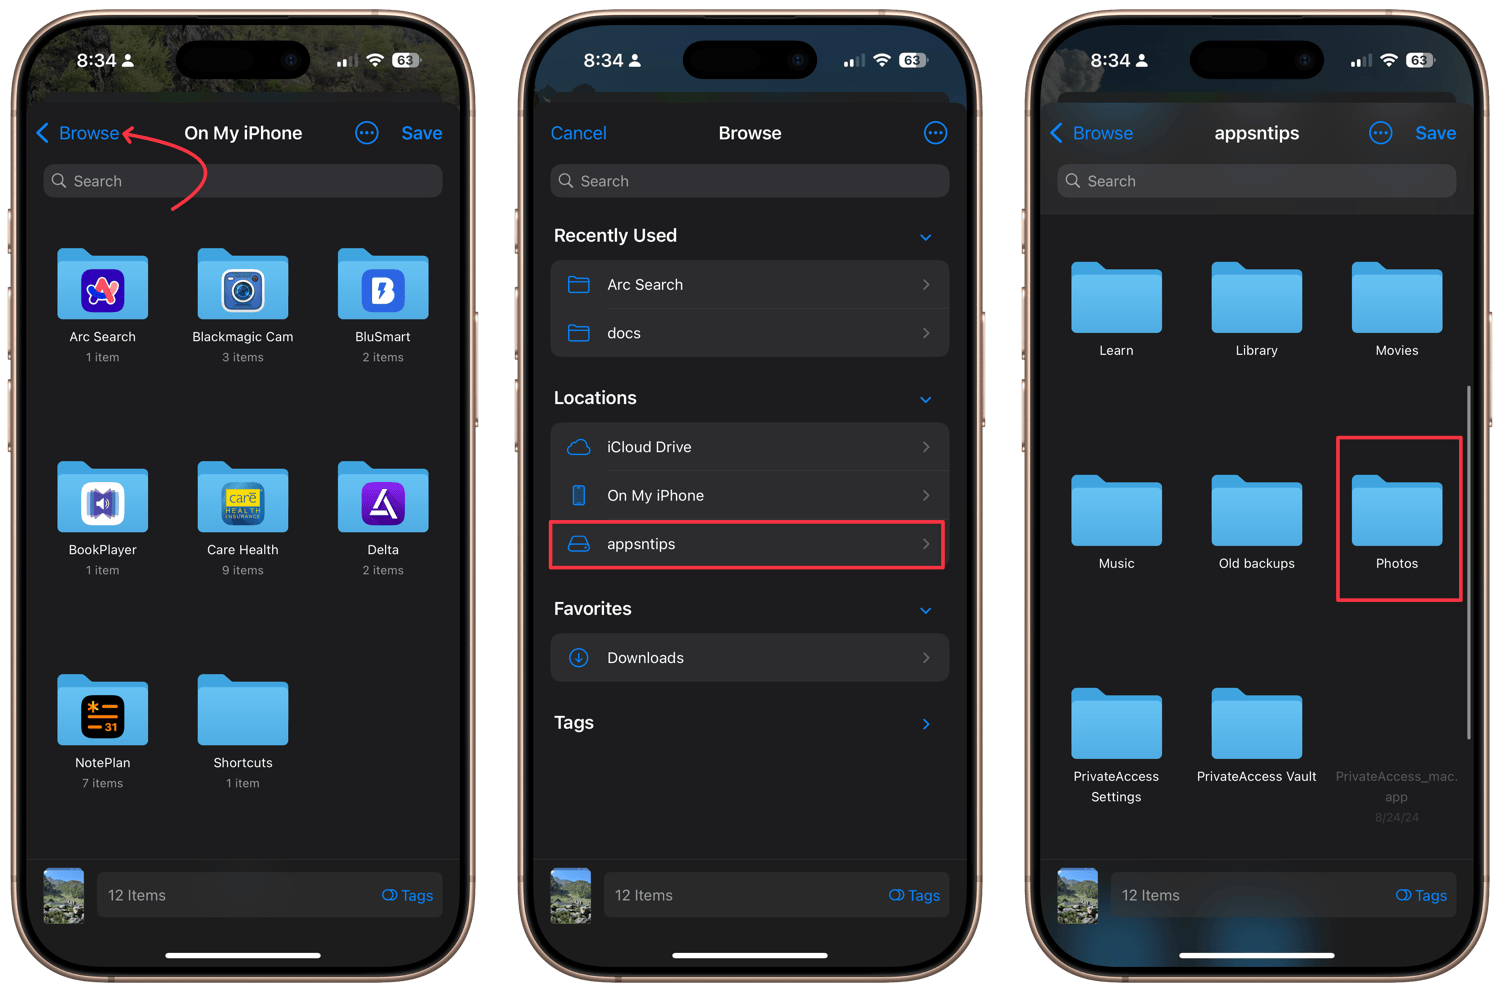
5. Now, tap the Save button to save changes.
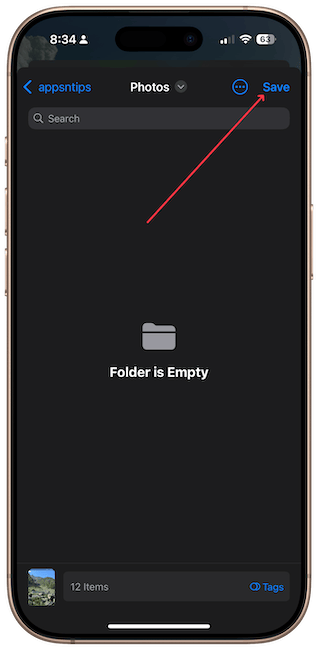
That’s it. You have now saved your iPhone Photos to an external drive.
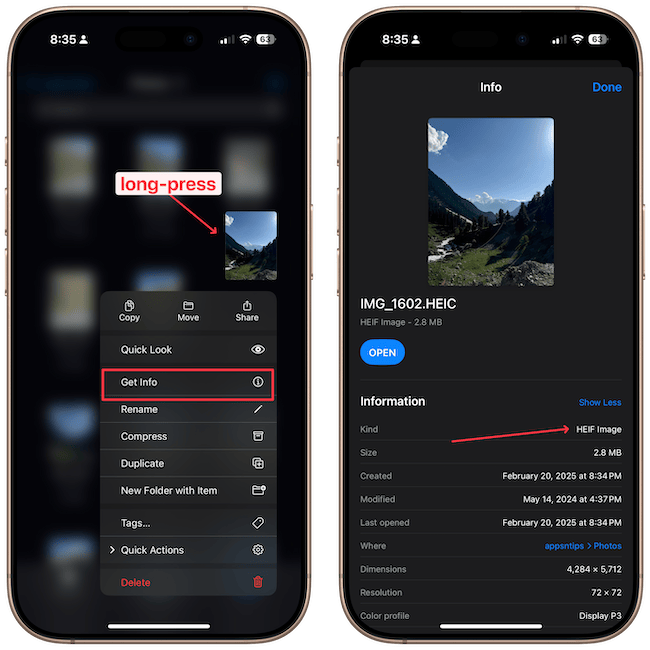
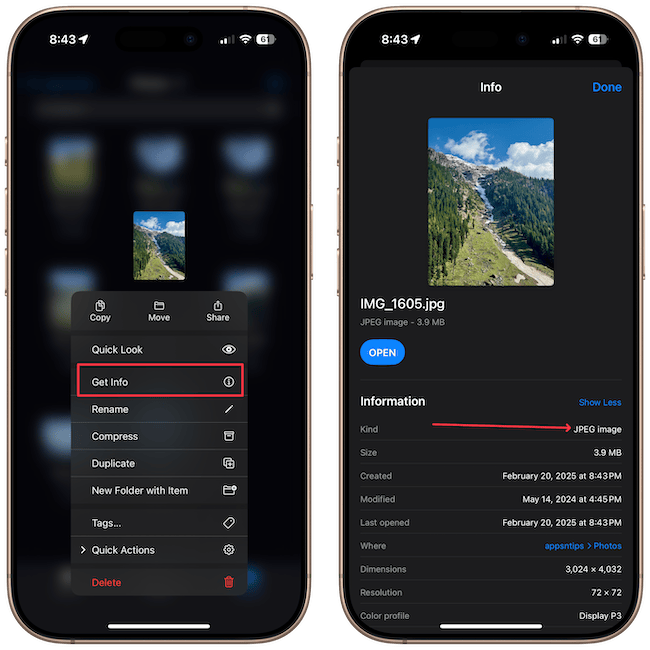
If I long-press on the file and select the Get Info button, you can see that the photo is in its original HEIF format.
Transfer iPhone photos to external hard drive in JPEG format
While the iPhone’s native HEIF format has several benefits, it doesn’t play well with non-apple devices like a Windows computer. Thankfully, you can decide to export your photos to an external hard drive in JPEG format.
1. Select the photos you want to export and tap the share button in the bottom left corner.
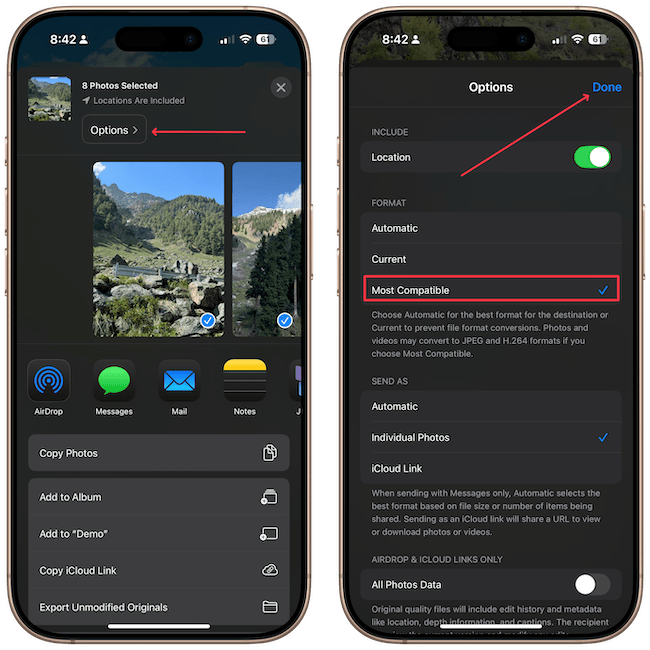
2. Tap the Options button and select the Most Compatible option**.** Tap the Done button to save your preference.
3. Rest of the steps are the same. Tap on the Save to Files option, navigate to the folder where you want to save the files and tap the Save button to save the photos.
Now, when I use the Get Info feature, you will see that the image has been converted into JPEG format.
A point to note here is that this setting is fleeting, meaning you have to choose it every time you transfer photos to an external drive.
Transfer iPhone photos using the Export Unmodified Originals option
When exporting iPhone photos to an external hard drive, you will notice that there’s also an Export Unmodified Originals option.
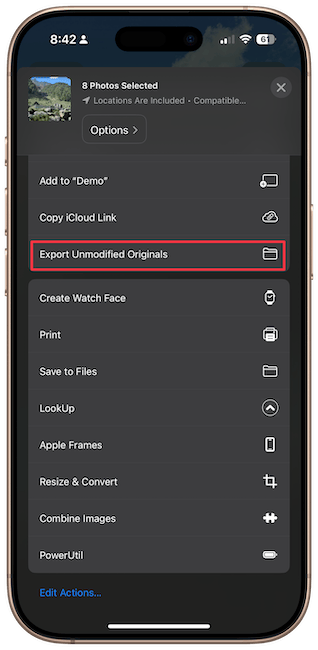
As far as I can tell, this option removes all the edits you have made to photos and videos in the Photos app before transferring them. It means it will transfer the photos as you captured them and will not include any edits you have made to the photos.
So, if you want to export an unedited version of your photos to an external hard drive, choose this option instead of the Save to Files option. I hope you liked this guide. Before you go, click here to learn how to resize images on iPhone without using any third-party app.


