
How to Tile Windows on Mac in macOS Sequoia
One of my favorite features of macOS Sequoia is the window tiling feature that allows us to easily multi-task. You no longer have to install third-party Mac apps to utilize this feature in macOS. Here’s how you do it:
Use click and drag to tile windows
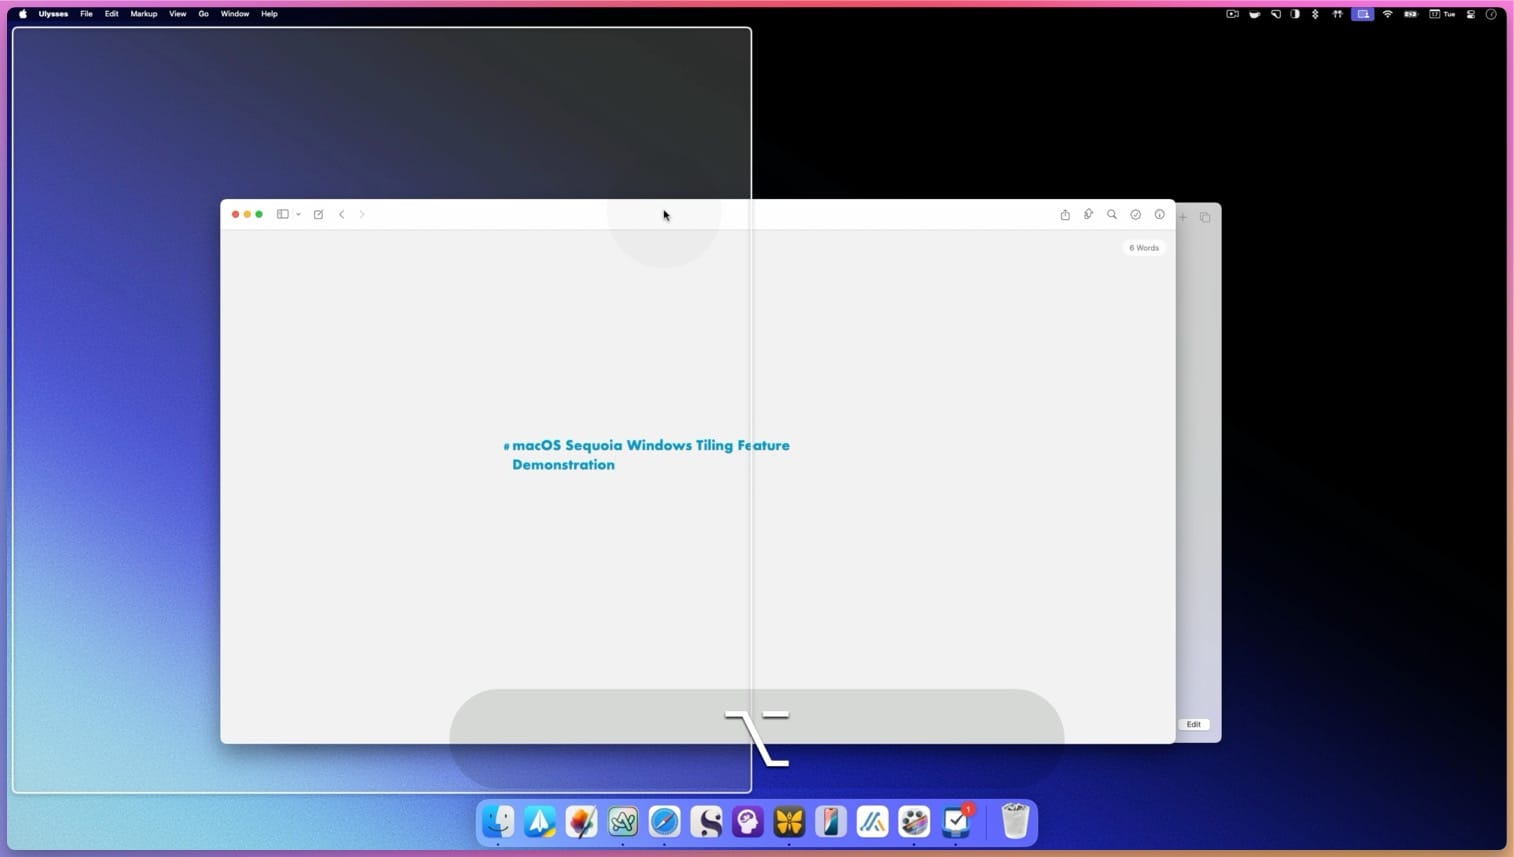
The easiest way to tile app windows on Mac is by clicking and dragging them to the side of your desktop. When I drag a window to the left side of the display, macOS Sequoia shows me a preview of how the app window will tile. I can release the mouse or the trackpad to snap the app window to the space.
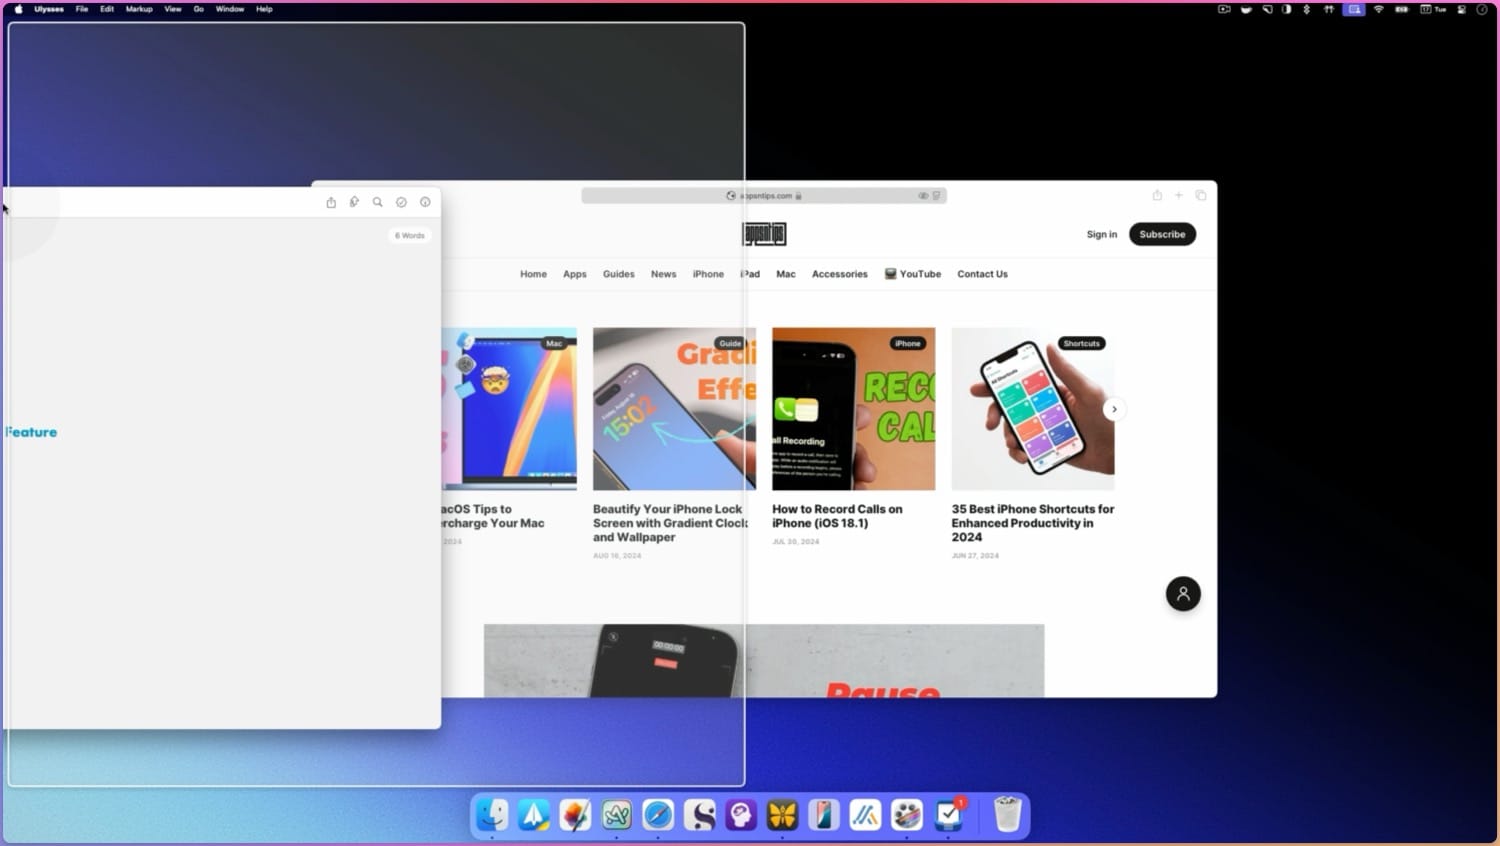
Similarly, I can drag a window to the right and snap to the right half of my desktop. Now, I have a simple workspace allowing me to use two apps side-by-side. When I drag a window from the snapping position, it resizes to its original size. I like this function as it saves me from resizing app windows every time I close the window tile.
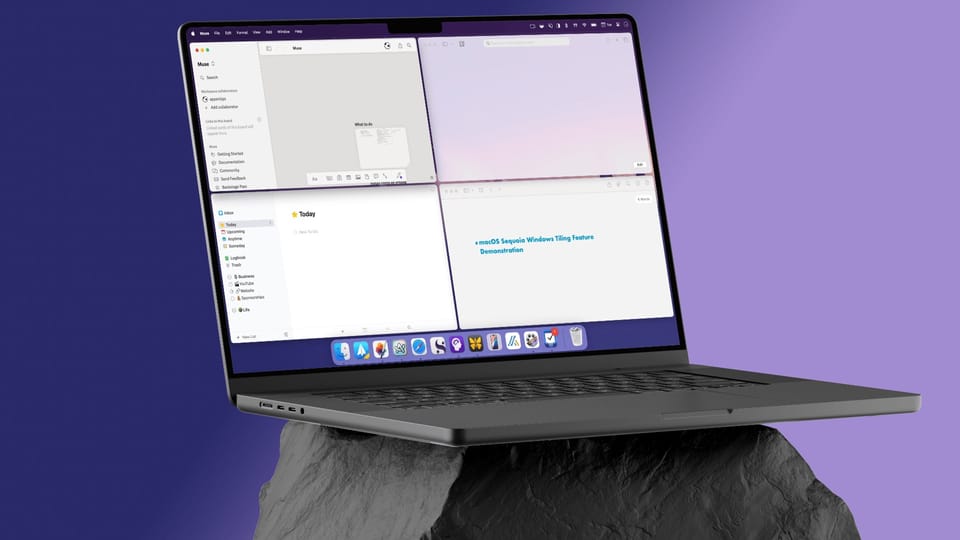
Apart from putting windows side by side, I can use this feature to make a window go full or corner size. If I drag a window to the top, It will give me the full-size option. To resize a window in quarter-size, drag the window to any of the four corners of your Mac’s display.
Utilize the Option Key
If you use a big external display, clicking and dragging the windows to the side and corners can be cumbersome. To reduce the effort, you can hold down the Option key while dragging a window.
When you hold down the Option key and drag a window to the left or right, it will immediately give you the option to tile the window. You don’t have to drag the window to the edge of the screen.
That said, if you want the corner tile or full-screen mode, you still have to go to the edge of the screen.
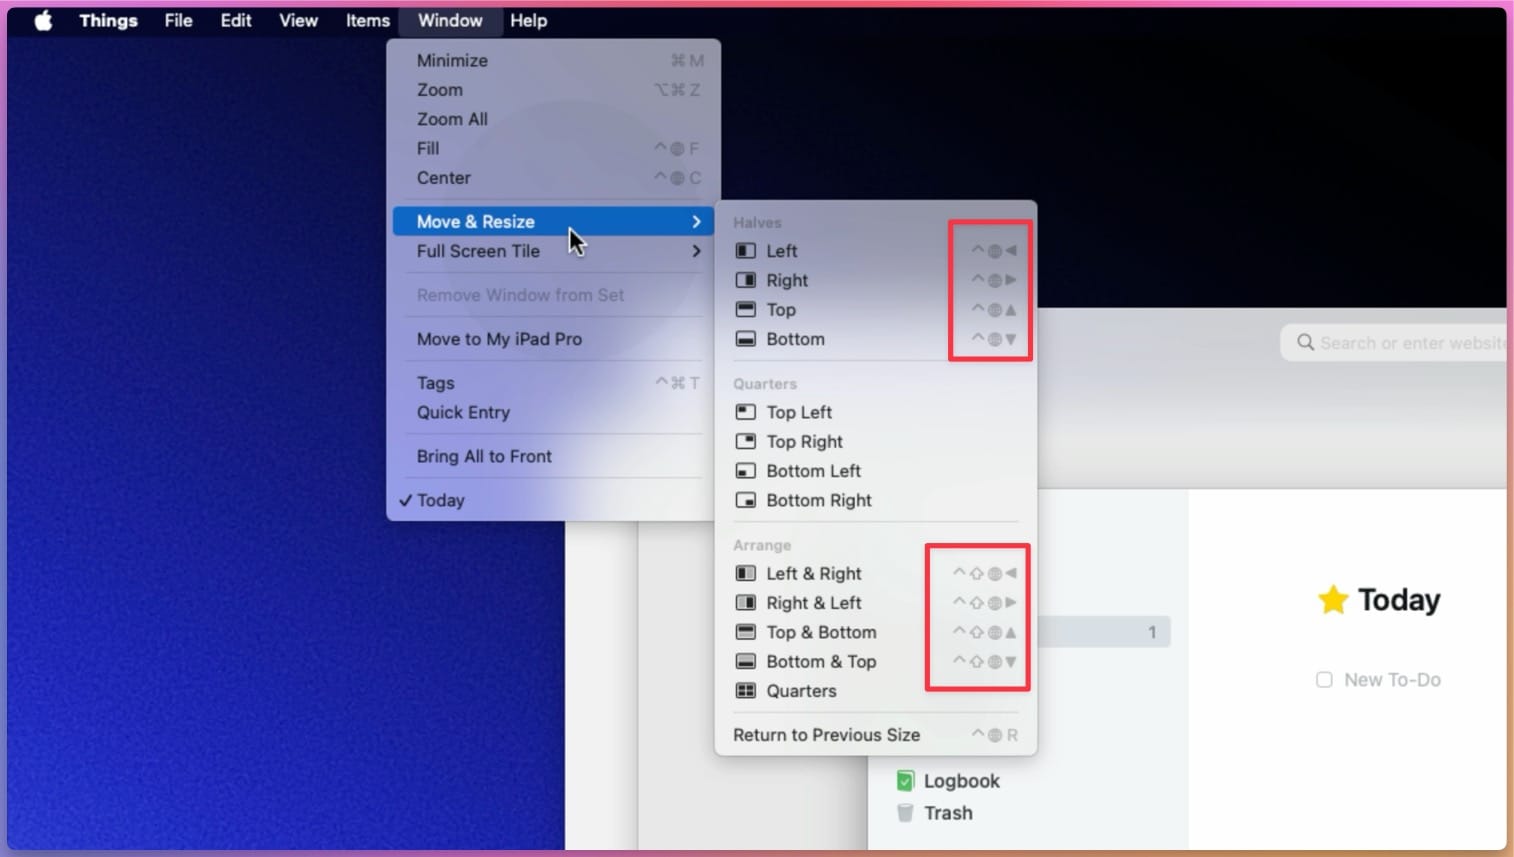
Tile Mac windows using the Window menu
You can also snap windows to halves or quarters using the Window menu. With any app open, click the Window menu item. You will see a new Move & Resize menu option. Notice that it has the left and right halves and quarters options we can access using the click-and-drag method I showed.
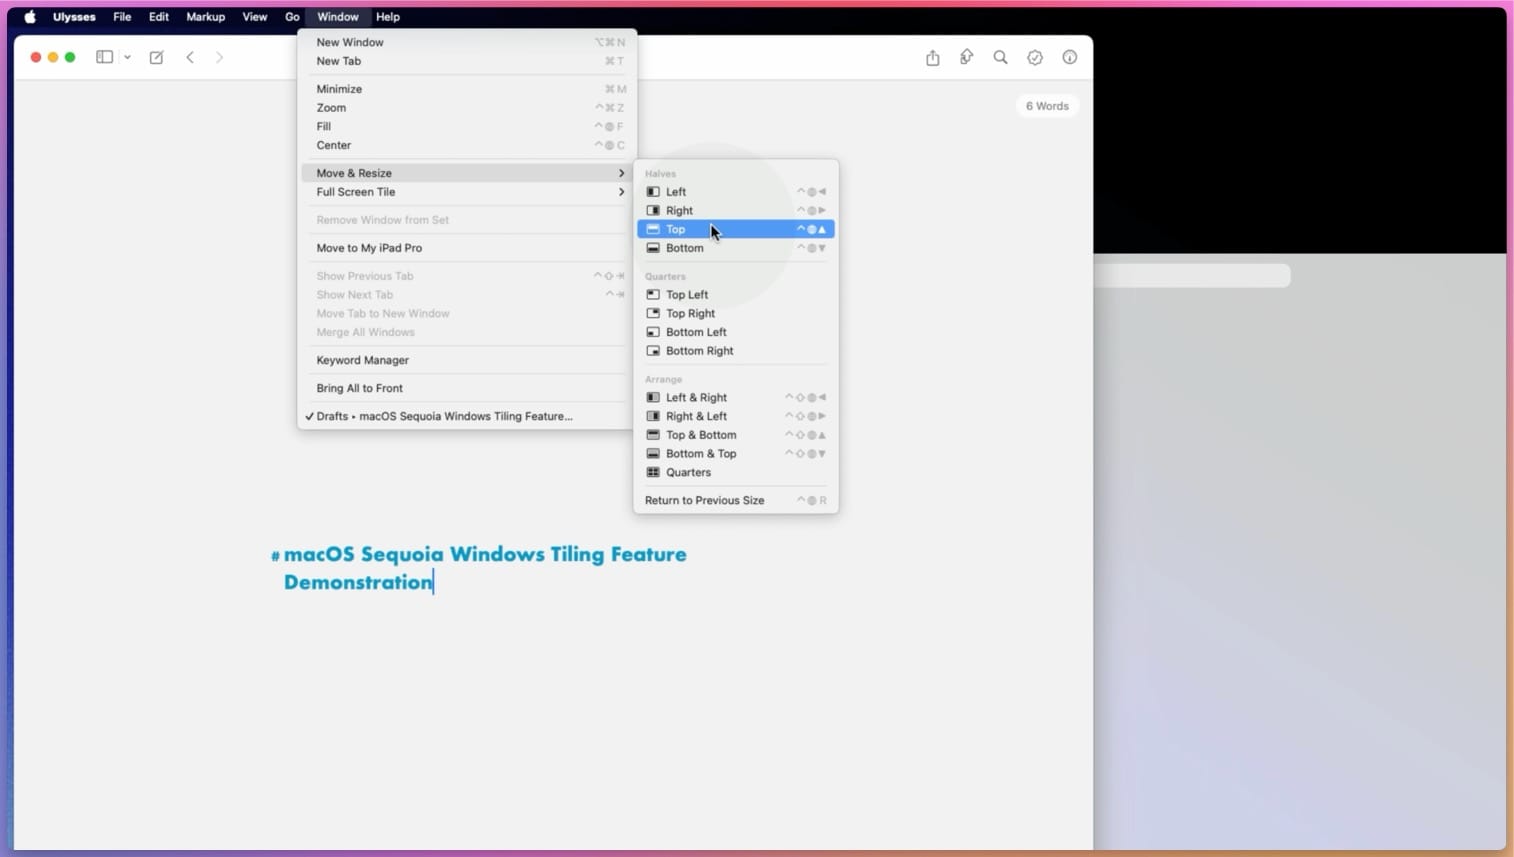
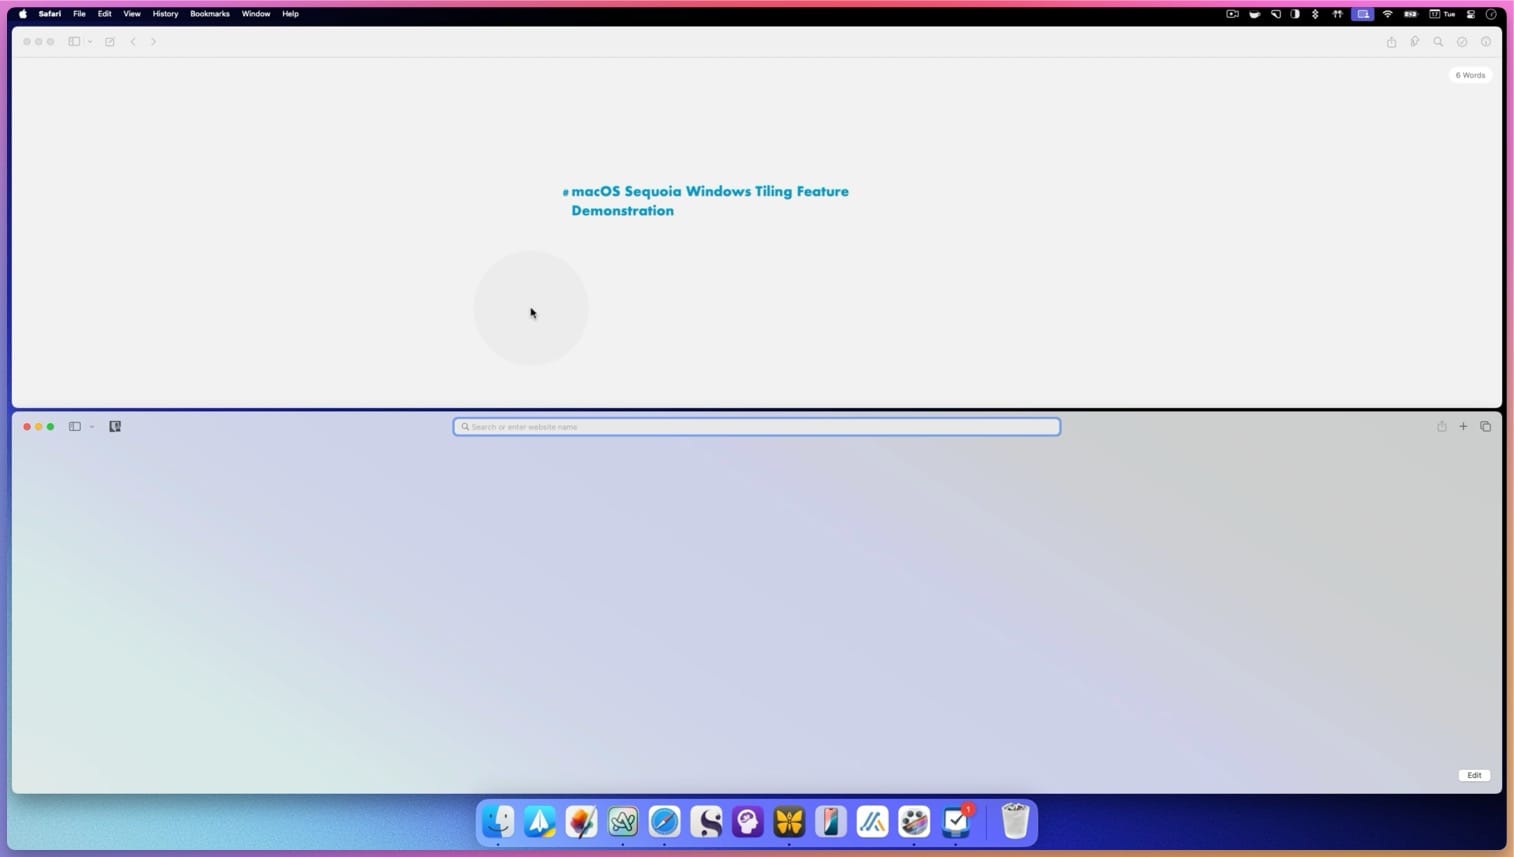
But there’s also an option to tile the window in top and bottom halves. Let’s arrange two app windows in the top and bottom halves to see how they look. This view is perfect if you use an external monitor in portrait mode.
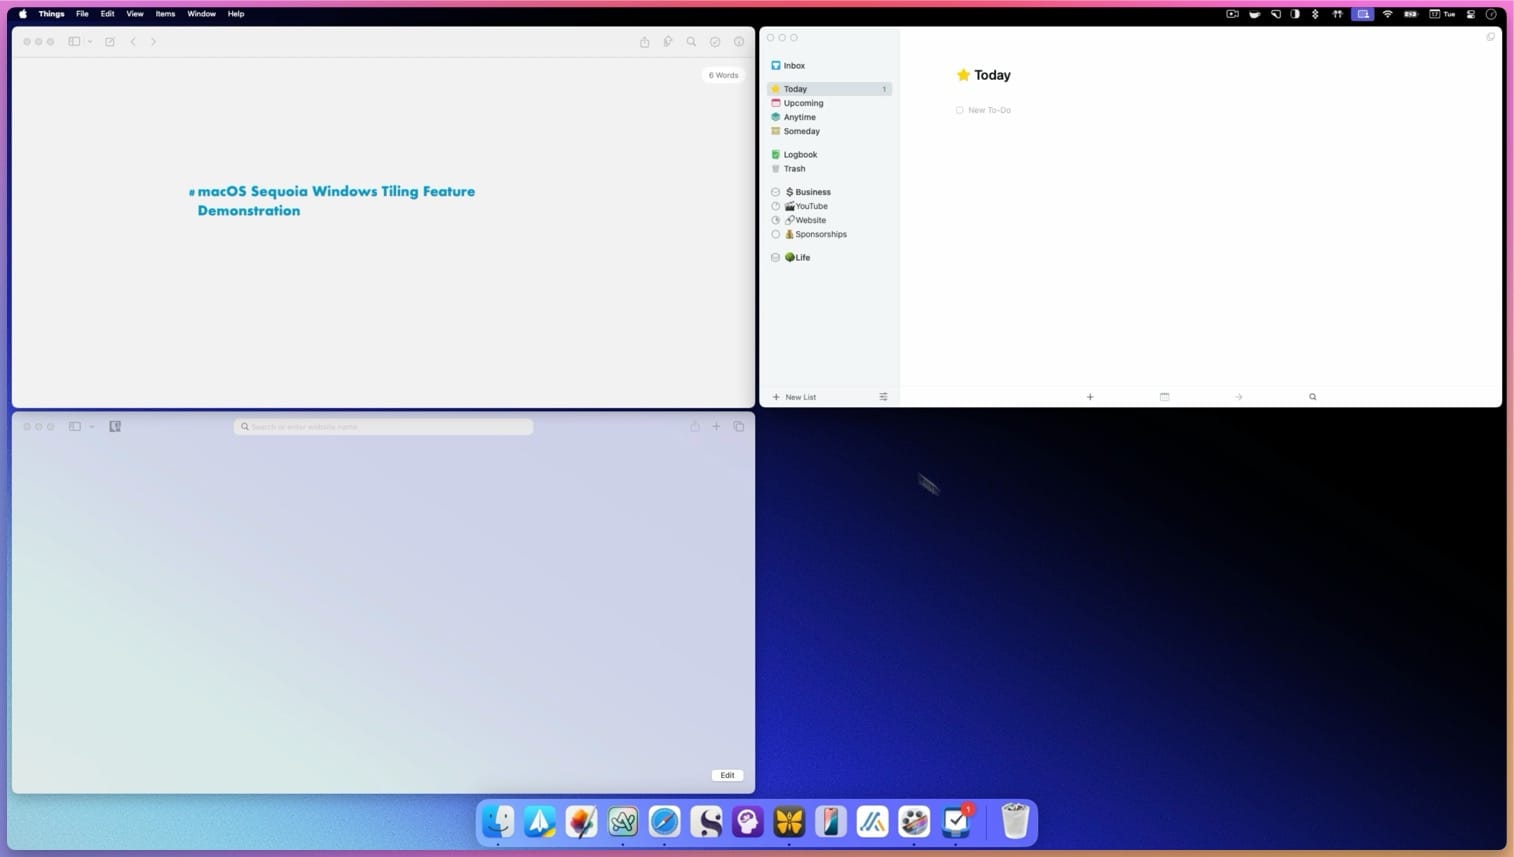
Notice there are also options to arrange multiple windows automatically under the Arrange option. If you have two app windows open, you can choose the Arrange Left & Right option to arrange these windows in the left and right halves of the screen. The selected window will go to the left, and the other will go to the right half of the screen.
Similarly, you can use the Right & Left option to send the selected window to the right and the other to the left. You also get the option to arrange windows in Top & Bottom, Bottom & Top, and quarters.
If you have less than four windows open and use the Arrange in Quarters, it will arrange the windows in quarters and leave space for unavailable windows.
The Arrange windows option works great for arranging multiple windows in one click. There’s also the option to Return to Previous Size, which will take the selected window to its original zie.
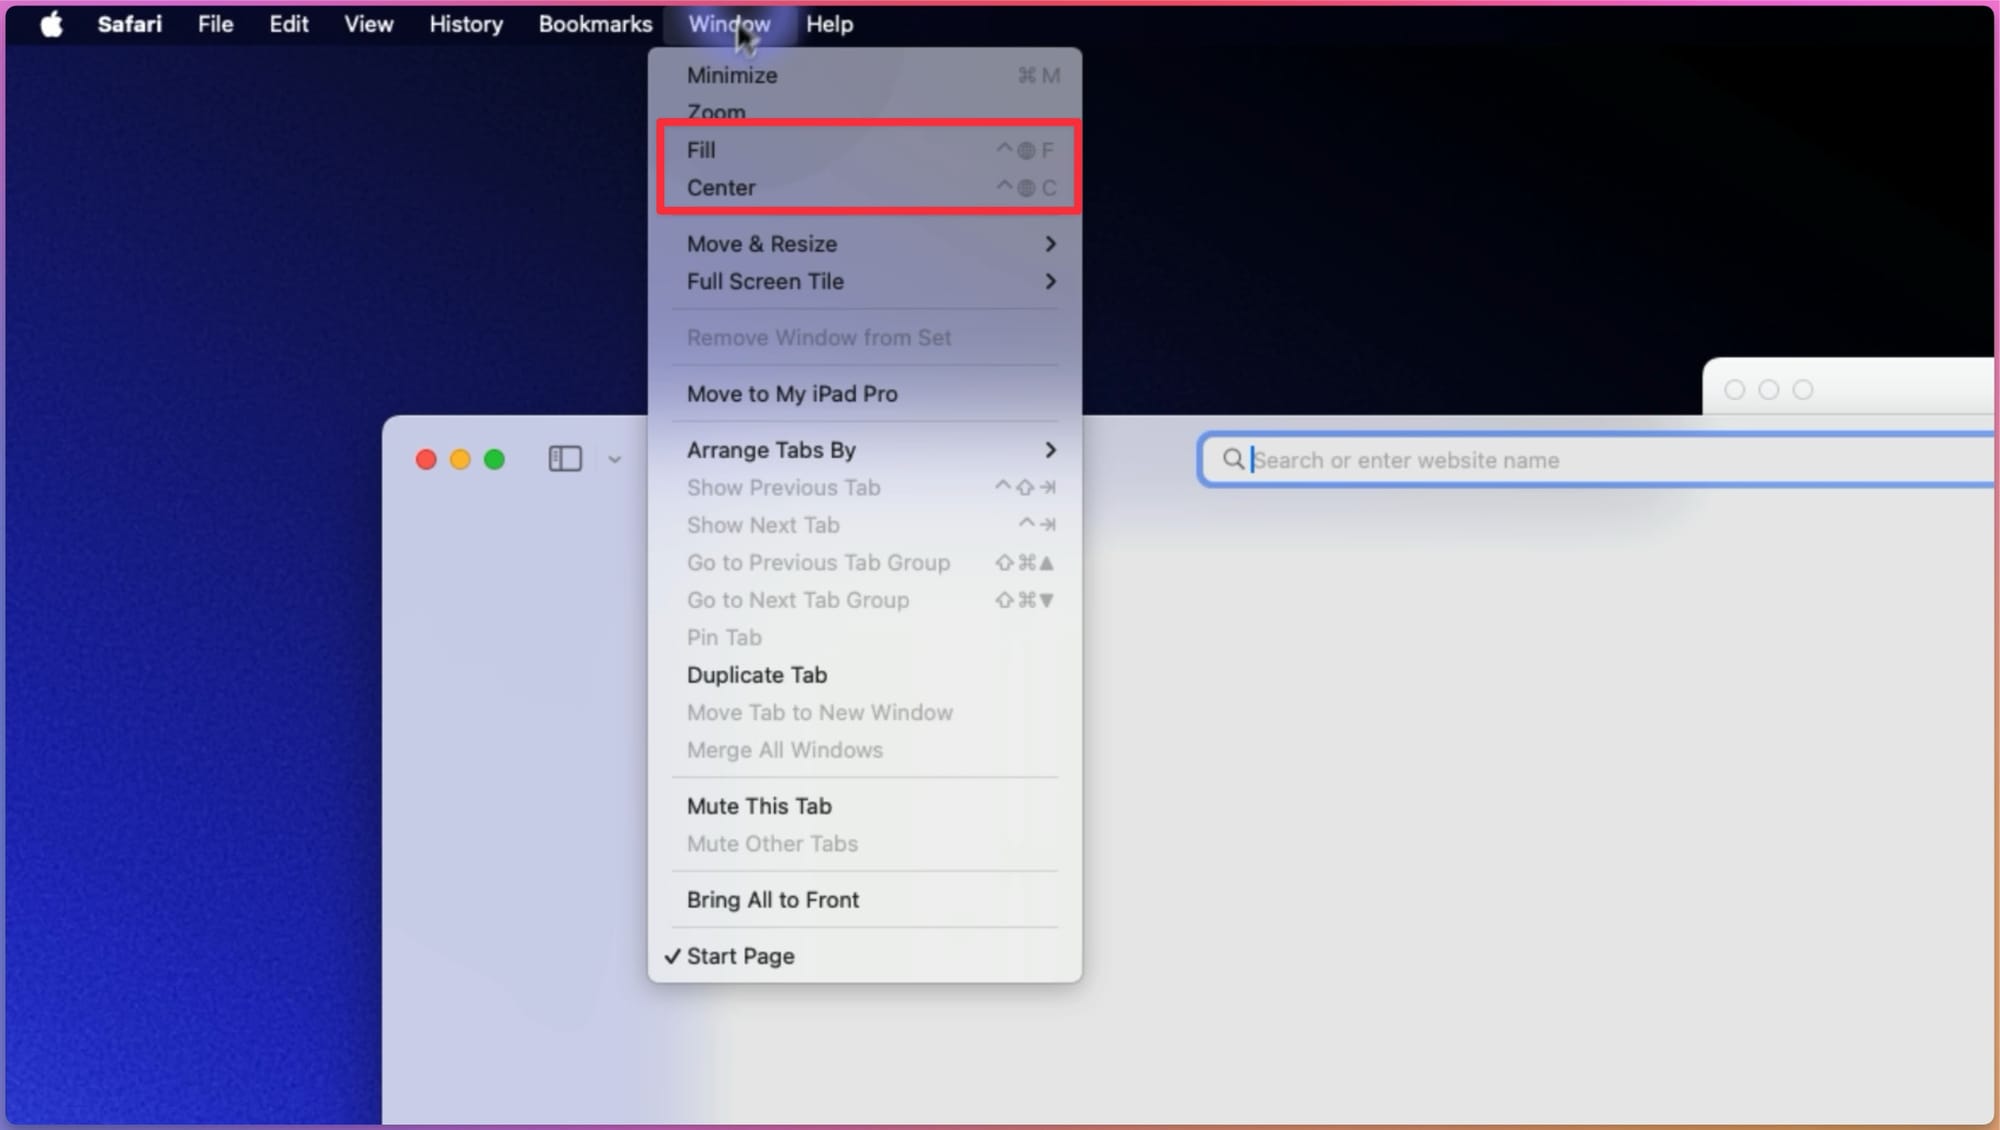
In the main Window menu, you will also see the option to Center the window, which will resize it and set it in the center of the screen, and Fill the window, which will maximize the window to the full size of the display.
Resize Mac windows using Keyboard Shortcut
When using the Windows menu to resize app windows in macOS Sequoia, you will notice that each option has a corresponding keyboard shortcut. You can learn these shortcuts to quickly tile windows without lifting your hands off the keyboard.
The keyboard shortcuts are also easy to memorize. You hold down the Fn or Globe key and the Control key and use the left, right, top, and bottom arrows to tile the window in their respective halves. Sadly, there’s no keyboard shortcut to tile windows in quarters, as of now.
To use the Arrange windows feature, add the shift key to the combination. For example, with two windows open, I can hit the Globe + Control (⌃) + Shift (⇧) + Left Arrow key to arrange the windows in left and right halves, with the selected window going to the left and the other snapping to the right.
Similarly, you can use the Globe + Control (⌃) + F to fill the window, Globe + Control (⌃) + C to Center the window, and Globe + Control (⌃) + R to return the windows to its original size.
Use the green maximize window button
You can also use the Green maximize window button to arrange and tile app windows in macOS Sequoia. Hover the cursor above the Green button, and You will see the same Move & Resize and Fill & Arrange options.
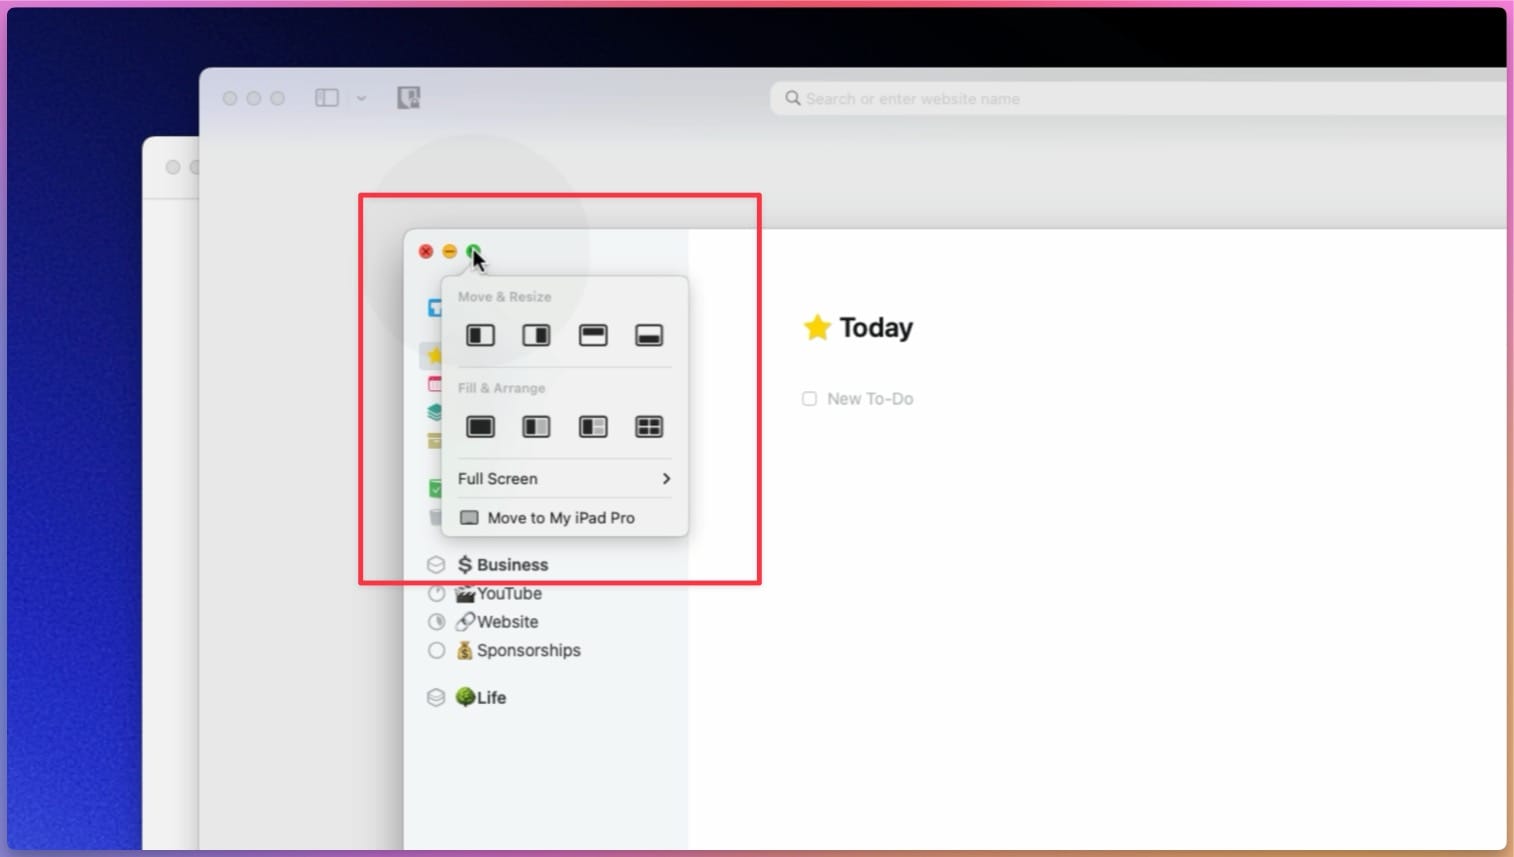
In the Fill & Arrange menu, you will notice a new arrangement option for three app windows, which is unavailable in the Windows menu. It takes the selected window and snaps it to the left of the screen while it adds the remaining two windows in quarters in the right half of the screen.
I hope that Apple will resolve these inconsistencies with future updates.
Pro tips for enhanced window tiling on Mac
Now, you know everything you need to use the new window tiling feature in macOS Sequoia. Here are a few hidden pro tips to take your window tiling game to the next level.
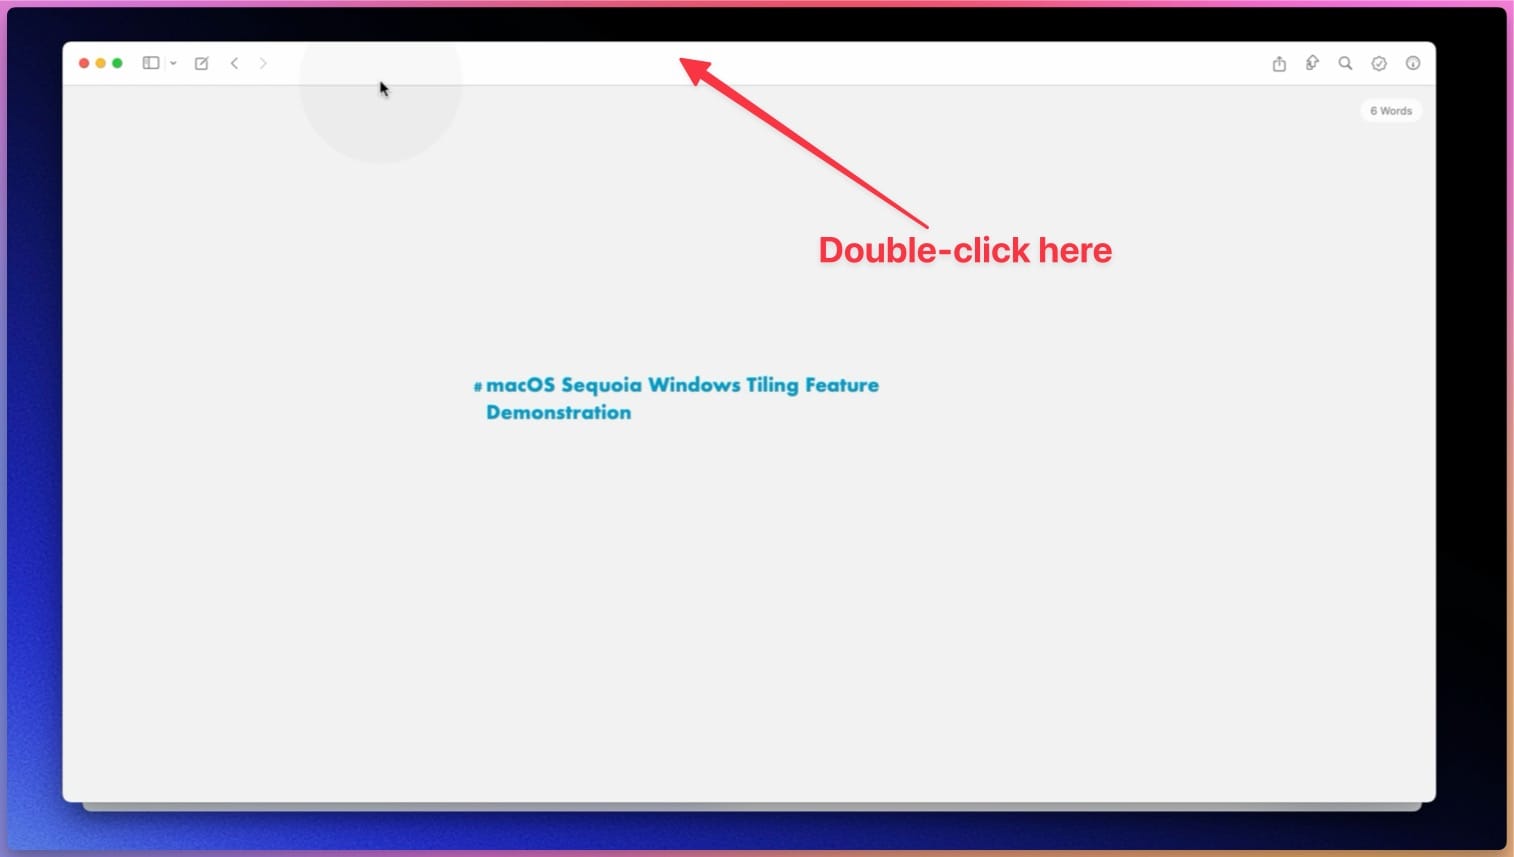
You don’t need to drag an app's window to the top to make it full-size. You can double-click on the app’s header to do that. Double-click again to go back to the original size.
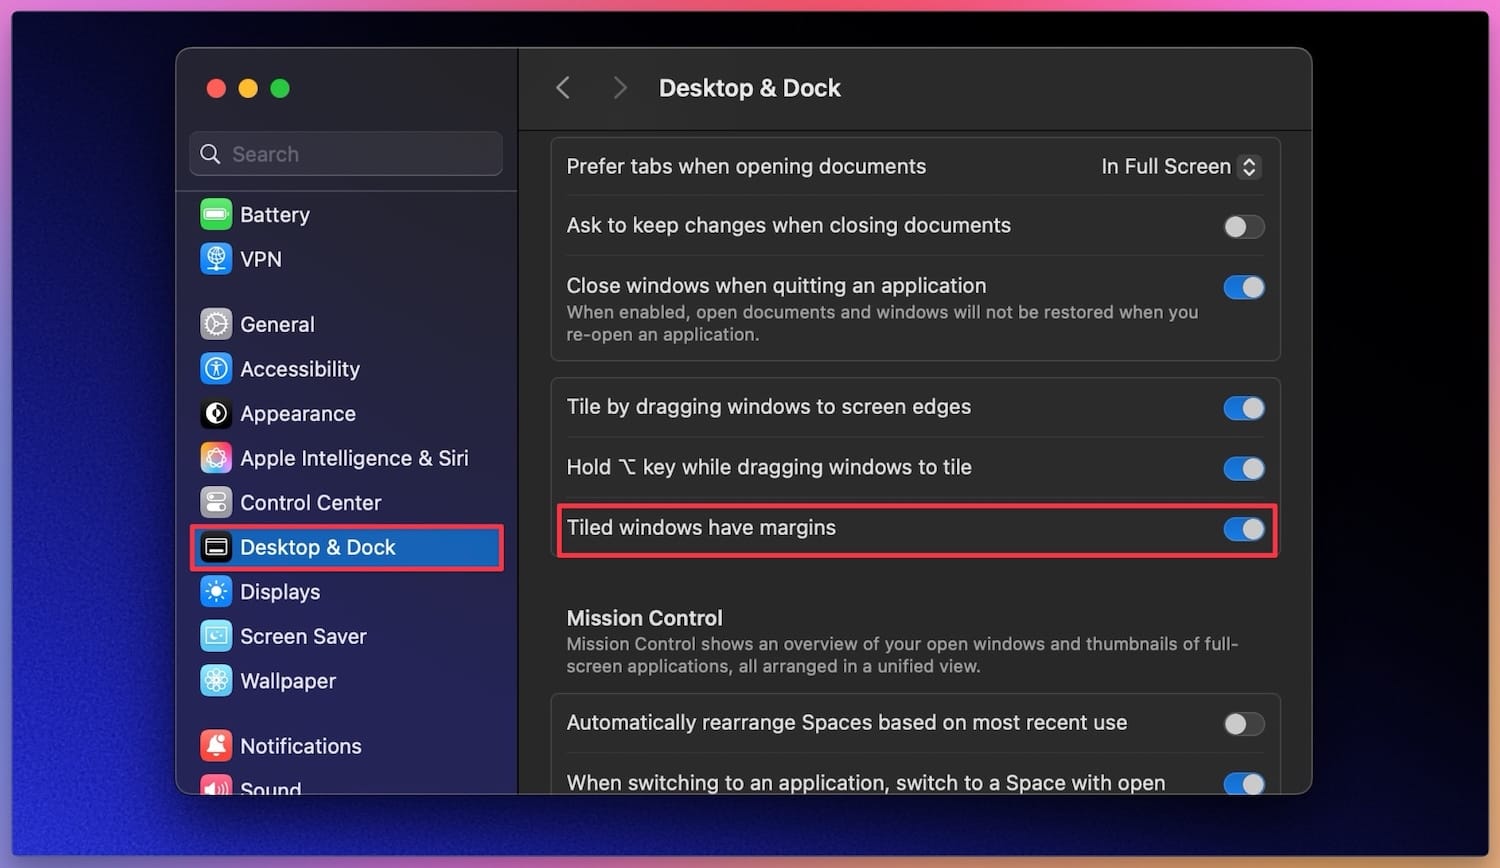
When using the Window tiling feature, you will notice gaps around app windows. They add a sense of separation between app windows. If you consider this, as a waste of space, you can turn it off.
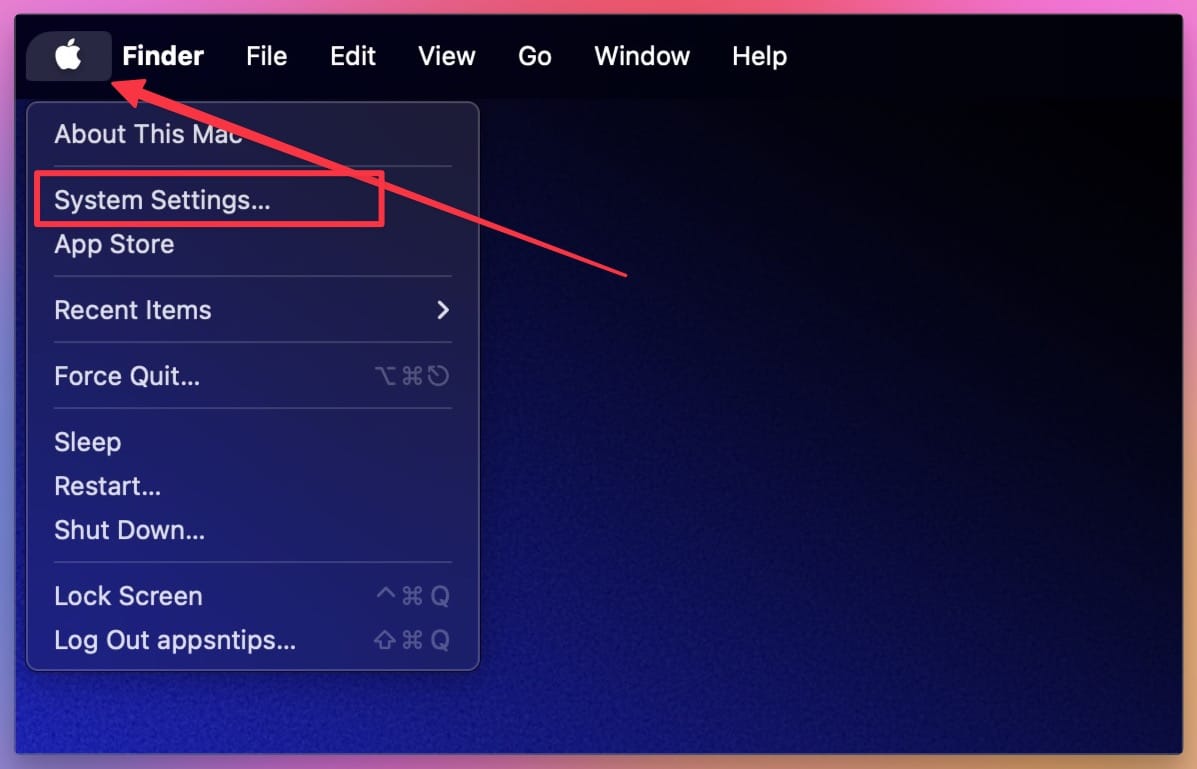
Open System Settings.
Go to Desktop & Dock setting. Scroll down to the Windows sub-menu and turn off the toggle for the Tiled Windows have margins option.
If you have become comfortable with keyboard shortcuts, you can also turn off the drag-to-tile window and Option assist options.
macOS Sequoia window tiling: final thoughts
We hope you enjoyed our guide on macOS Sequoia’s window tiling feature. Click here to learn the best quick macOS tips to supercharge your experience.


Comments ()