
How to Install Fonts on iPad
Learn how to easily install custom fonts on your iPad. Follow our step-by-step guide to install fonts on iPad.

I was reading DaringFireball when I came across a beautiful font showcased on a delightful website. Naturally, I wanted to install the font to see how it looks in my text editor.
This wouldn’t have been an issue a few months back, as installing fonts on Mac is easy. However, since I got the M4 iPad Pro, I use it for all my writing projects, as it provides me with a distraction-free writing environment.
And installing fonts on iPads, let’s say, is not straightforward. To ensure you don’t suffer the same issues I did, here is how to install fonts on your iPad.
Install fonts on iPad
Since iPadOS doesn’t have a Font Book app that lets us easily manage fonts, we will use a third-party app to accomplish this task.
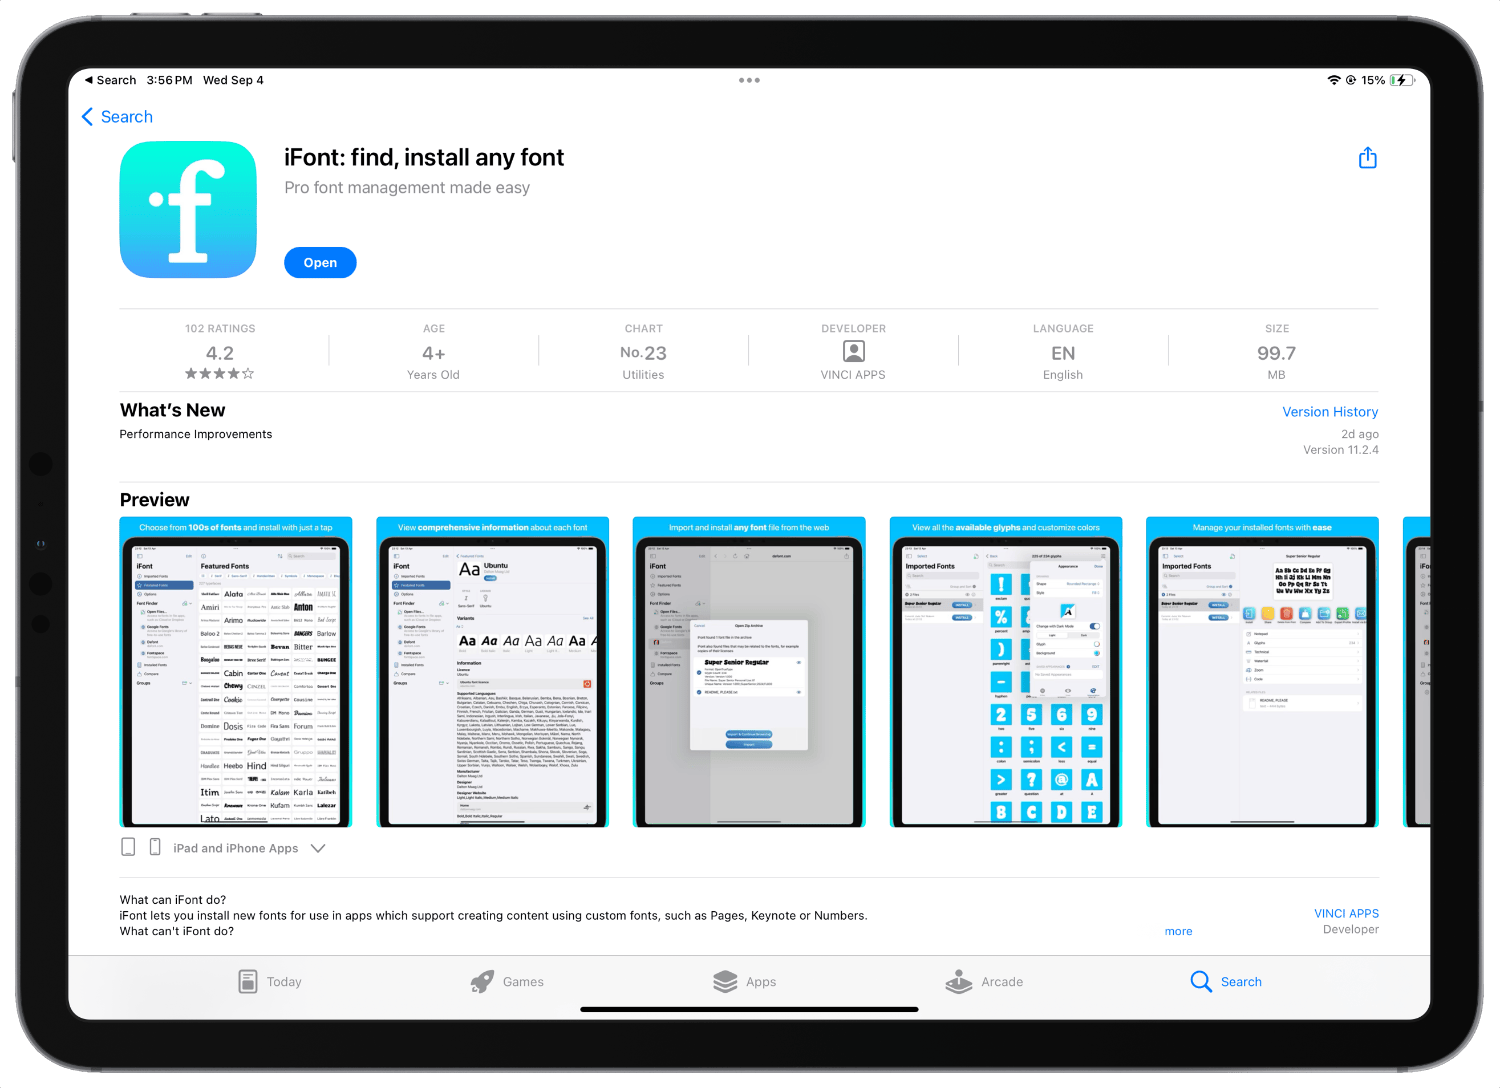
1. Start by installing the iFont app on your iPad. The app is free to download, and you can click the link to open its App Store listing.
2. Download the font you want to install on your iPad. You can use free font services like Google Fonts. I will install the font I discovered today.

3. Launch the Files app and open the Downloads folder. Long-press the downloaded zip file or right-click if using the Magic Keyboard, and choose the Uncompress option to extract the fonts.
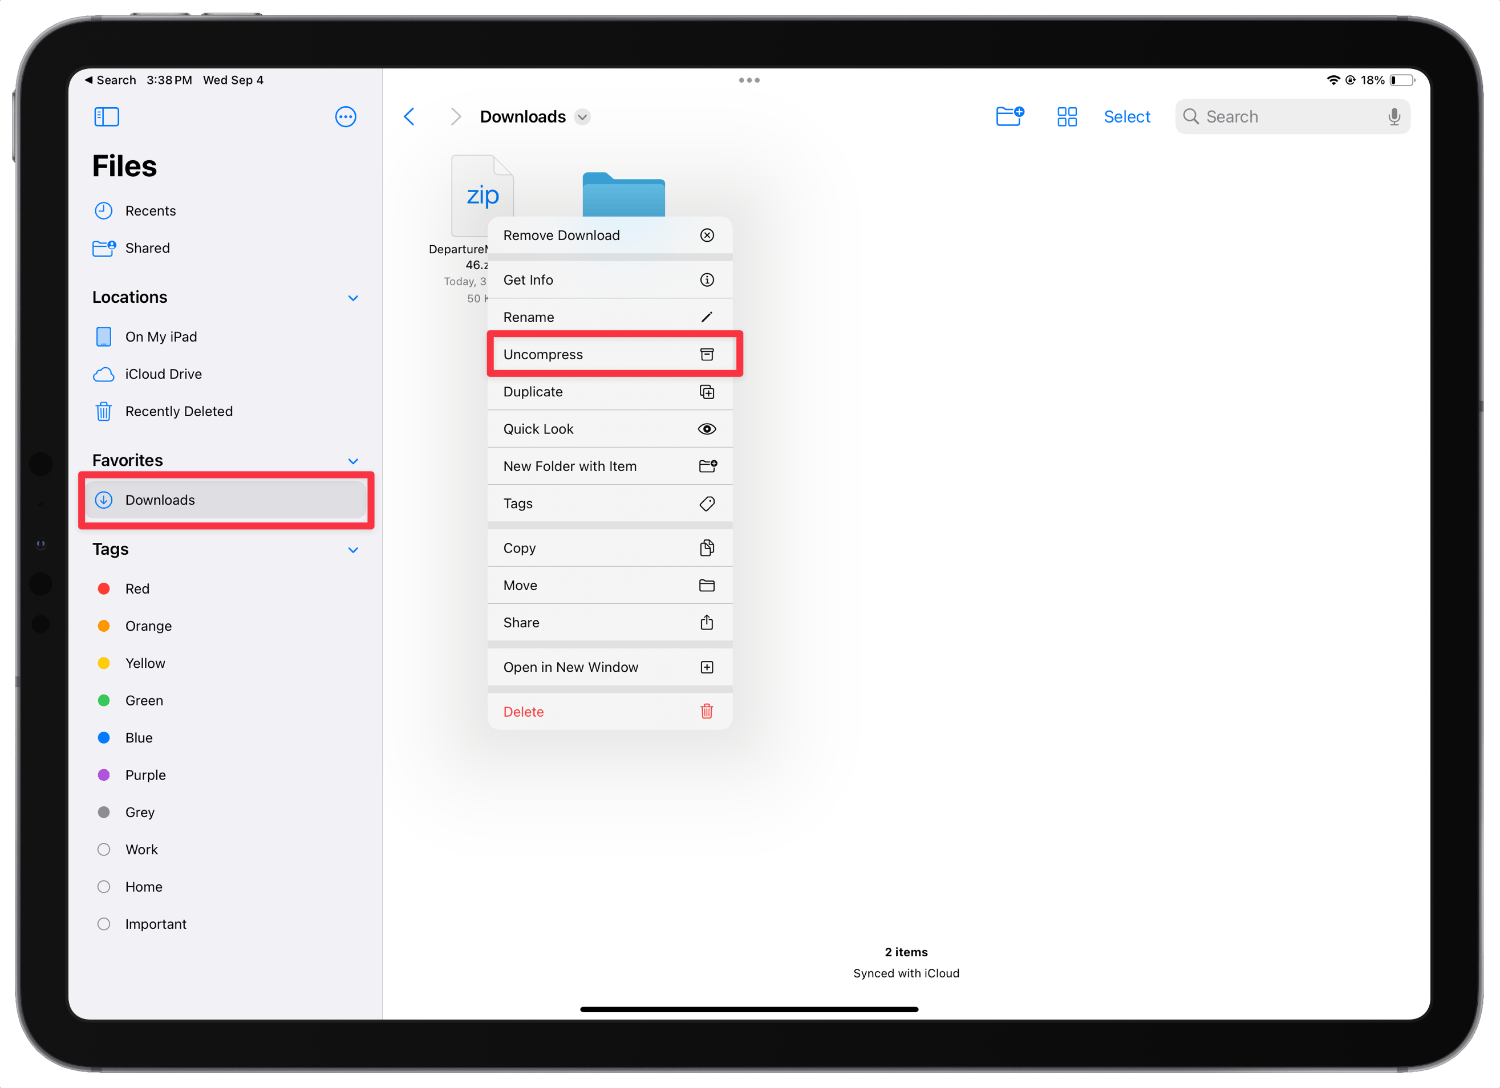
iFont lets you directly import Zip archives. I like to uncompress to see what fonts I am installing. If you don’t want to check, you don’t have to perform this step.
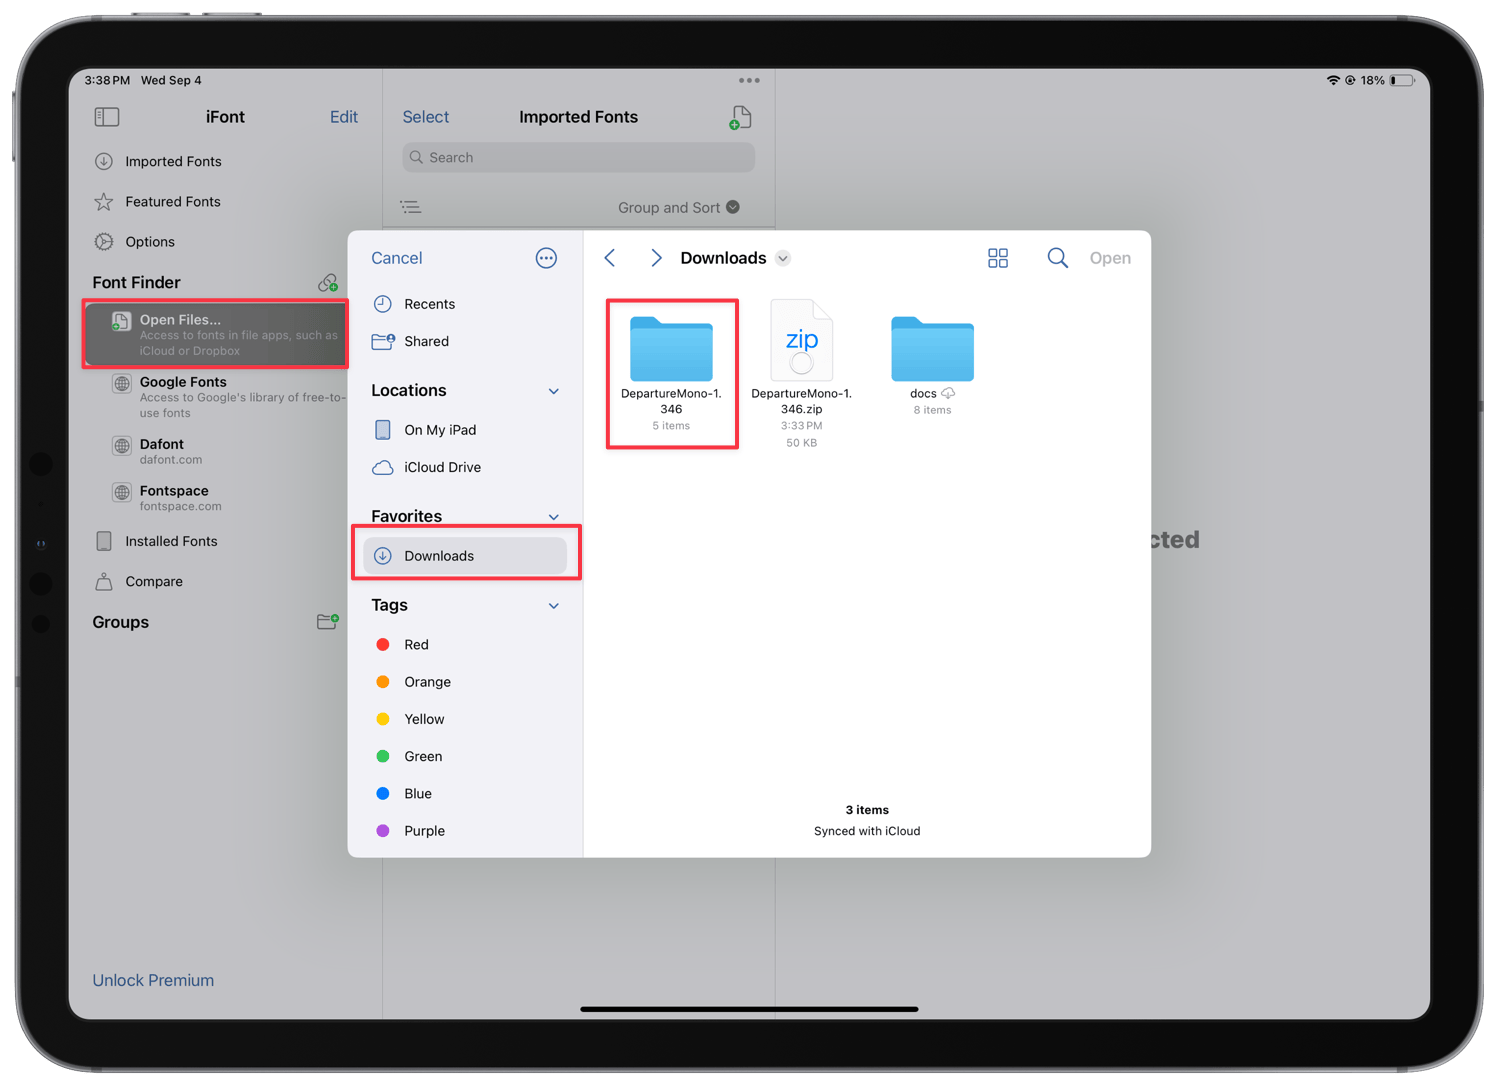
4. Launch the iFont app on your iPad and go through the setup screens. Now tap or click the Open Files button and locate the font you want to install.
5. Click or tap to select it, and use the Open button to load the file in the iFont app.
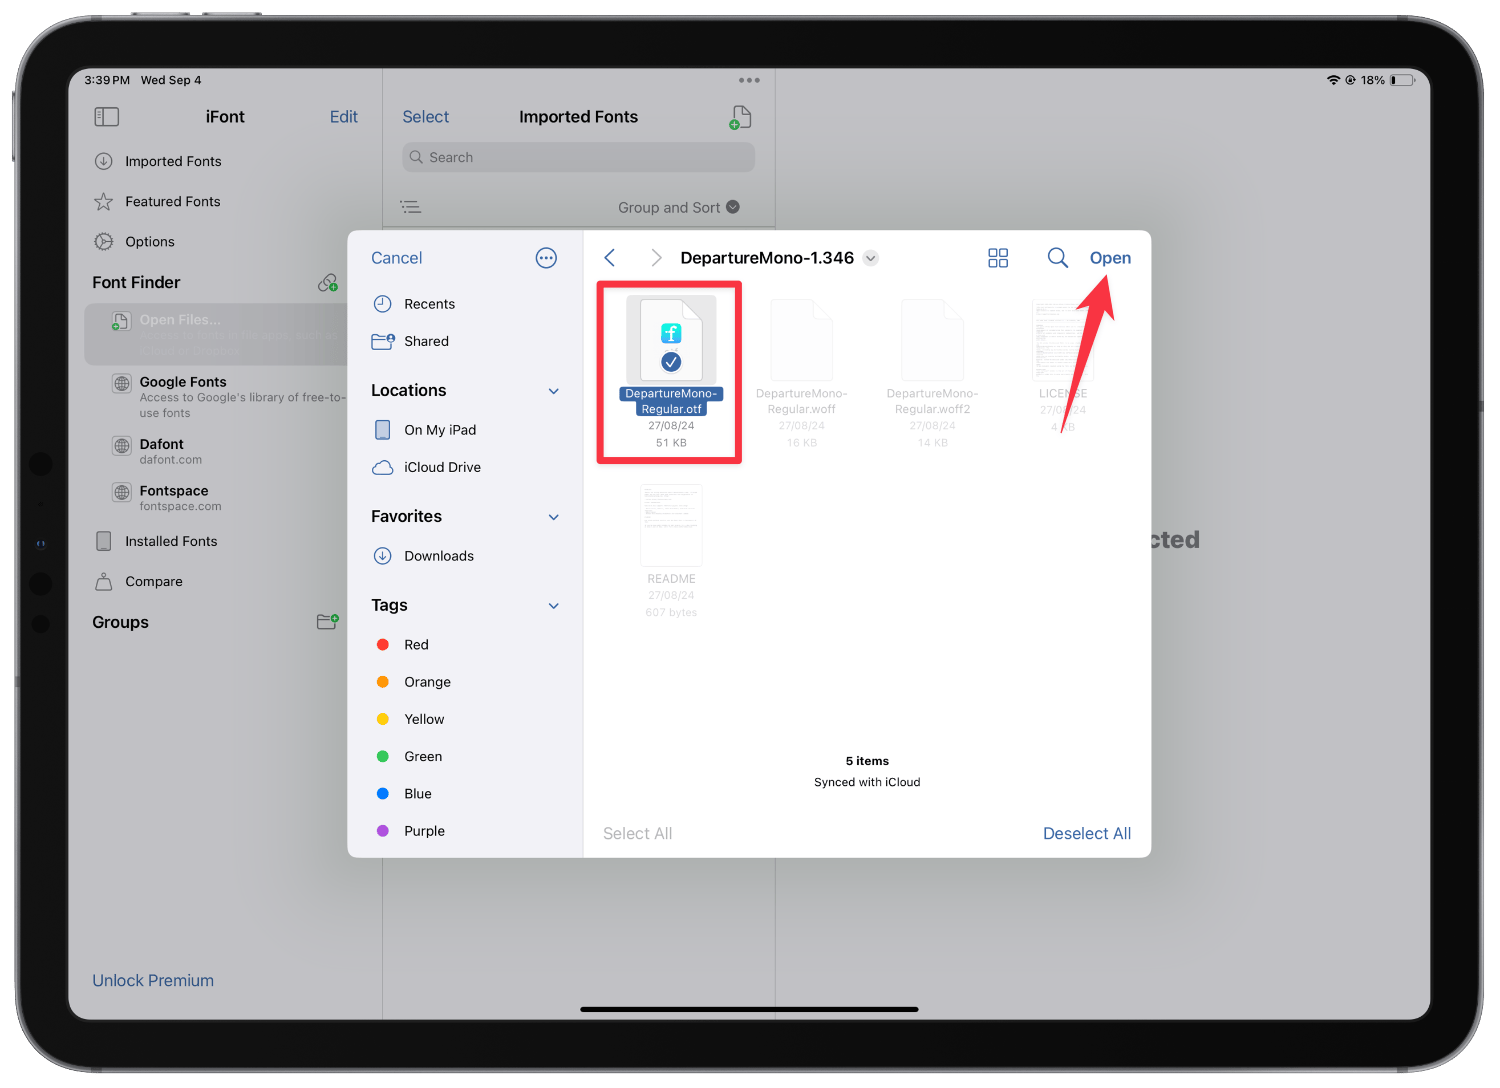
6. Tap the Install button to install the font.

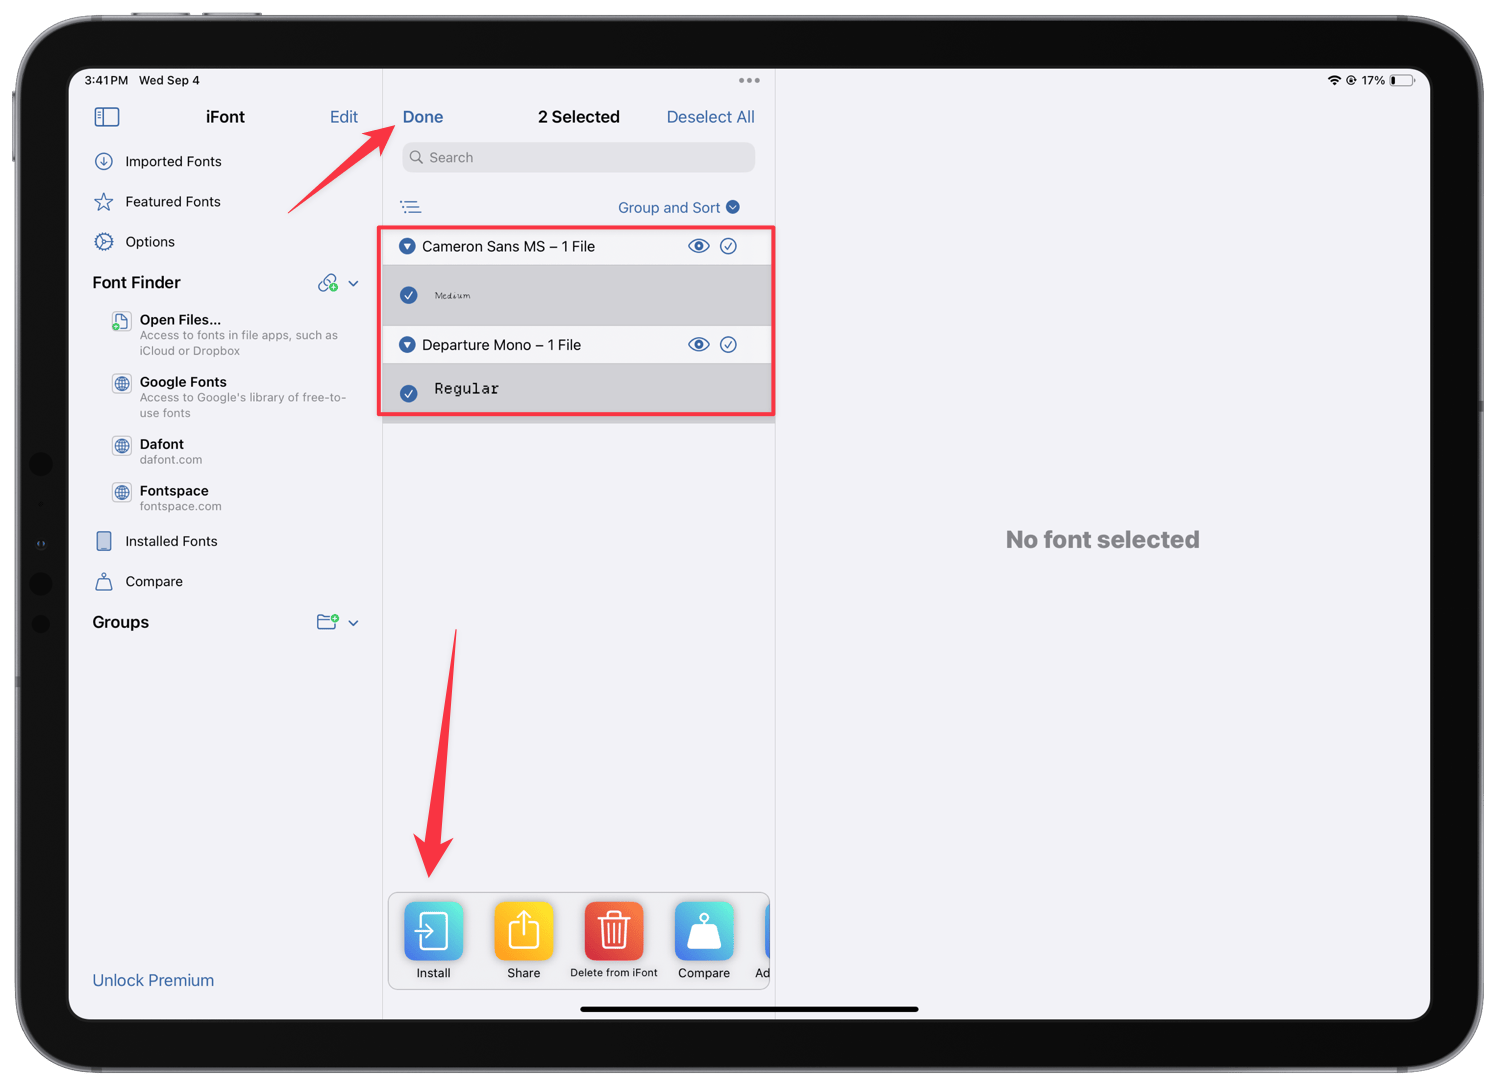
7. If you want to install multiple fonts, use the Select button at the top to choose all the fonts you want to install and hit the Install button.
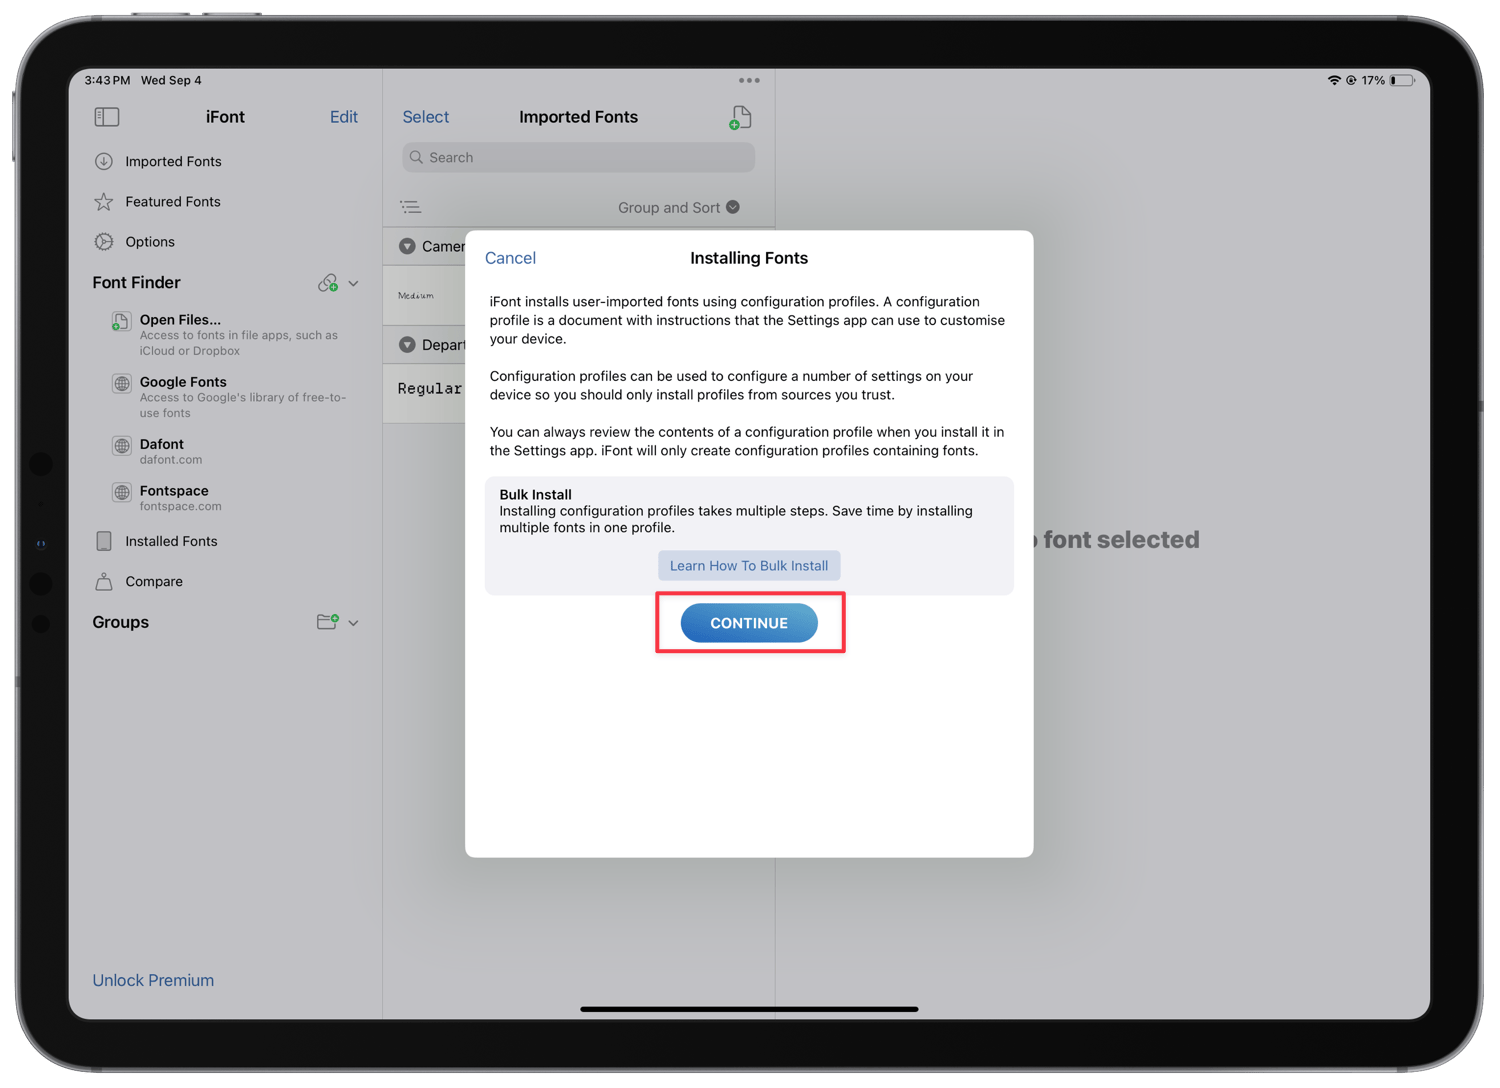
8. Tap the Continue button to proceed with the installation.
9. iFont uses profiles to install the fonts on your iPad. Hit the Allow button to allow it to create a font profile.
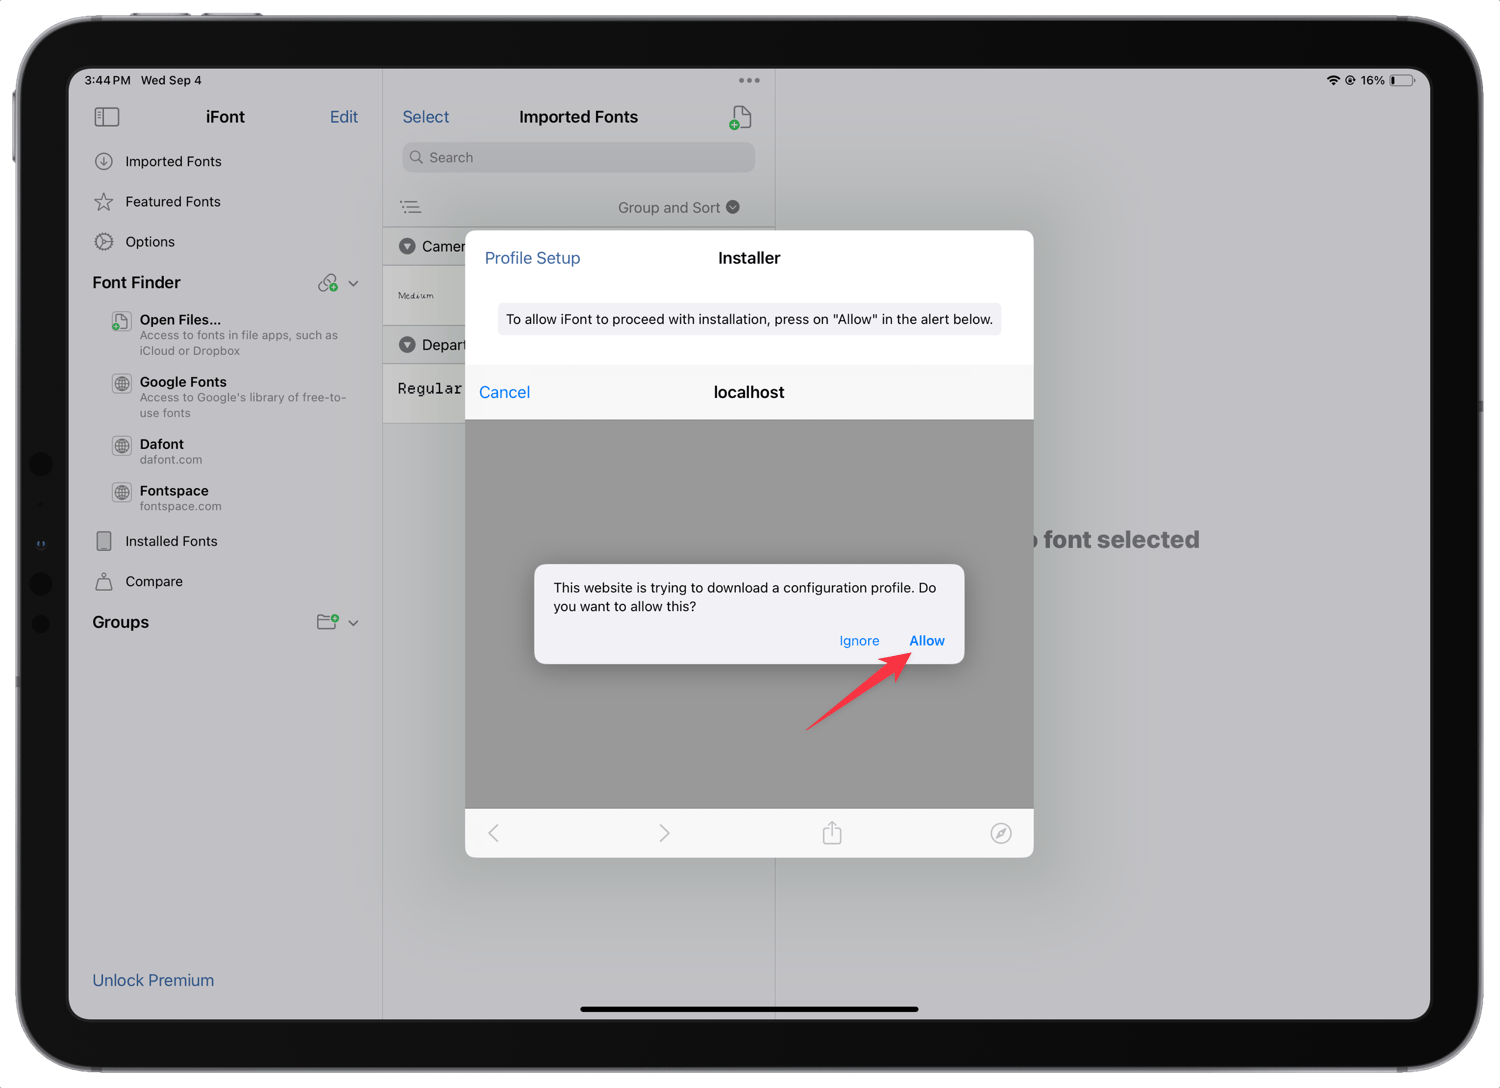
This is another reason you should download all the fonts you want to use and install them in one go. That way, you won’t have to create multiple profiles.
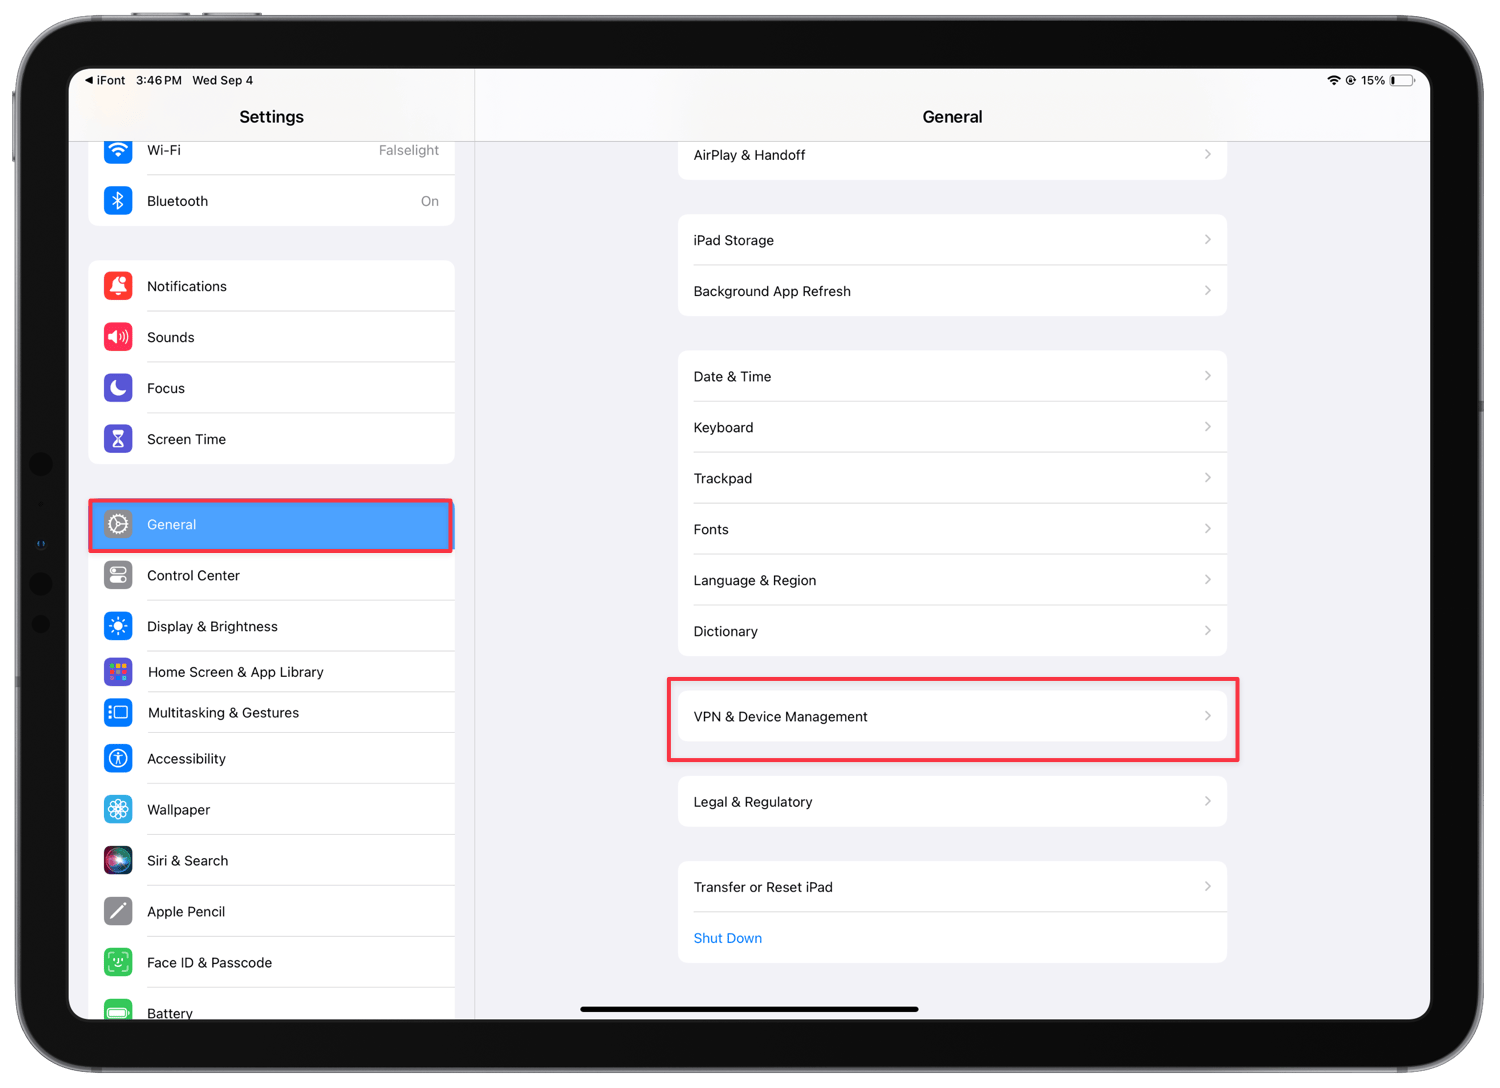
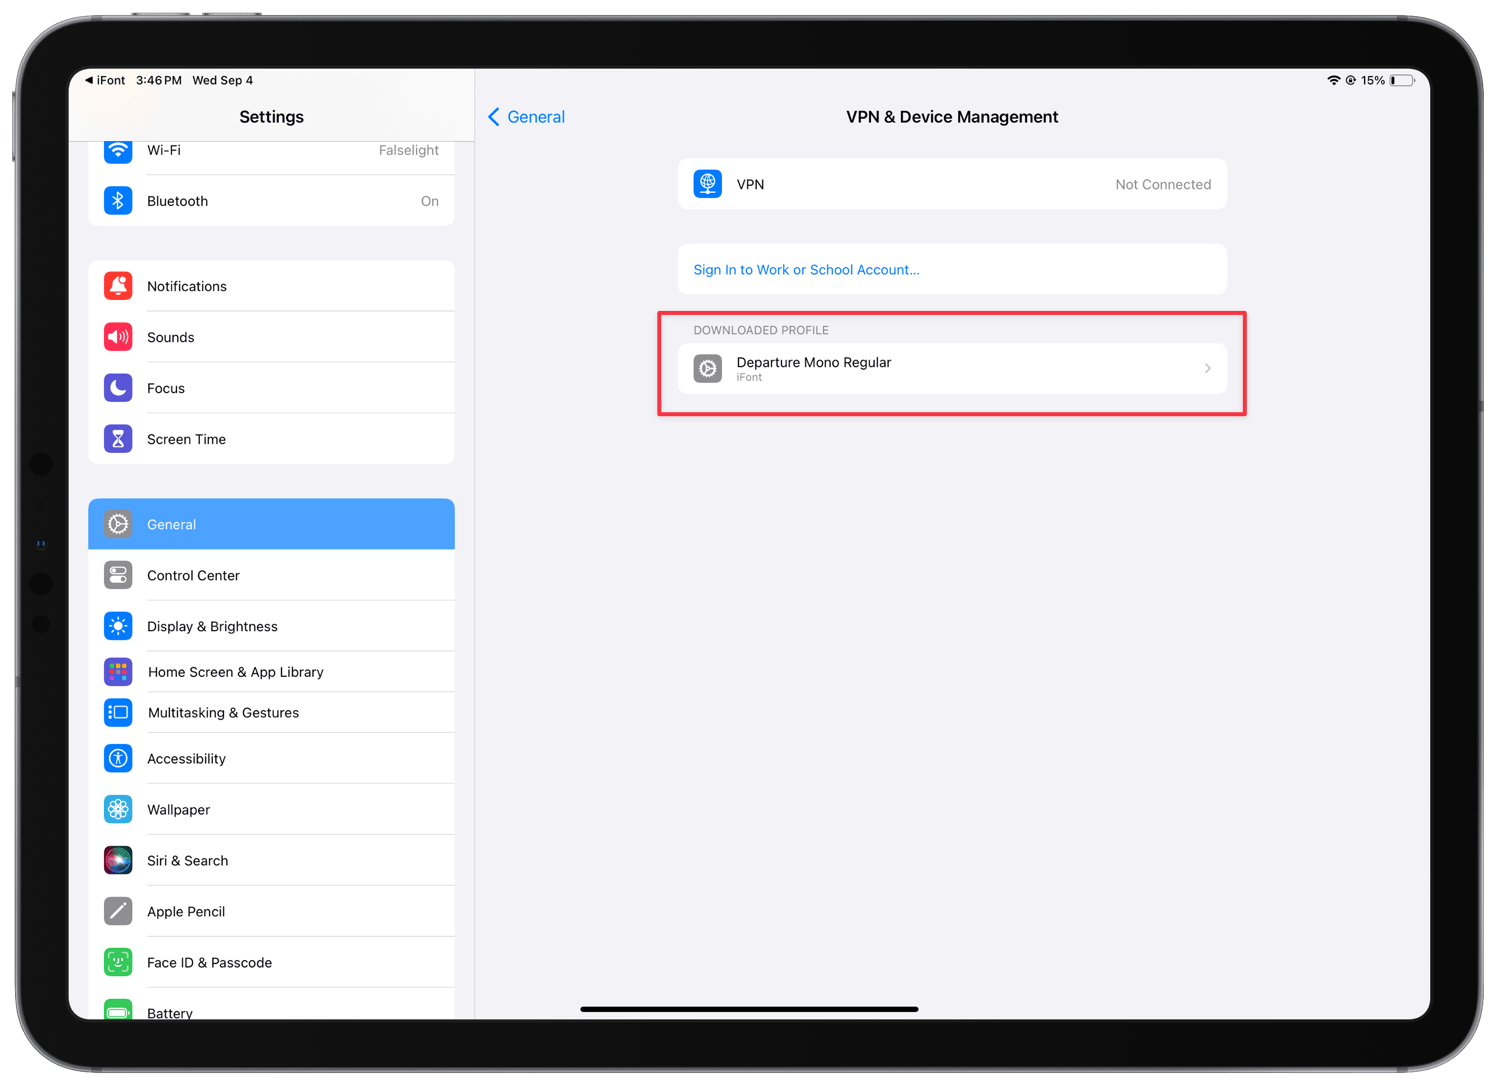
10. Now launch the Settings app and open the VPN & Device Management setting.
11. Tap the font profile you created.
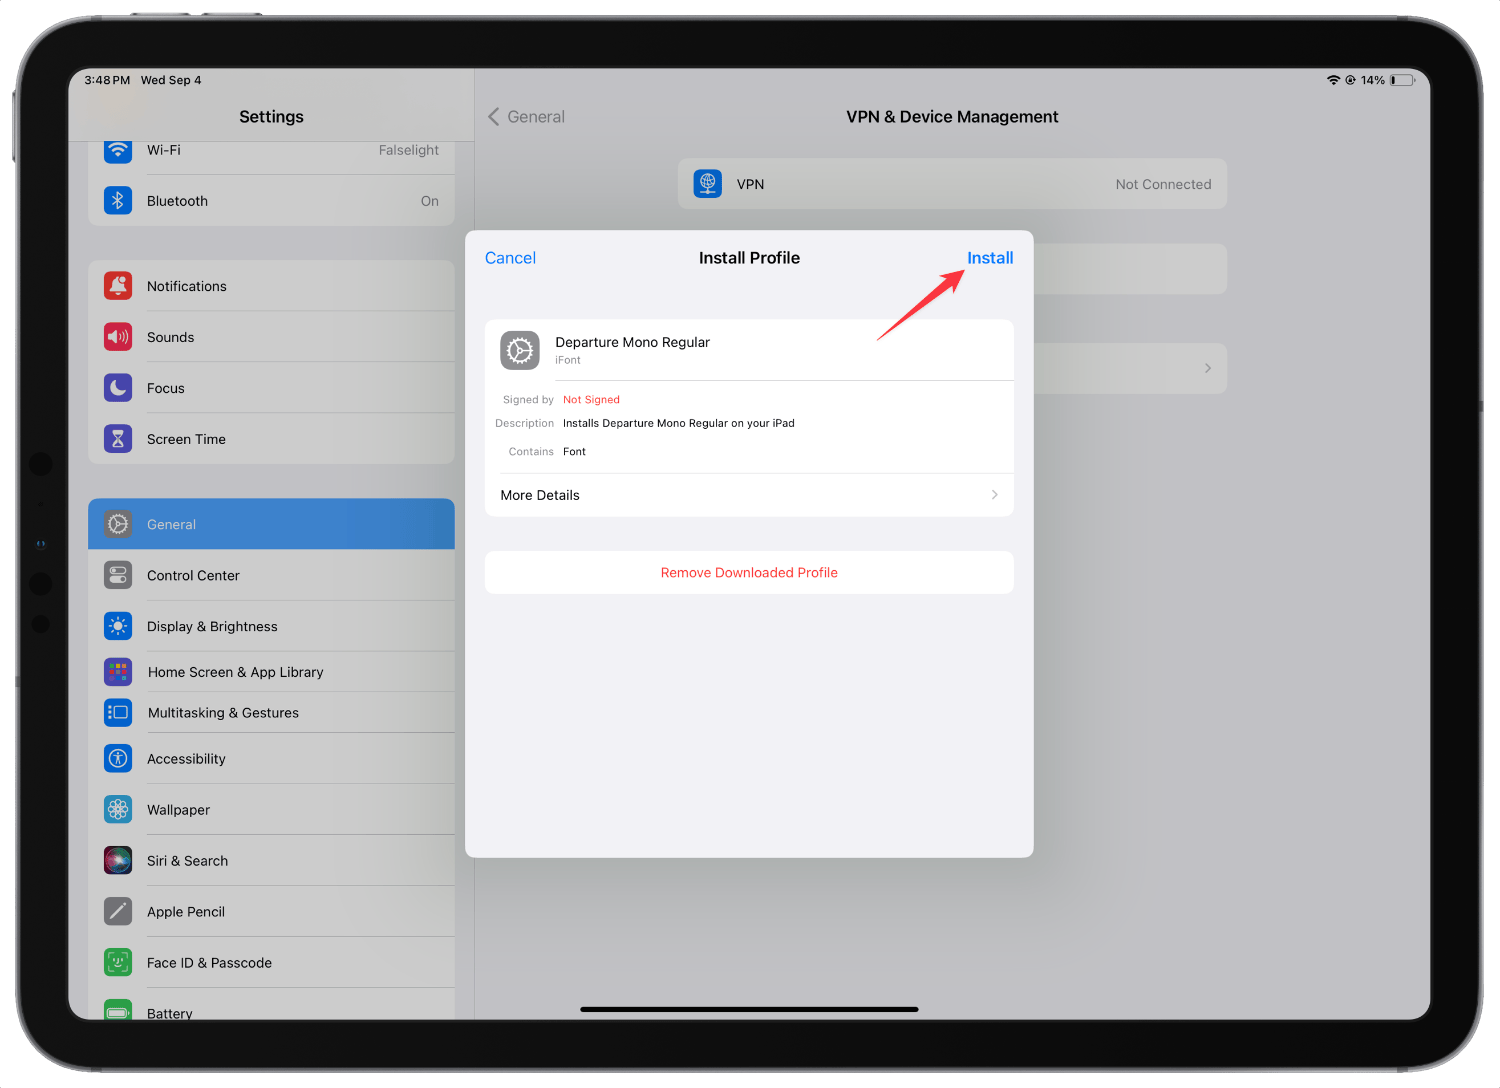
12. Hit the Install button to install the profile. Enter your passcode to approve the installation, and hit the Install button again to install the font. Tap the Done button to finish the steps.
You have now installed fonts on your iPad. You can use these fonts on any app that supports third-party fonts.
We hope you found this guide useful. If you have any questions, drop them in the comments and I will answer them as soon as possible.


