First Look at Notion Mail: Ready for Prime Time?
Here's your first look at Notion Mail. Discover Notion Mail features, including keyboard navigation, snippets, templates, Mail Views, and labels.

Notion finally gave me access to Notion Mail, and in this article, I will walk you through the app and show all its features. I got access to this app yesterday, so it will not be a full review but an overview of all its features. So let’s get started.
Notion Mail: ready for prime time?
Let’s start by discussing the main features of Notion Mail that I found most interesting, starting with keyboard navigation.
I use Spark Mail as my primary email client, and one thing I love about that app is keyboard navigation. I am happy that some of those keyboard shortcuts work in Notion Mail. For example, I can hit E to mark an email as done to archive it and hit R to initiate a reply.
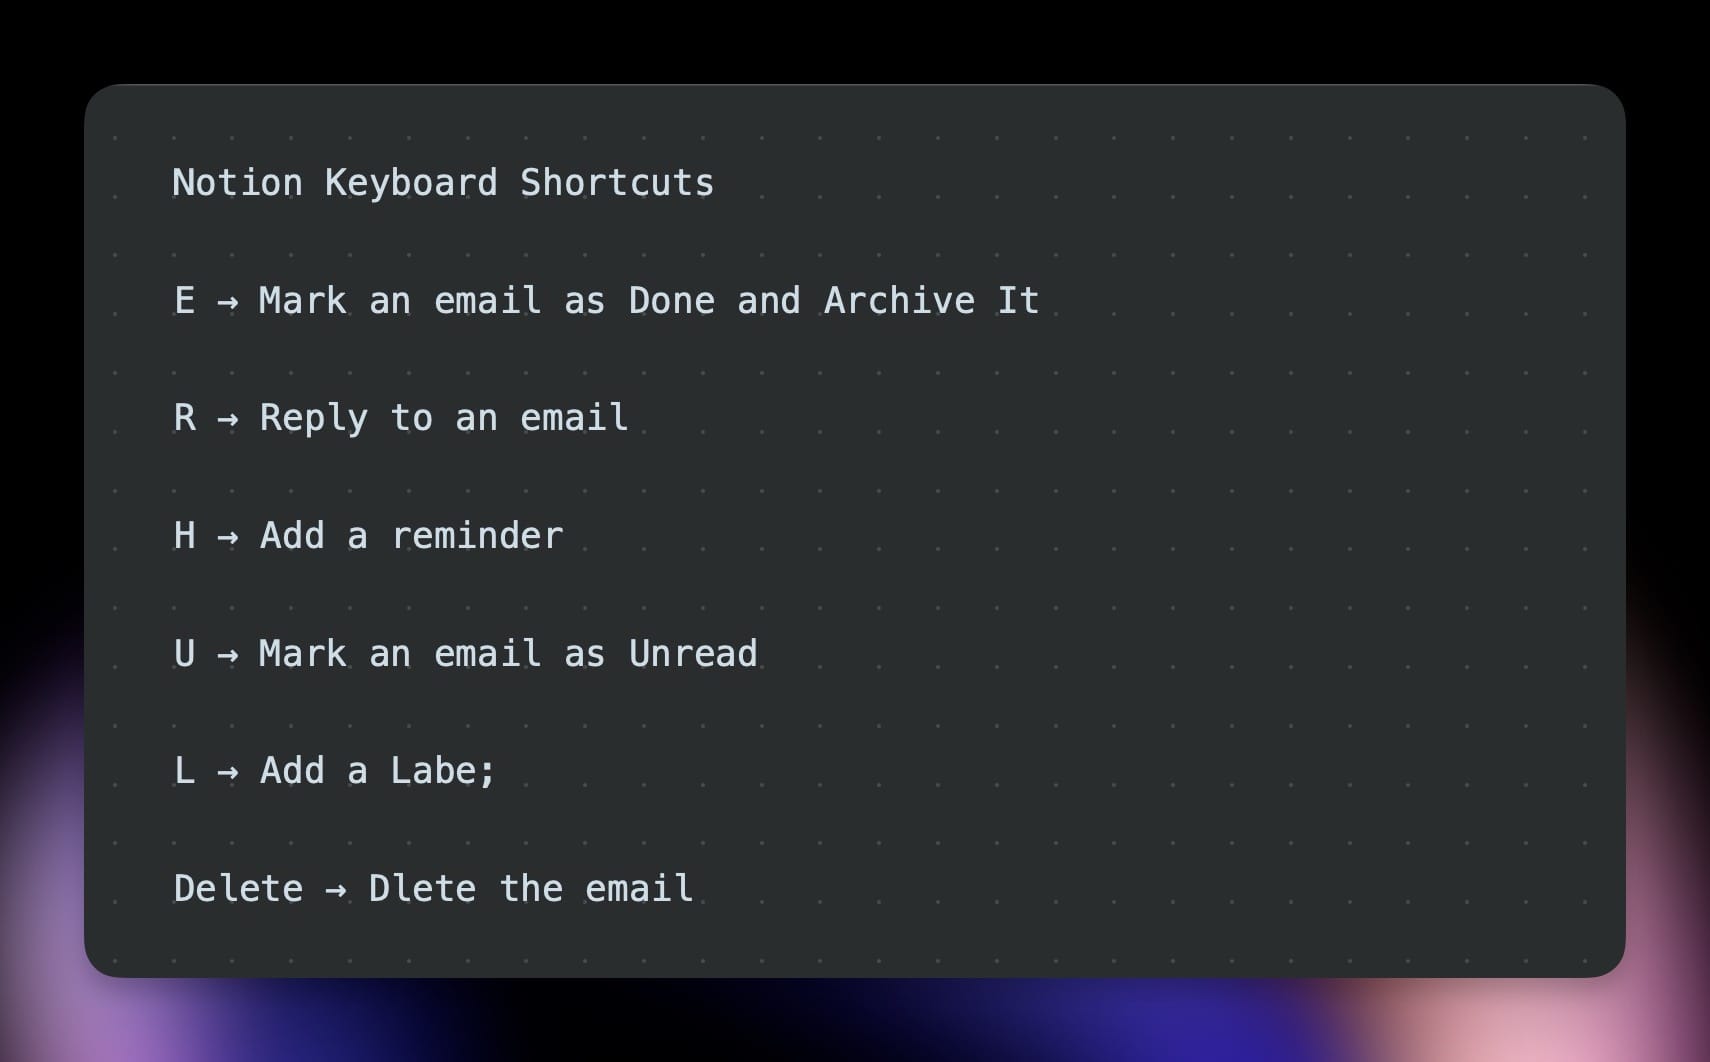
The rest of the shortcuts are different, but I am happy they exist. You can hit H to add a reminder, U to mark an email as Unread, L to add a Label, and the delete key to delete the email.
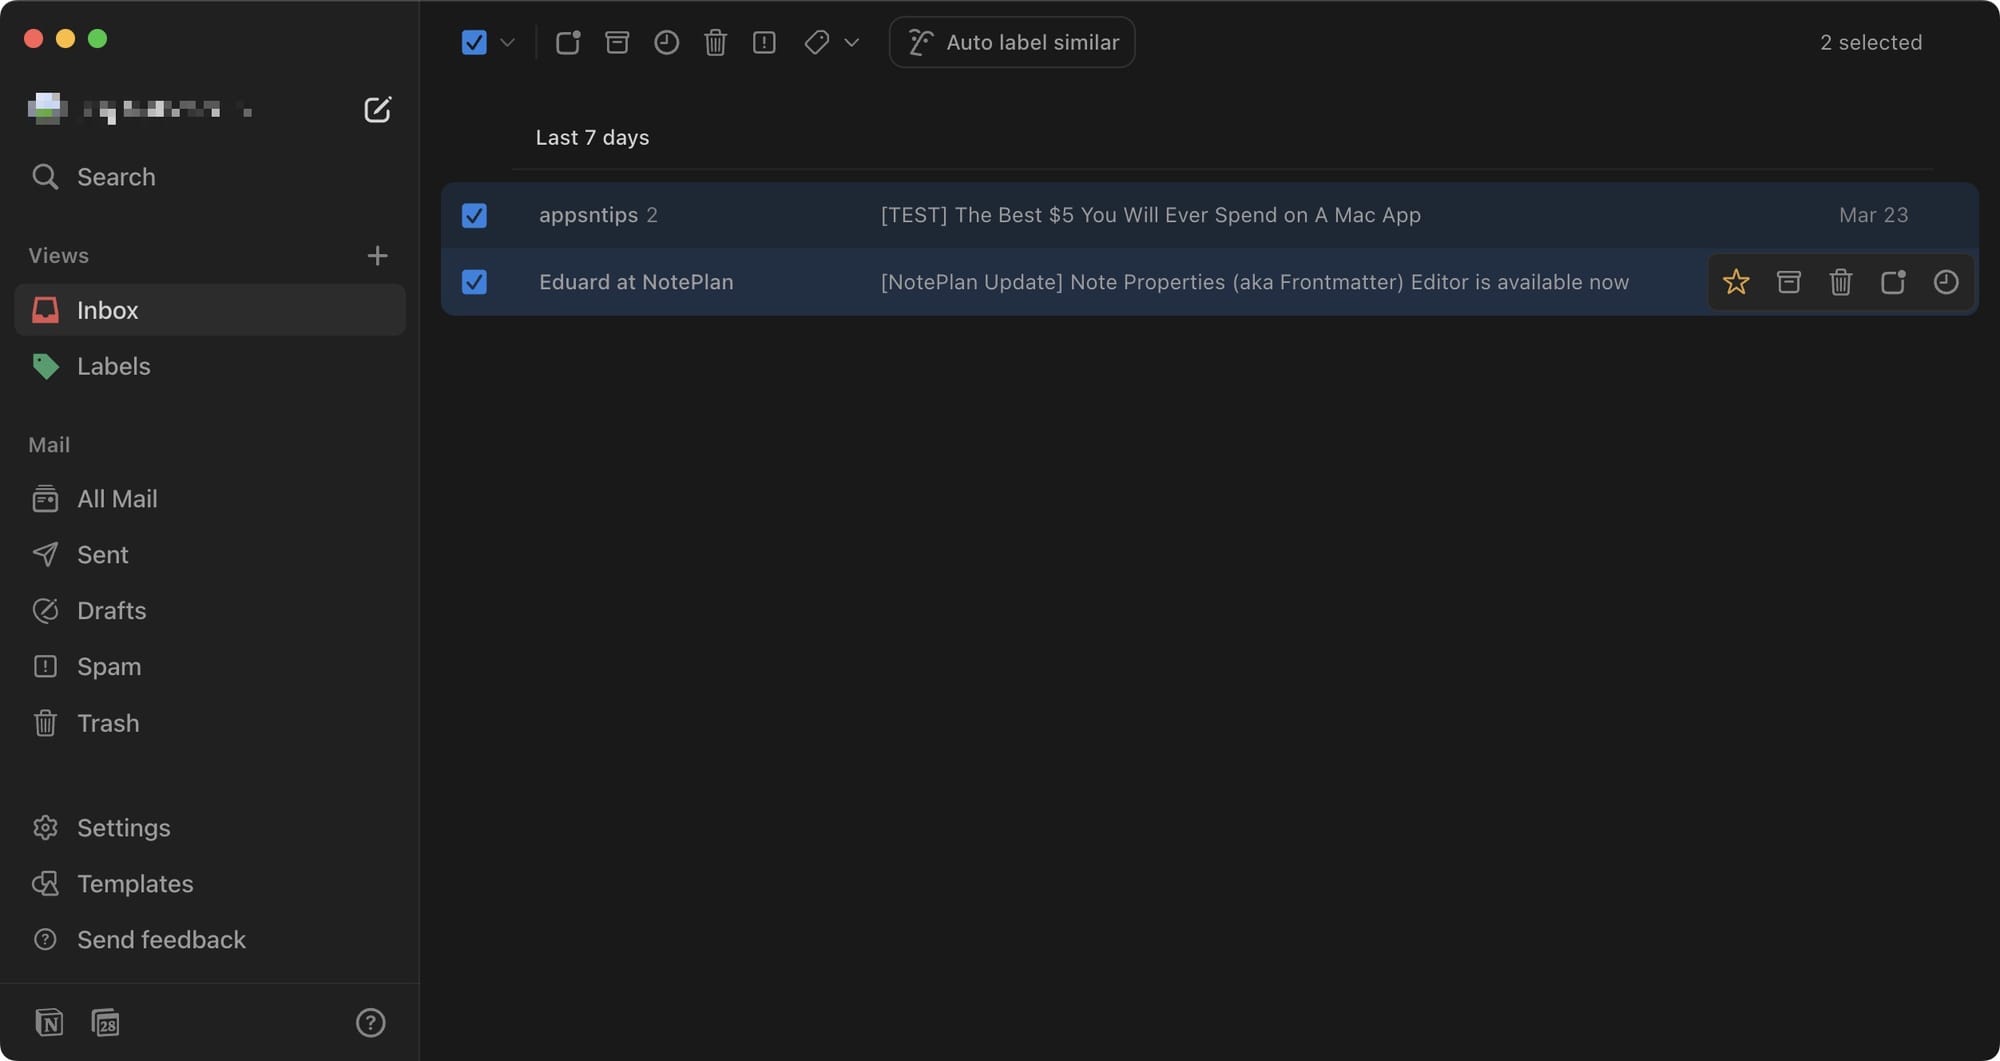
Another keyboard shortcut I like is the ability to select multiple emails using the Shift+up/down arrow. Notion Mail also has a built-in Command Bar that you can access using the ⌘K keyboard shortcut. You can search for emails, change the settings, access the snippets, and more.
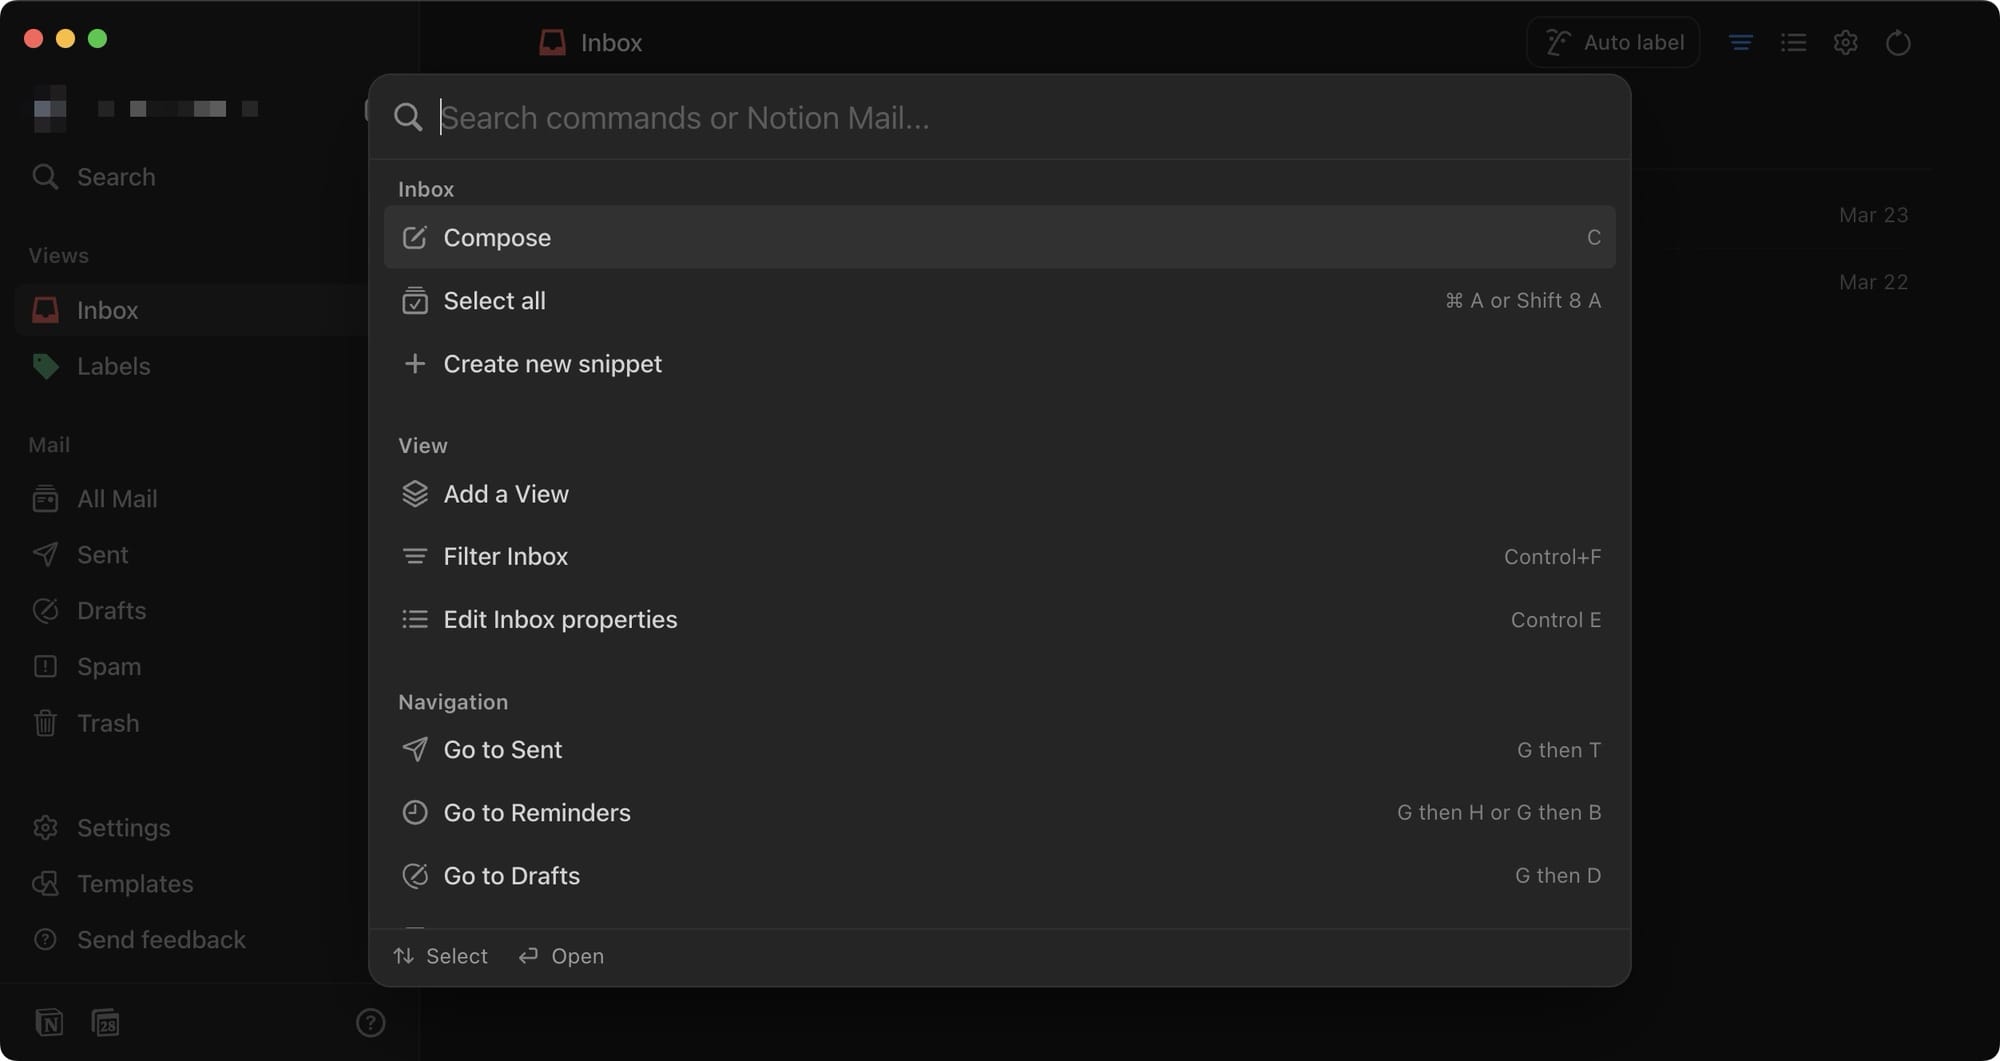
I am happy that Notion Mail supports keyboard shortcuts as it makes triaging emails faster.
The Hover feature
Notion Mail also offers quick tool access with its Hover feature, which will be handy if you forget a keyboard shortcut. You can hover over an email to get a small preview of the email.
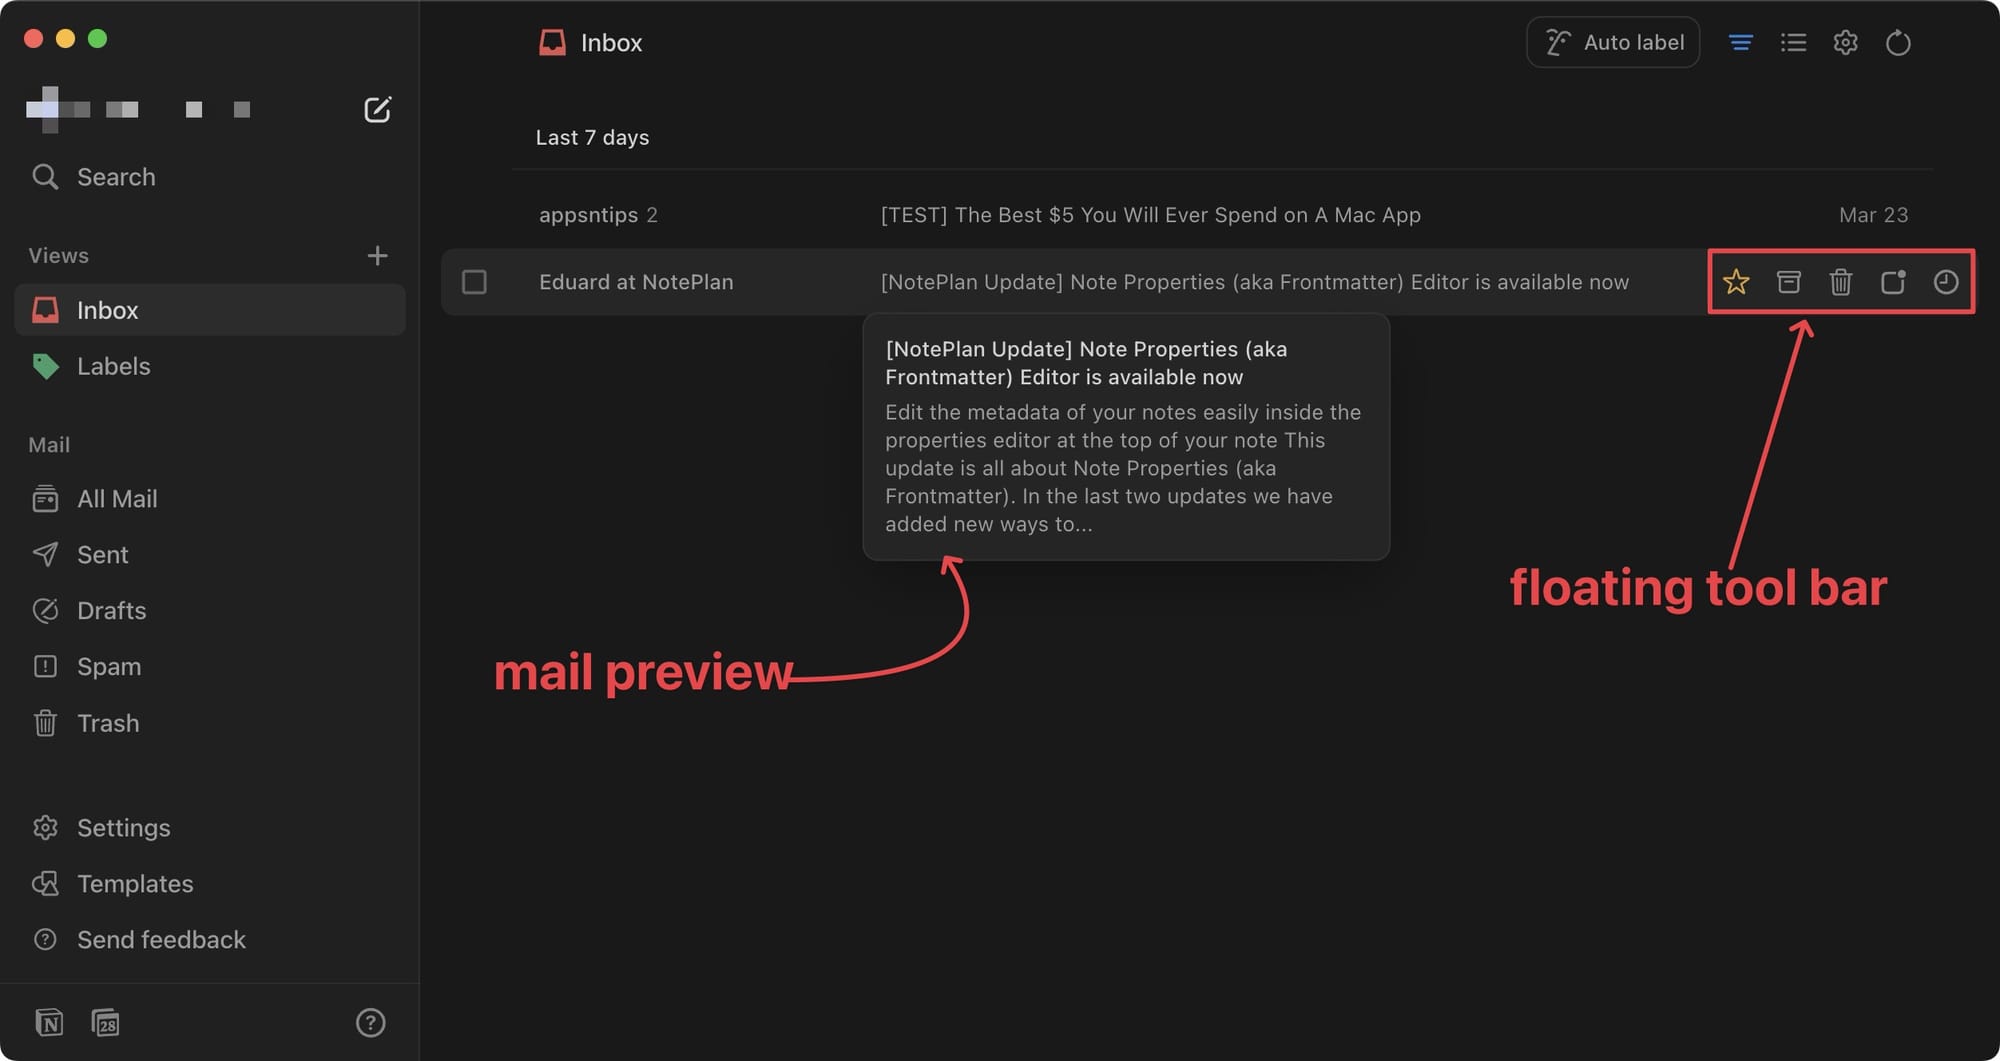
On the right side, you get access to all the usual tools, including the ability to Star an email, mark it as read, archive it, delete it, and so on.
Different views in Notion Mail
You might have noticed that when I click an email in Notion mail, it opens in the side peek mode.
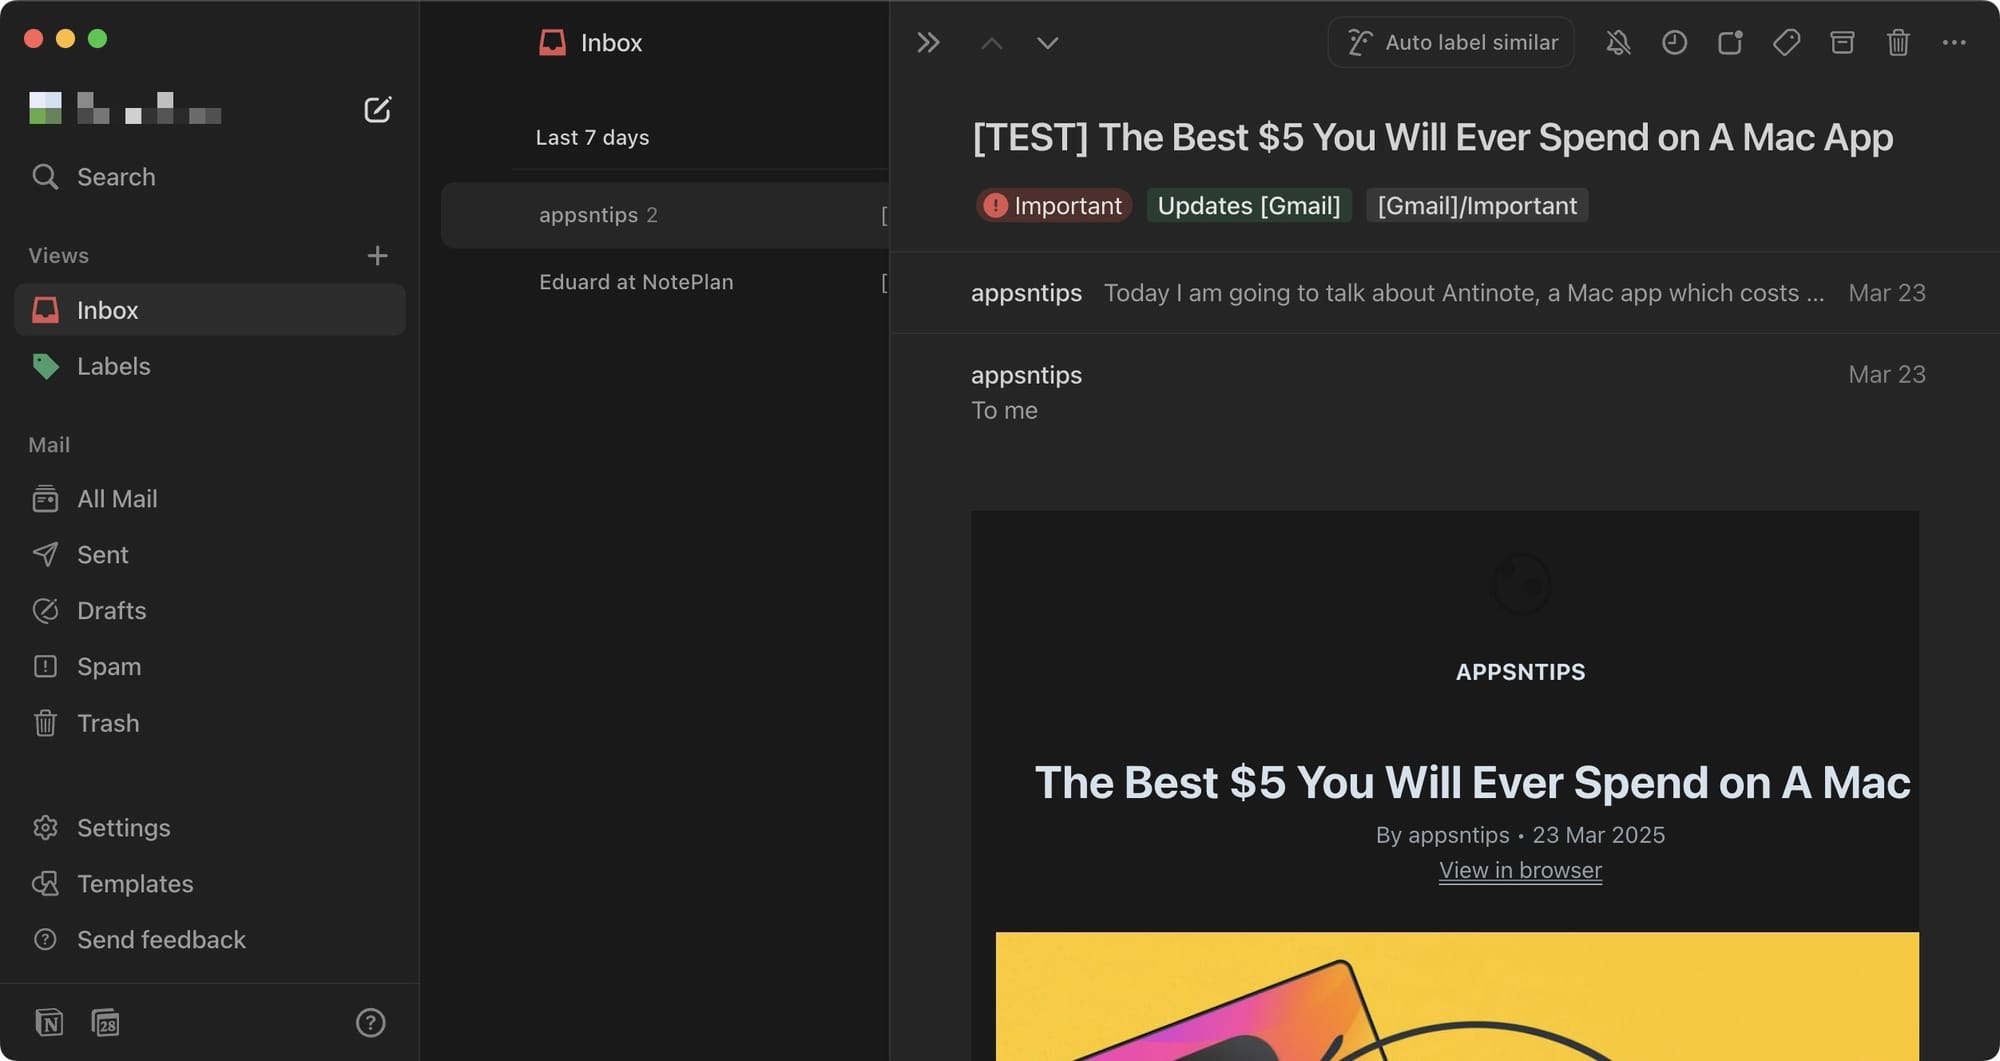
Since Notion doesn’t have a column view, I prefer this view, but you also have the option to open the mail in Center Peek or full page view.
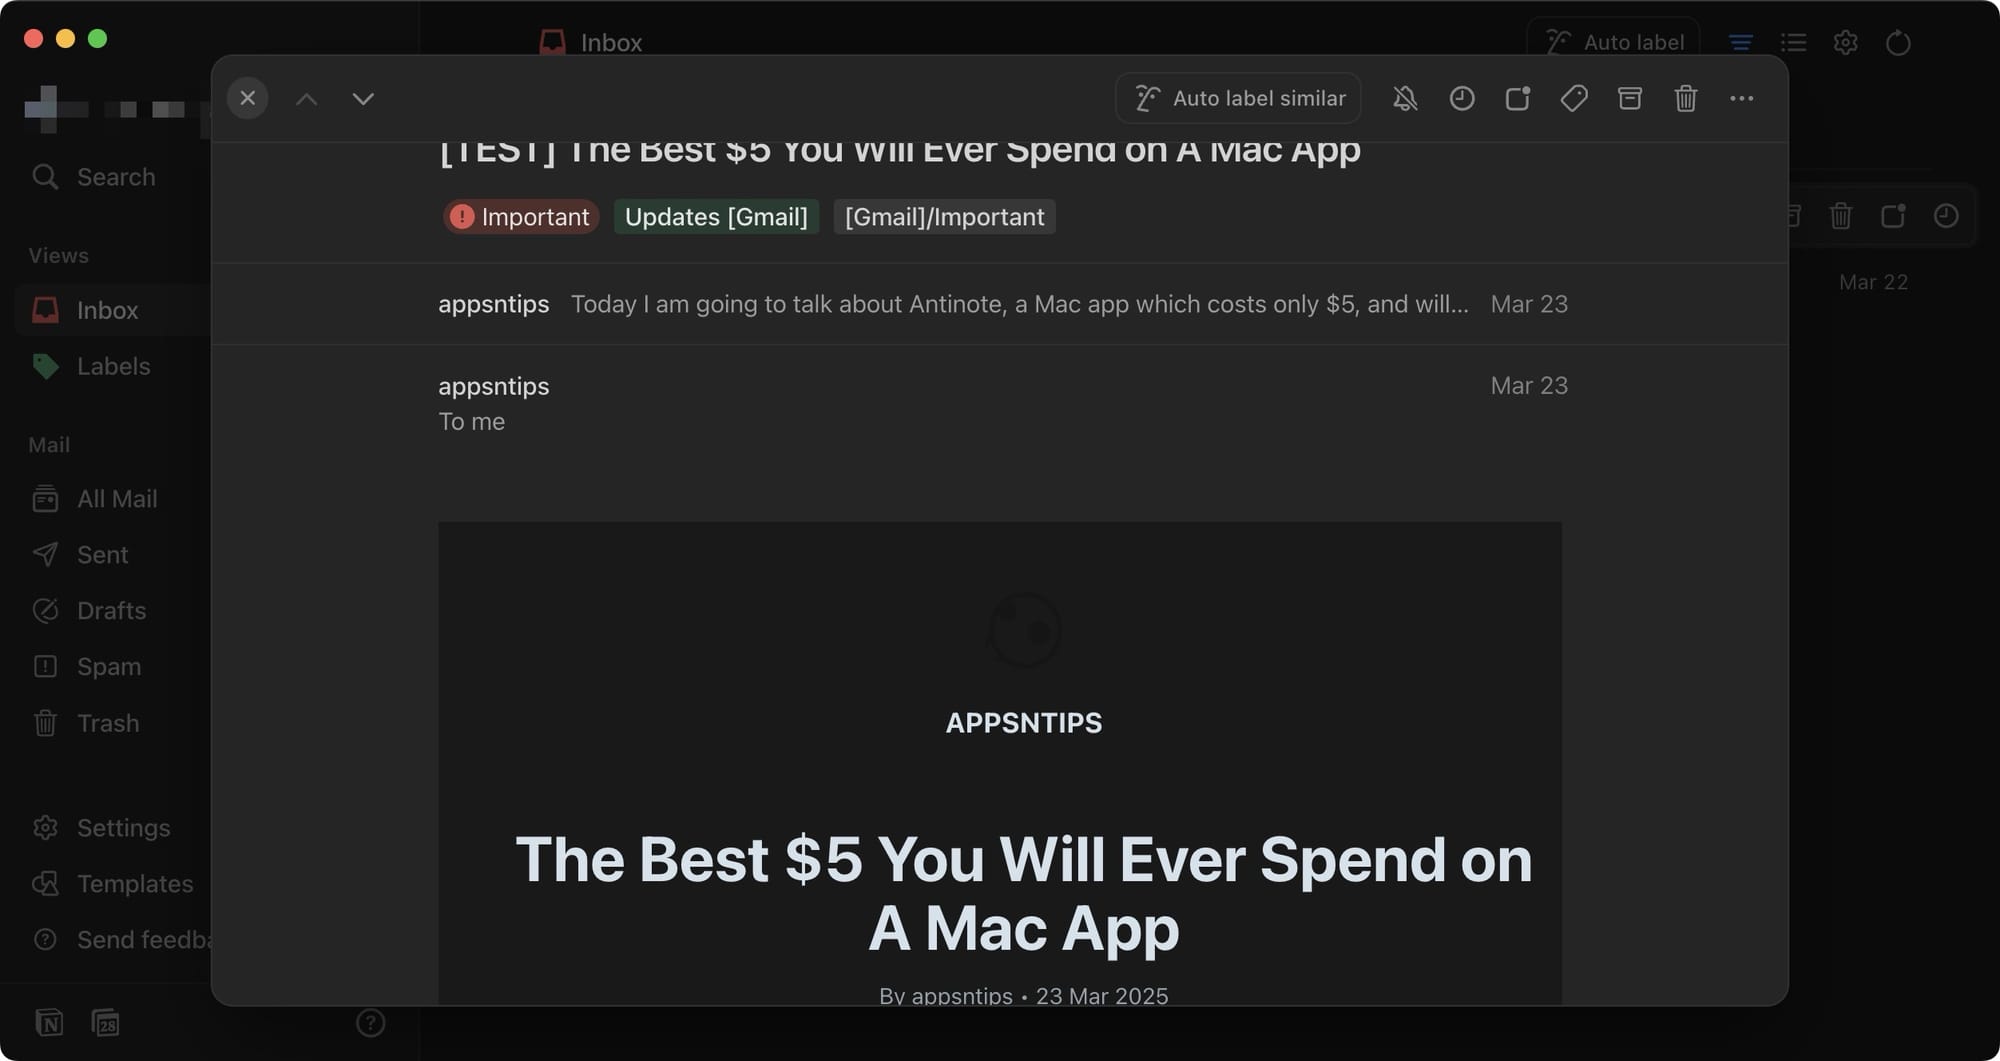
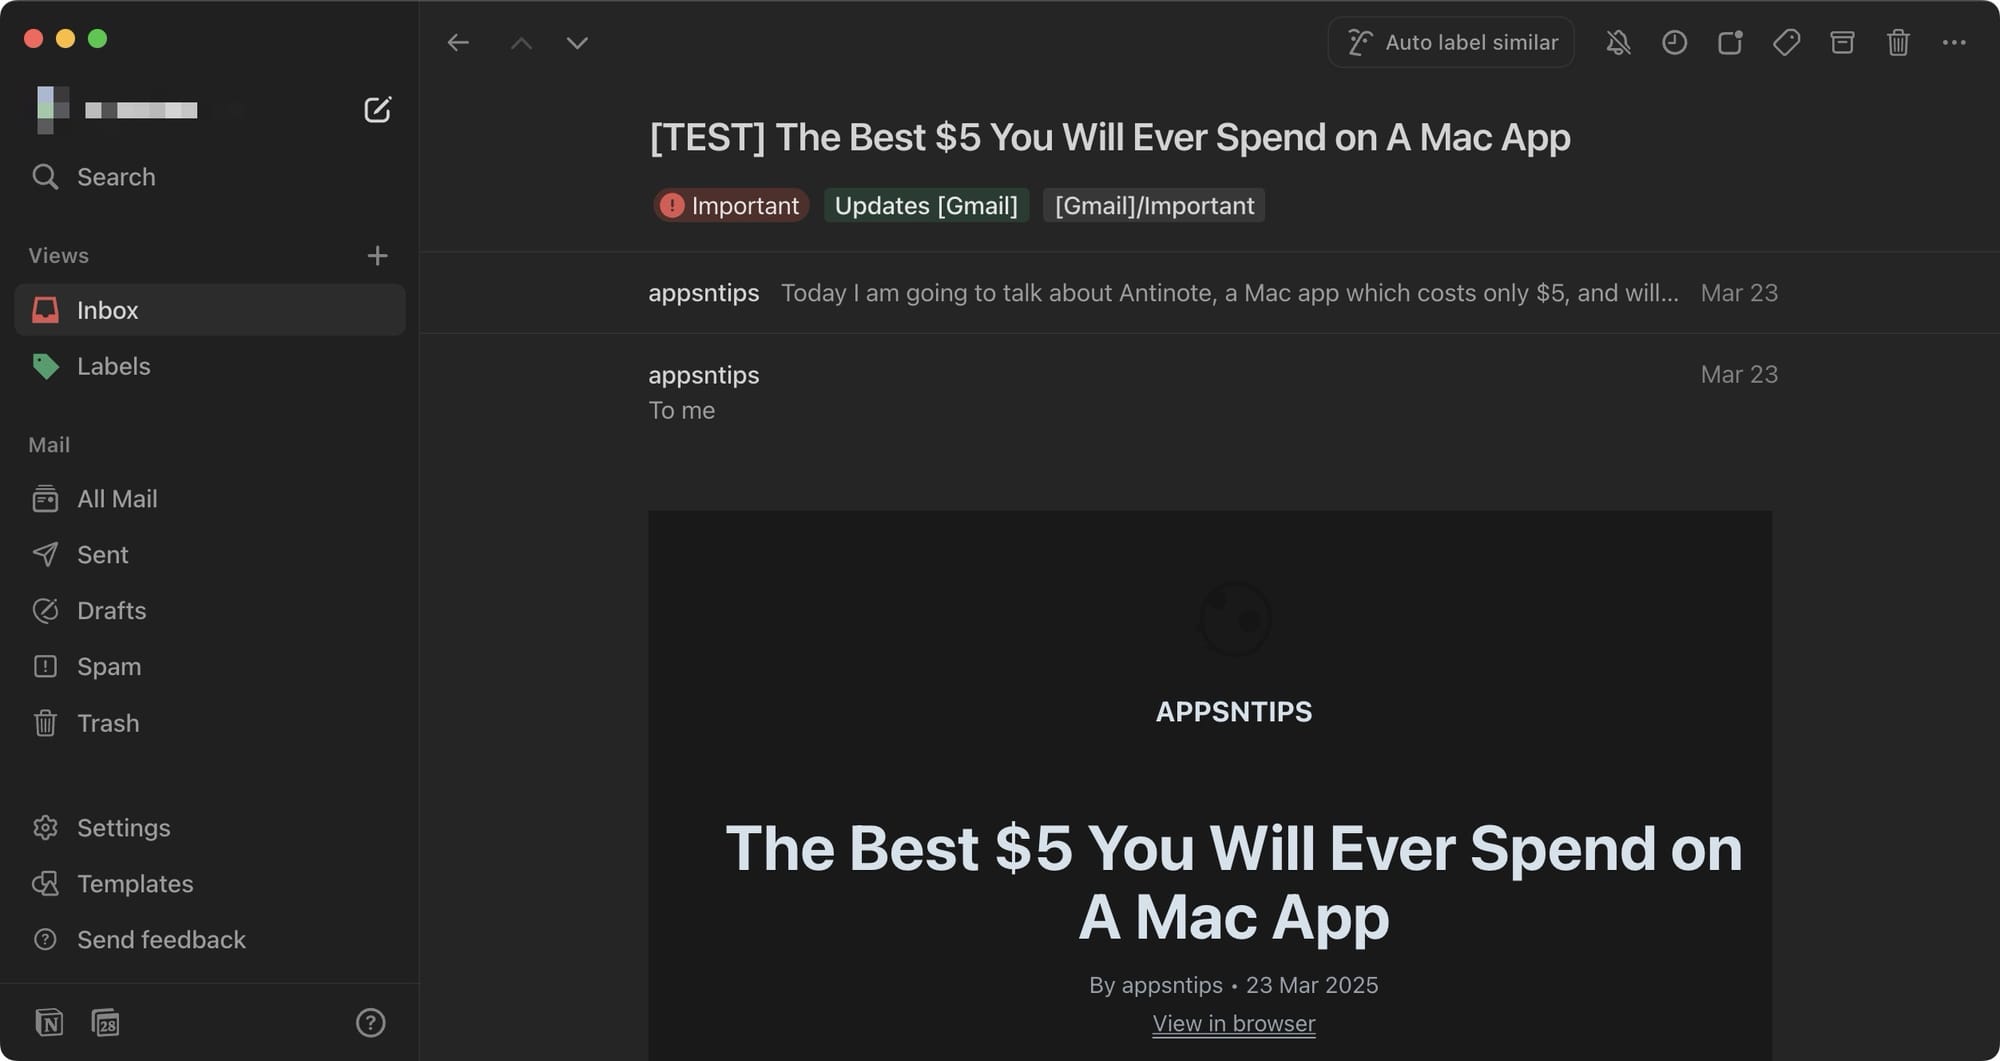
Center Peek View (left) / Full Page View (right)
To change the view, open Settings and change the Thread style to your preferred view style.
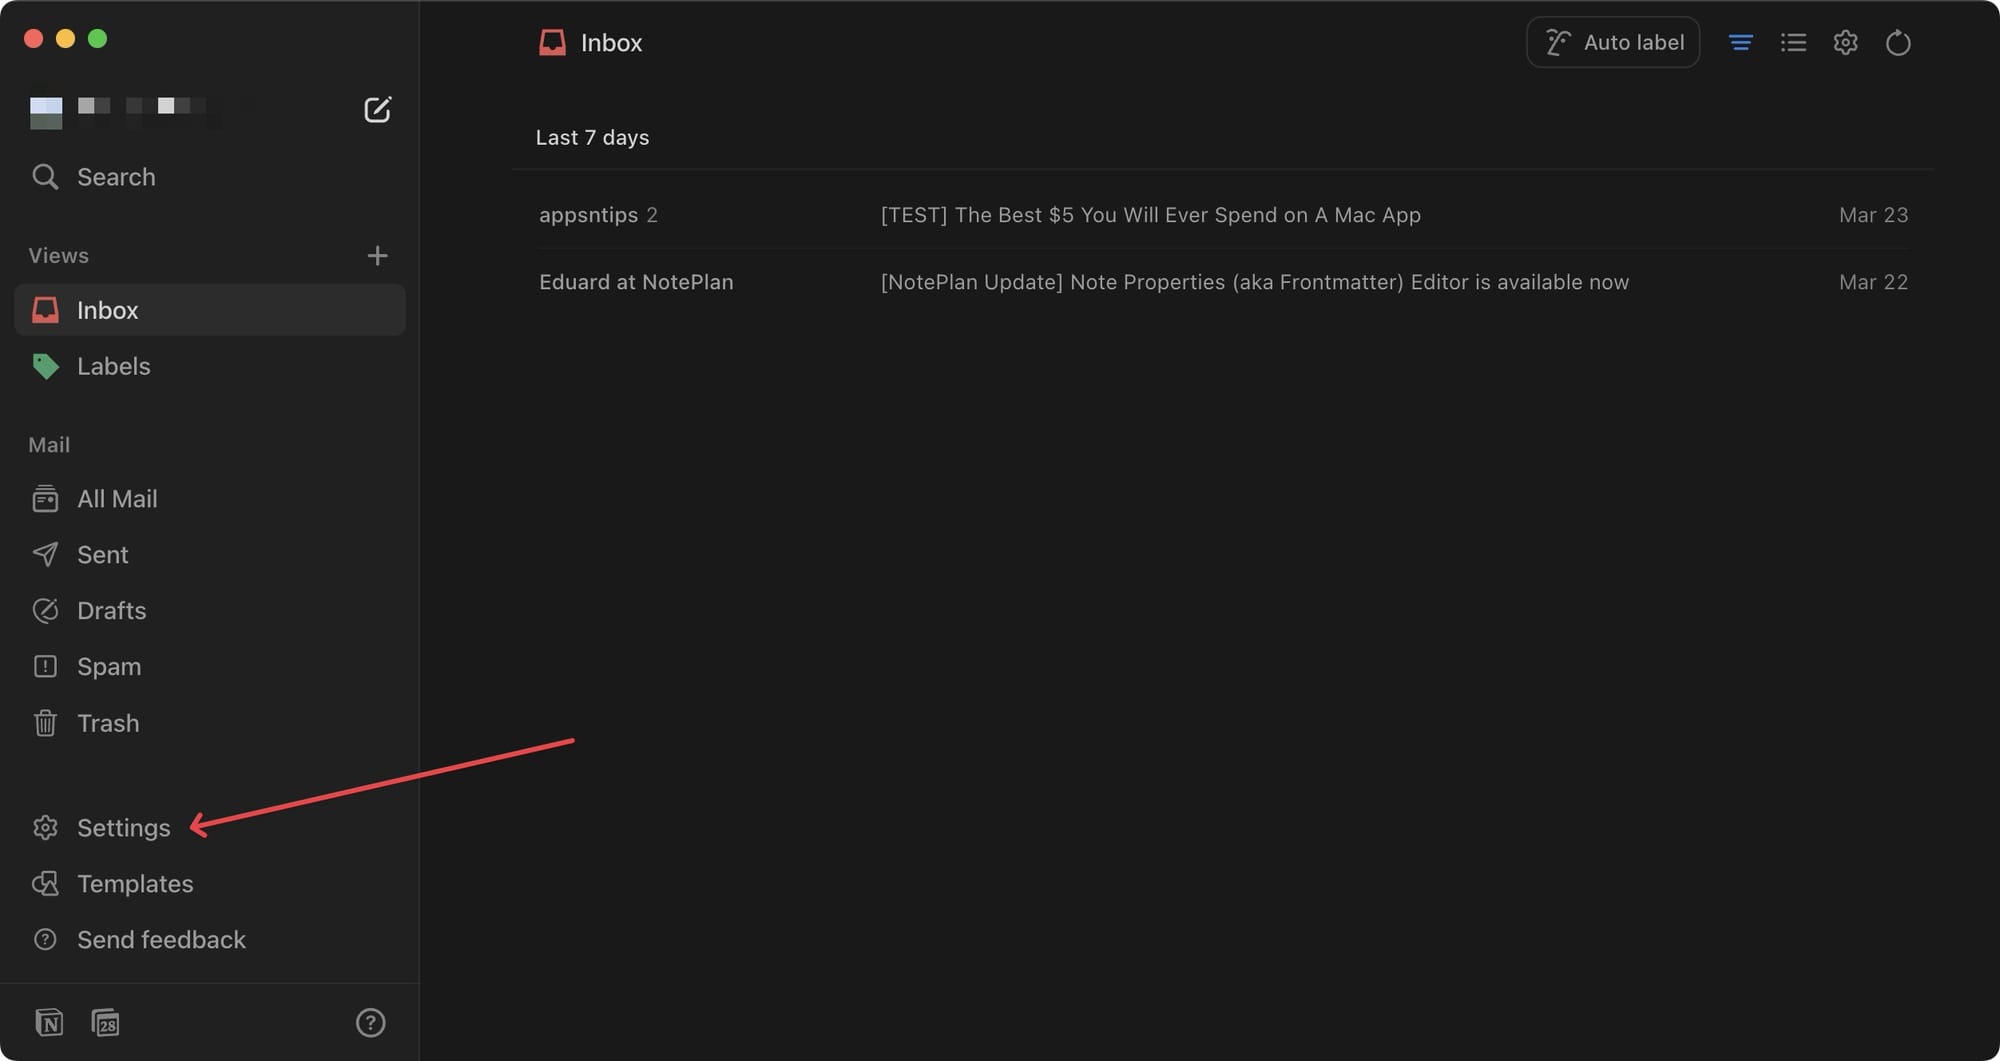
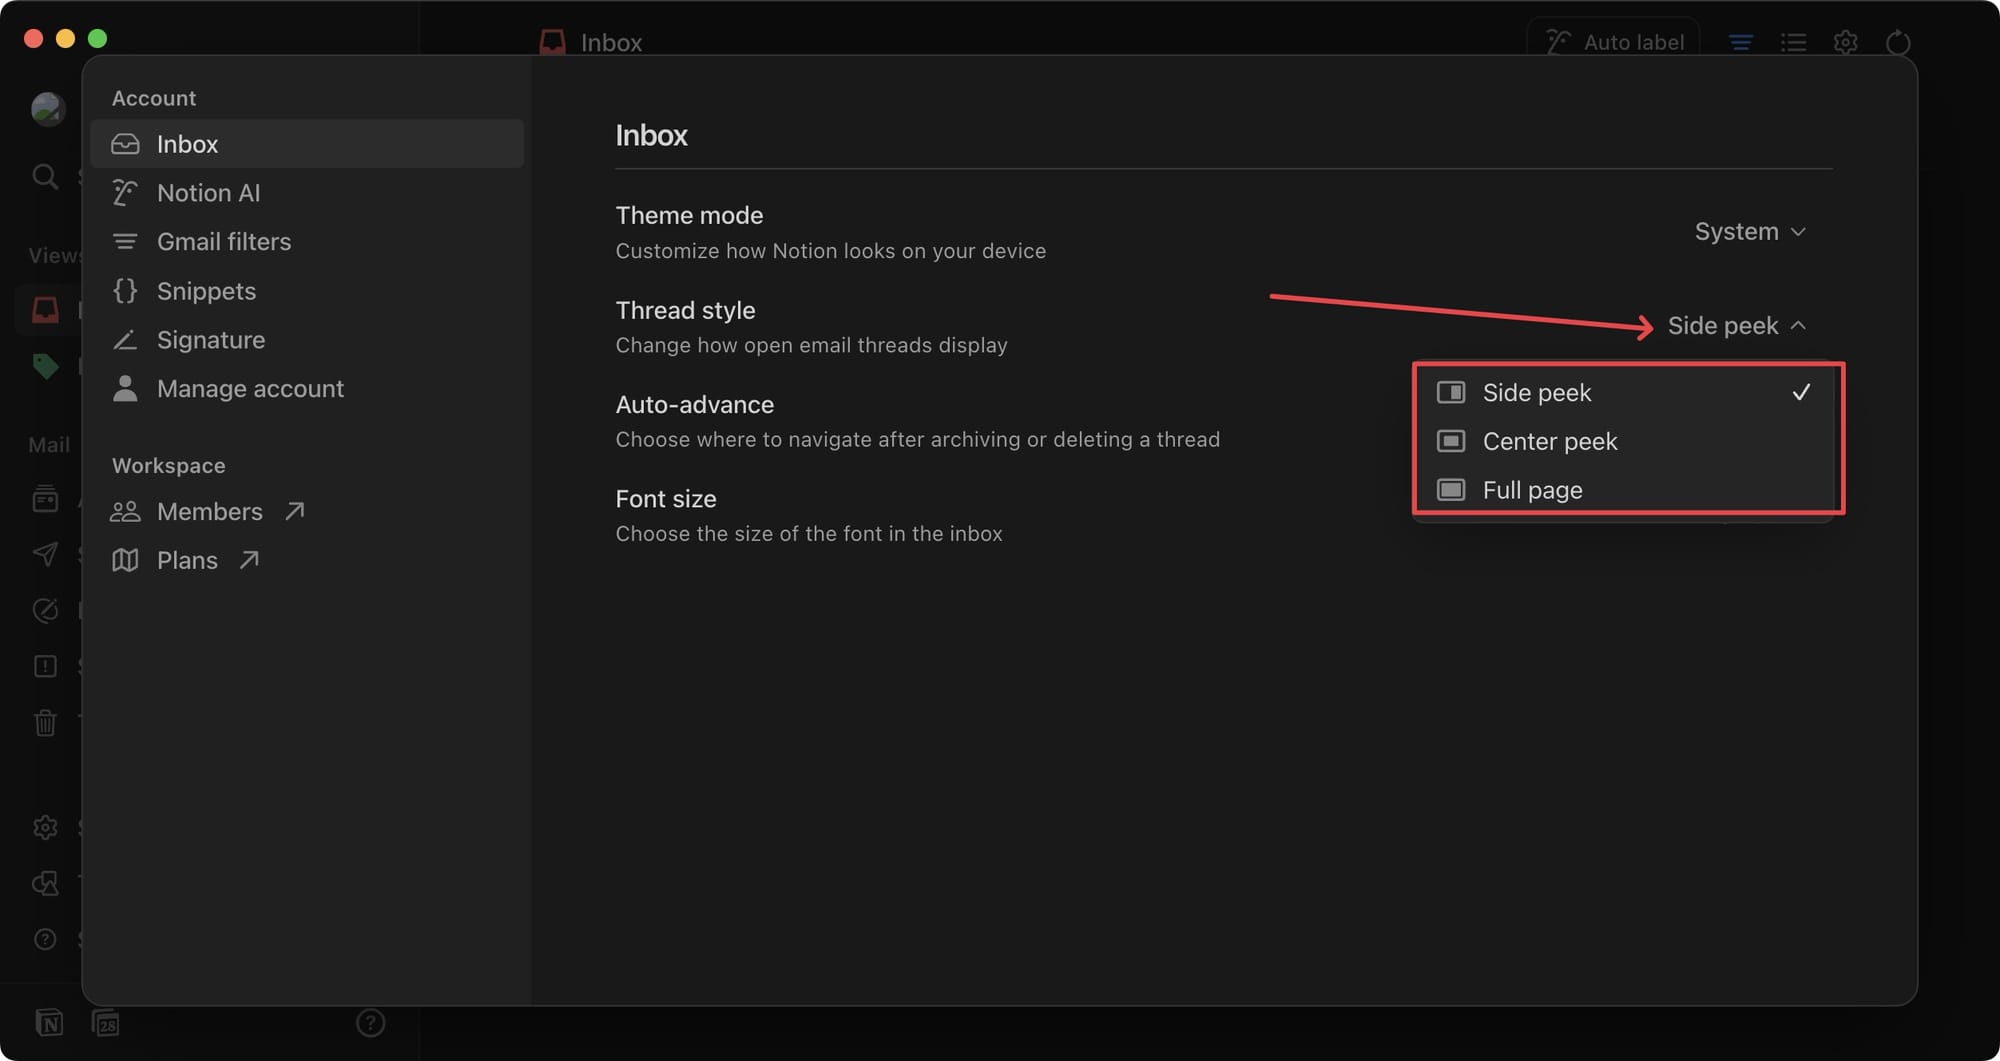
One benefit of using Side Peek is that I can navigate between emails using the up and down arrow keys in this view. In the other two views, the arrow key will scroll the email.
Mail Labels
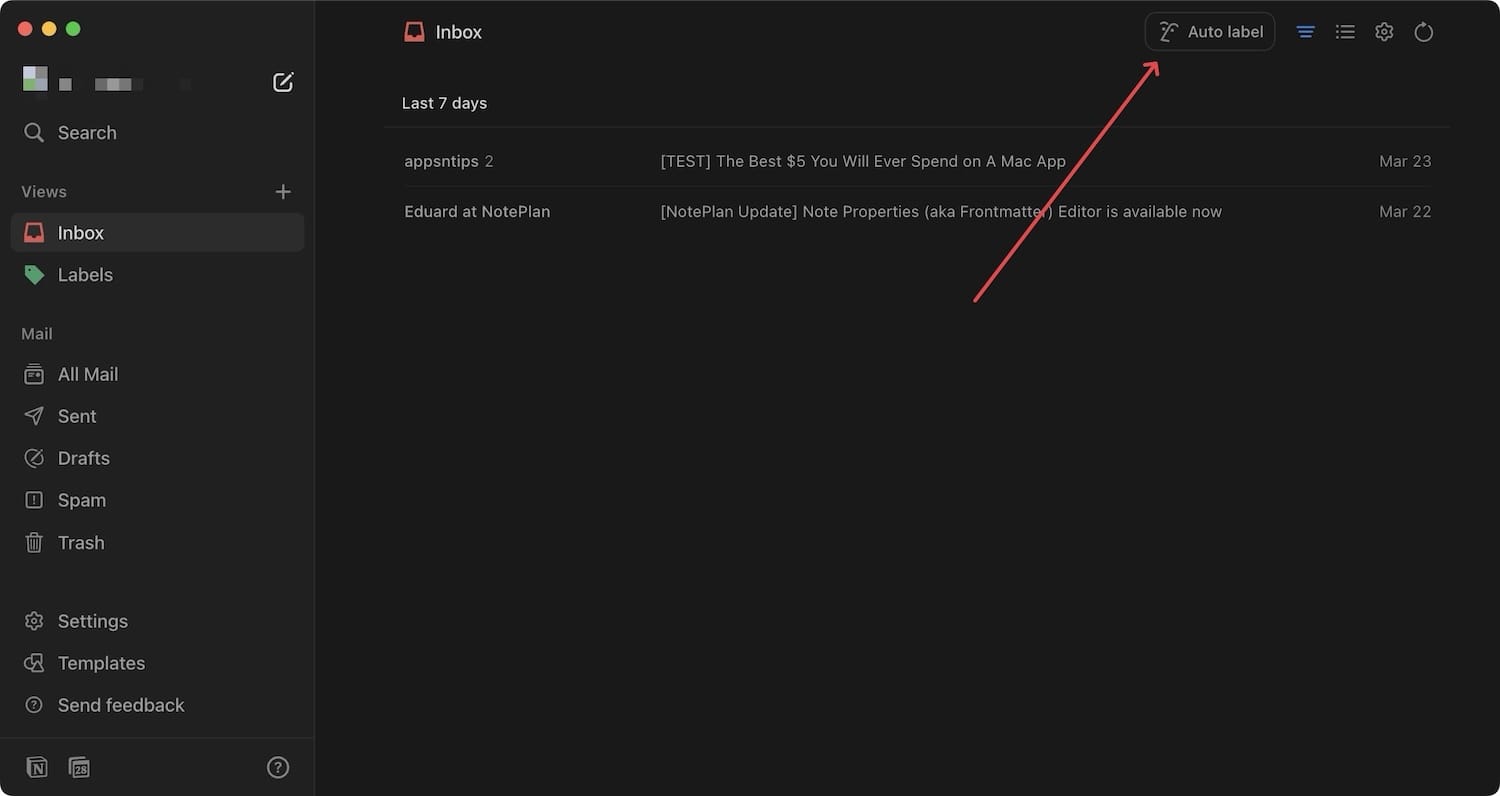
If you have used any email, you know it’s hard to create a filter. Notion Mail makes it easy with its Auto Label feature. Instead of setting rules and filters, you can enter your criteria in natural language.
Let’s try creating one to understand this feature. Let’s say I want a view that only contains emails from Notion. I will click the Auto Label button and type a simple command like “All Emails from Notion”.
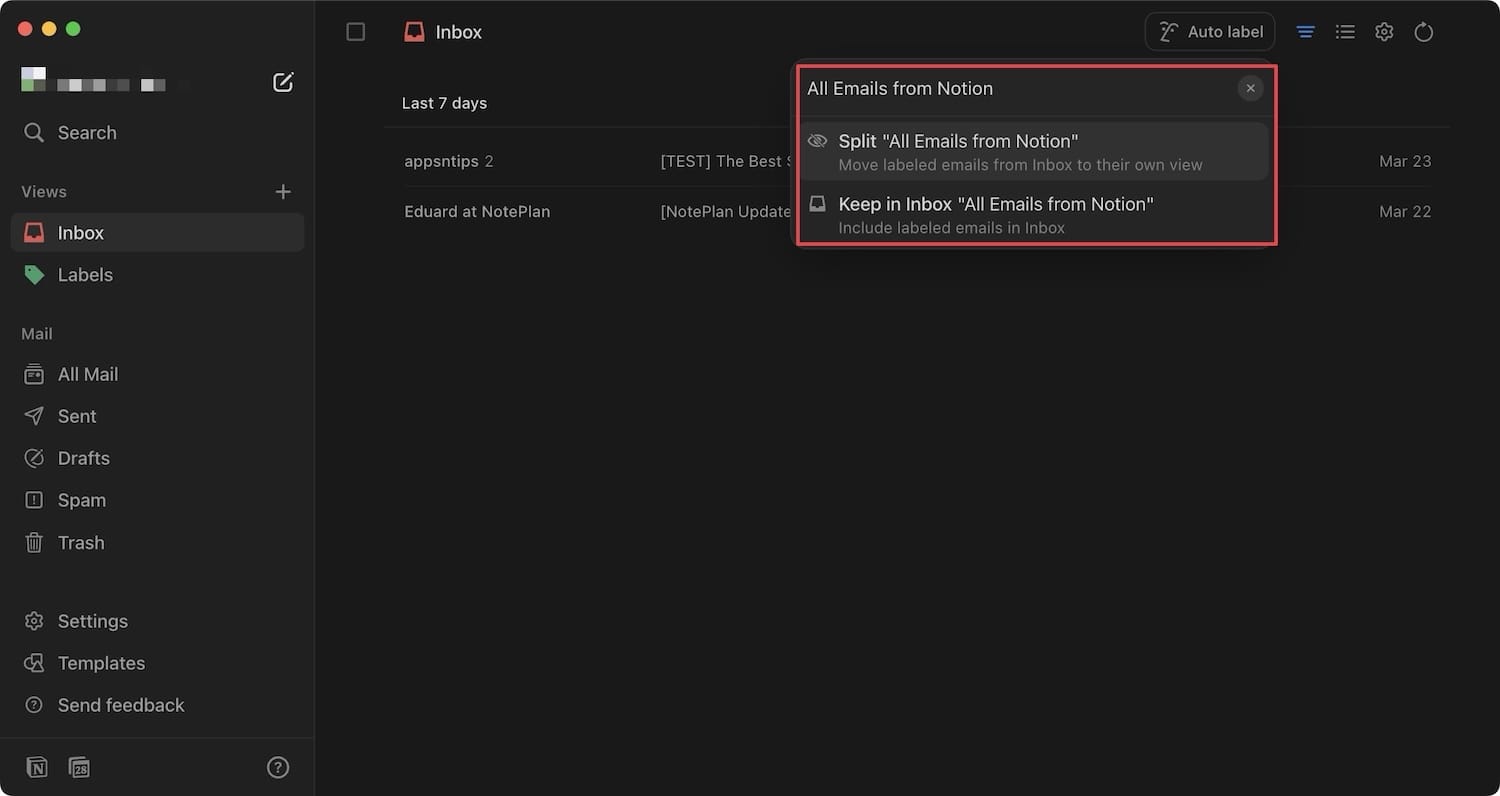
It will take a moment to search your emails and give you the emails that meet your search criteria. You can check and see if the emails fit your search and mark them as correct or incorrect.
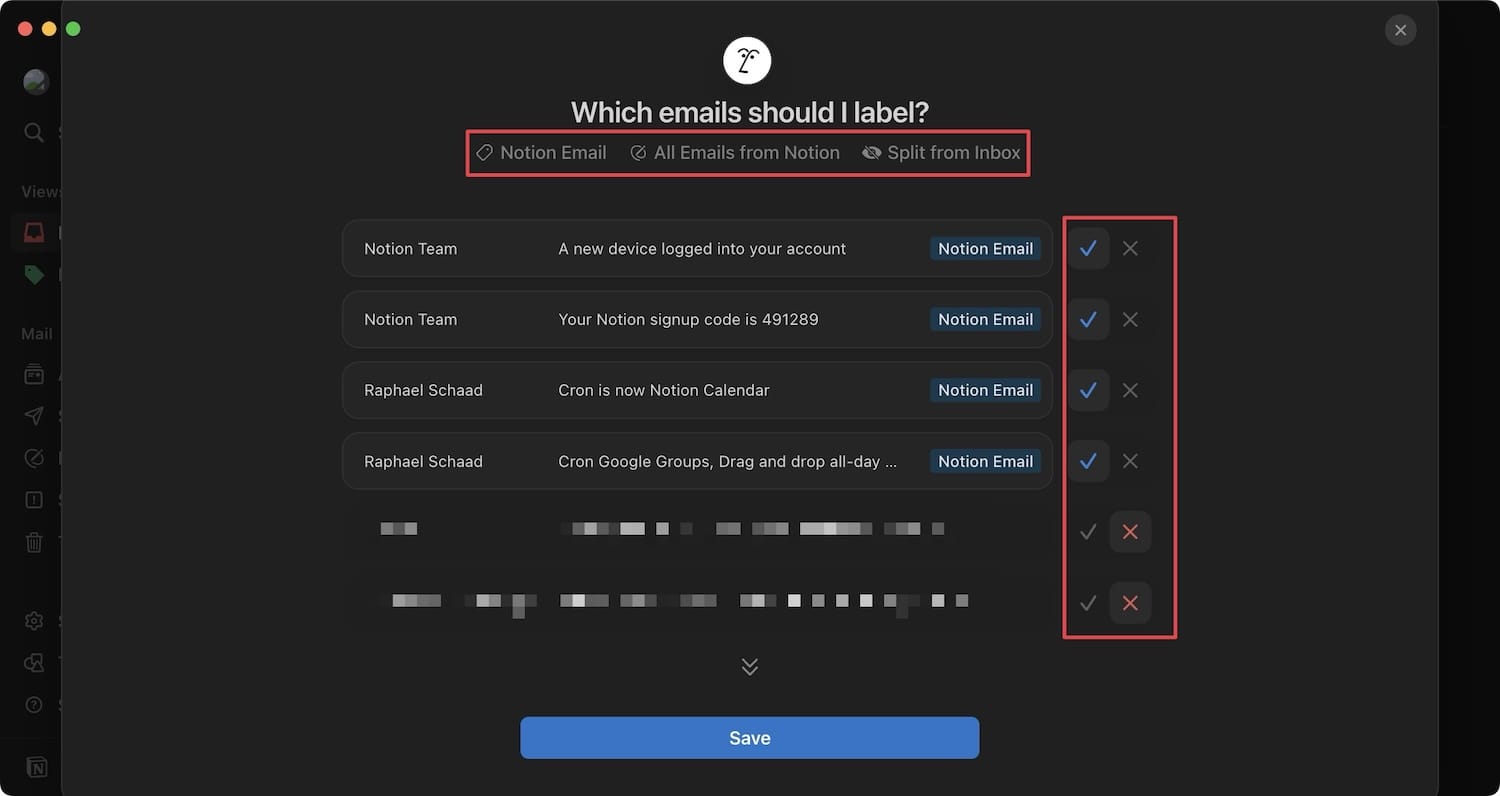
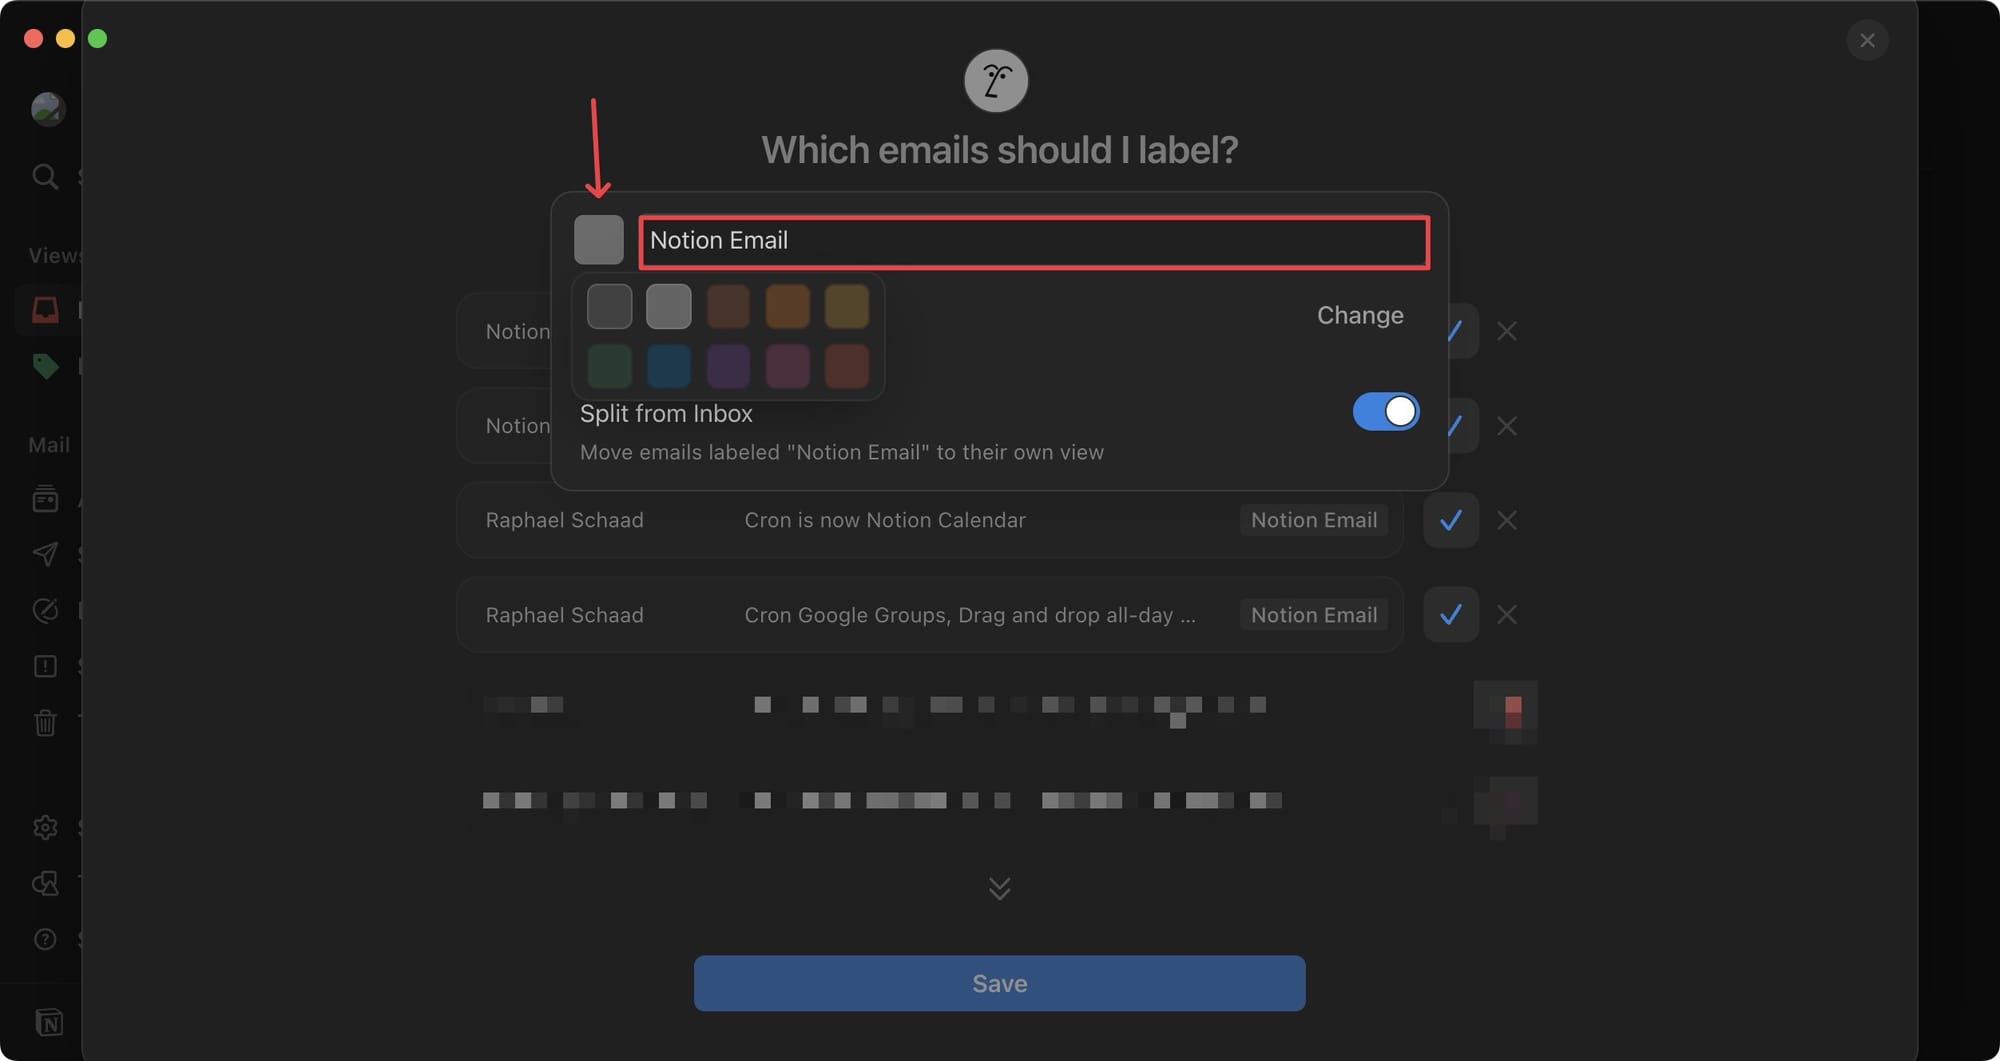
In my test, the filter got everything right. You can click the top to rename the label and decide whether you want to split them from Inbox. I want to split them from Inbox, so, I will keep the toggle on. I will assign it a different color and hit Save to save the view.
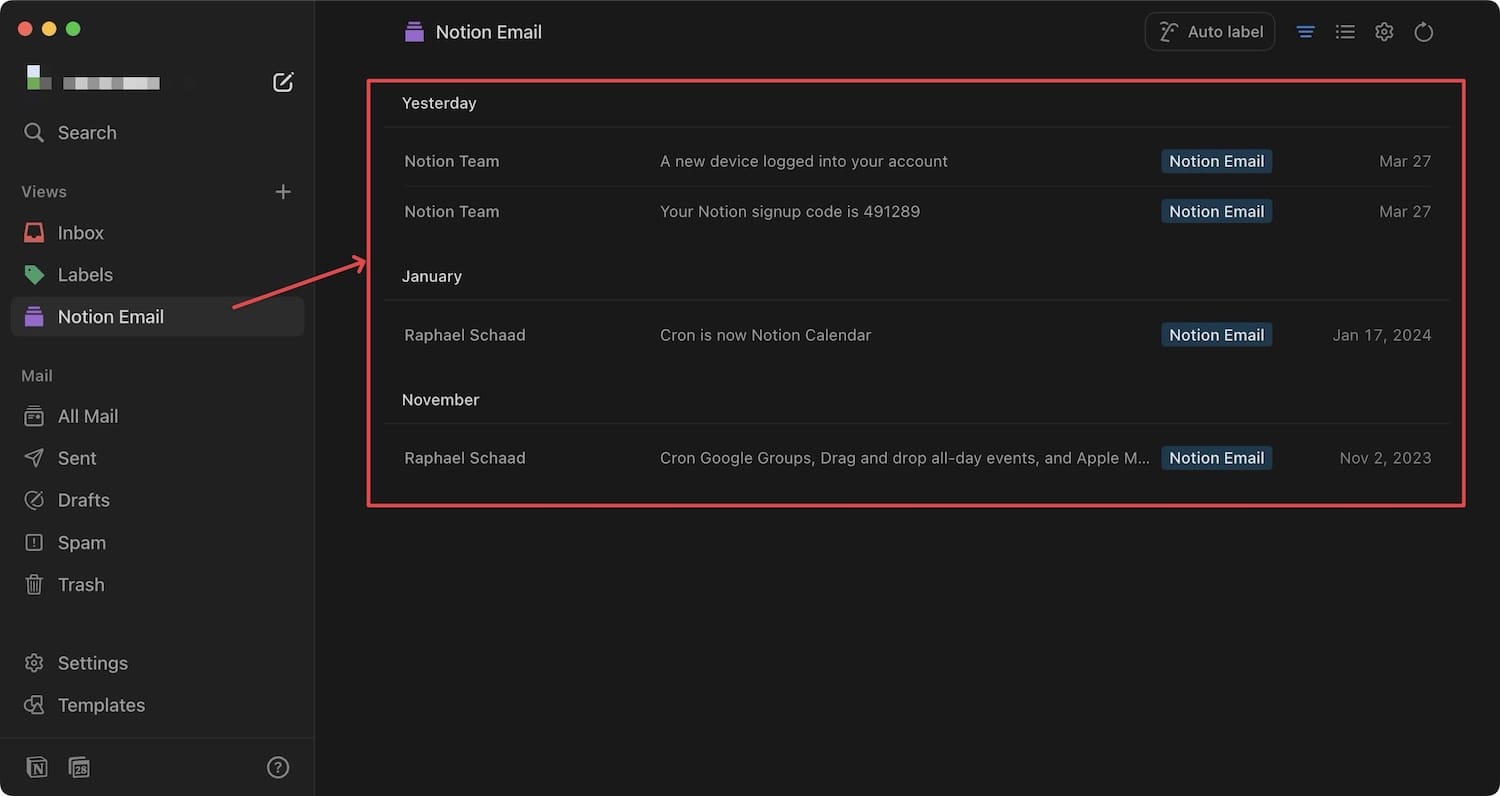
As you can see, all the emails from Notion have moved to the new view I created.
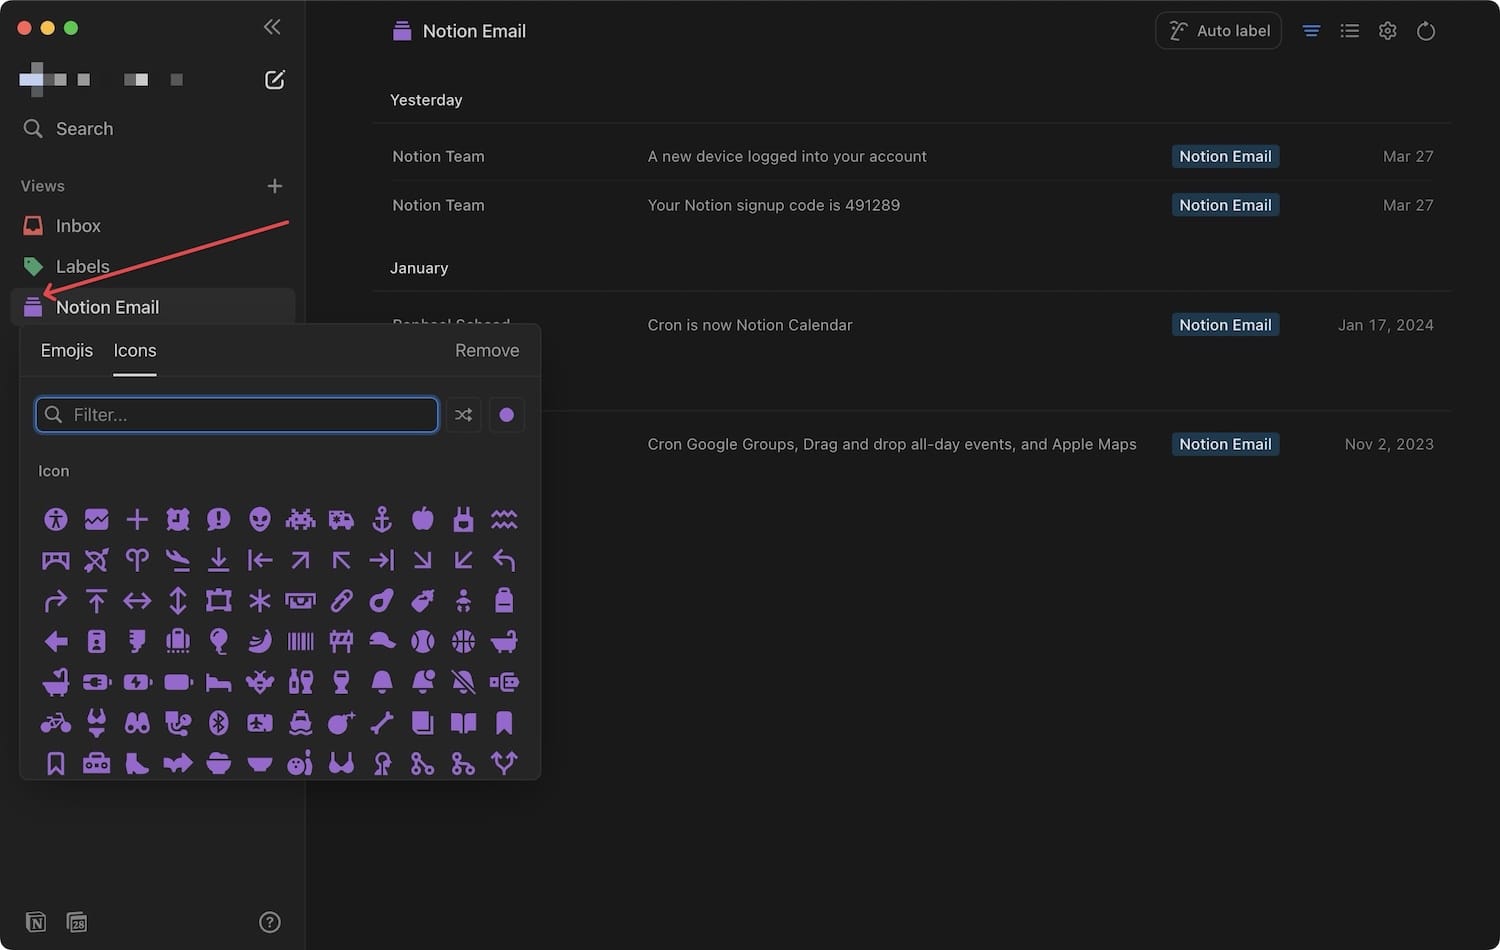
You can click the icon to assign a different icon. And that’s how easy it is to create new filters and views with Notion Mail.
Snippets
Notion Mail also has a built-in snippet feature that you can use to save common replies you have to send frequently. I use a third-party app to save my snippets, but it’s cool to see that it’s built-in here.
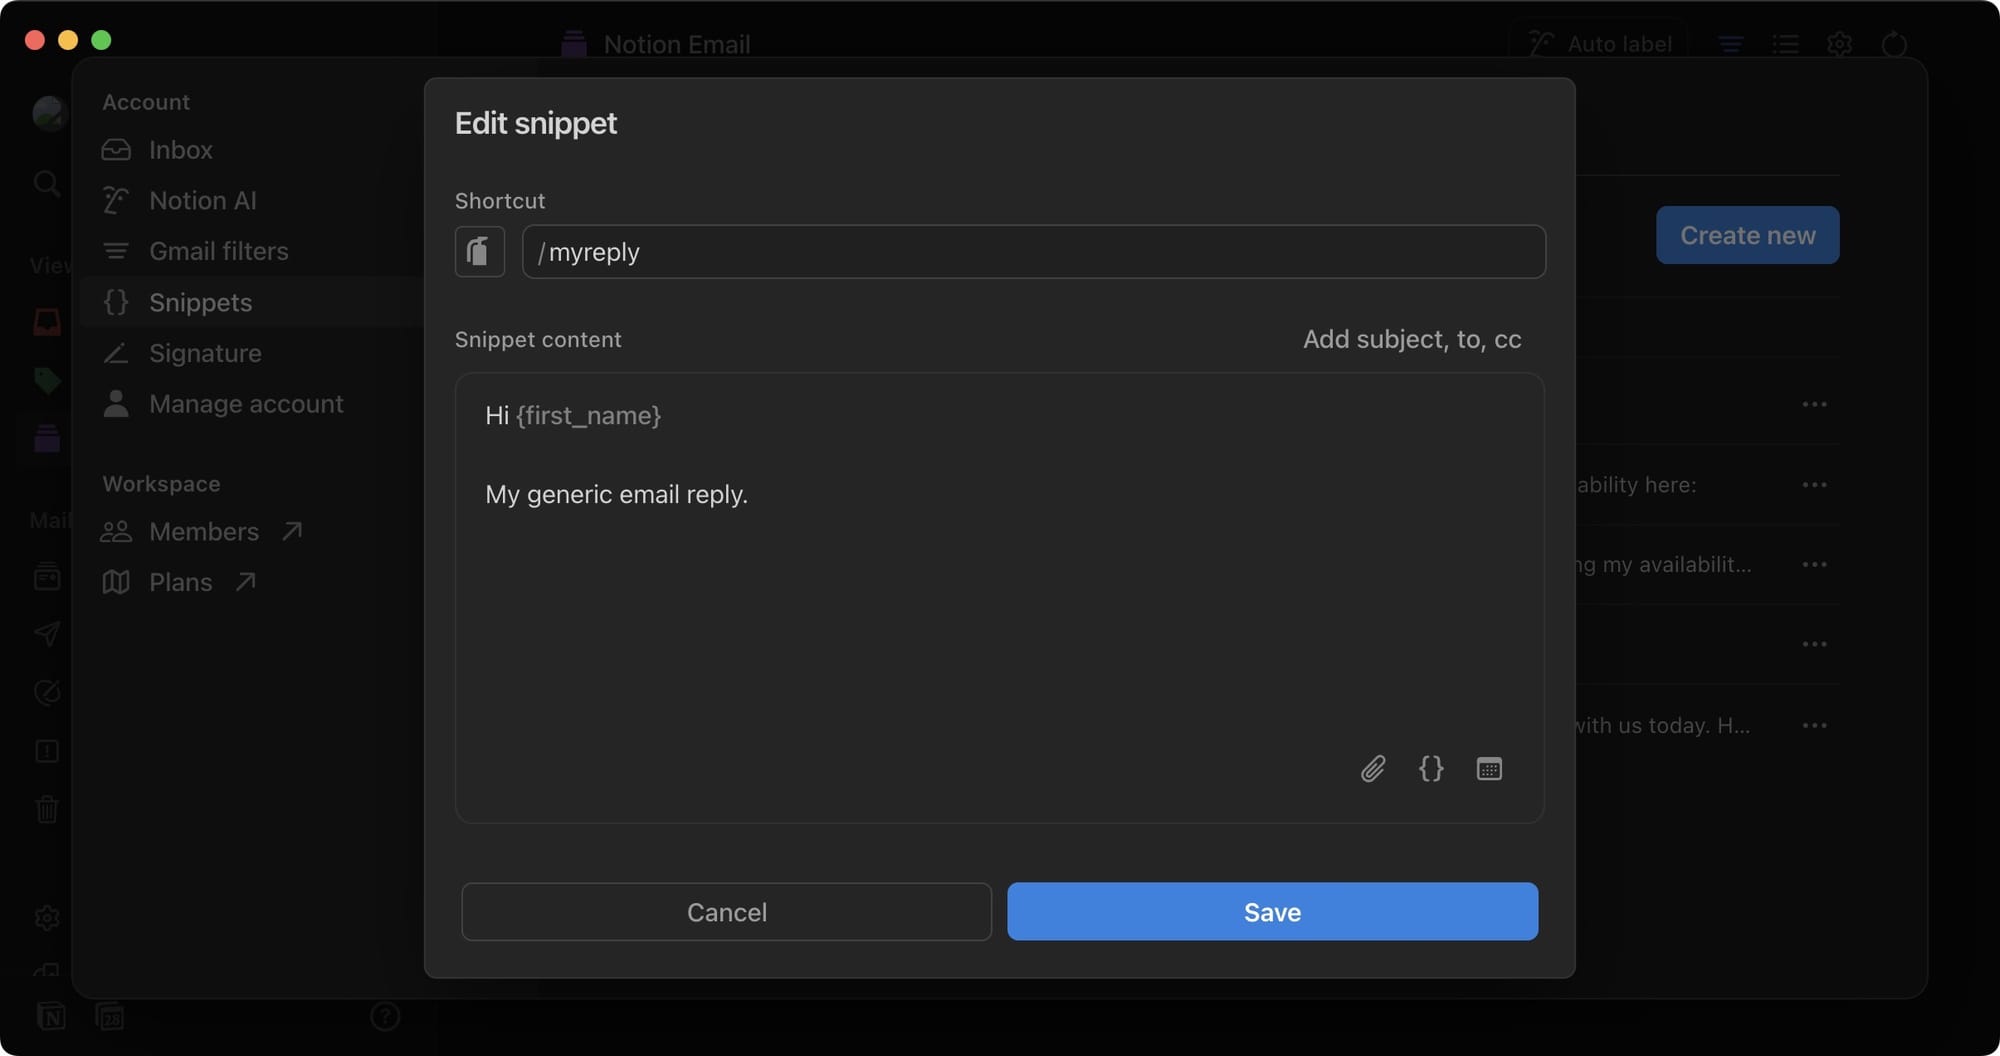
One thing I love about Notion Mail’s Snippet feature is that it’s dynamic. It can auto-populate the sender name in your email so you don’t have to type it manually.
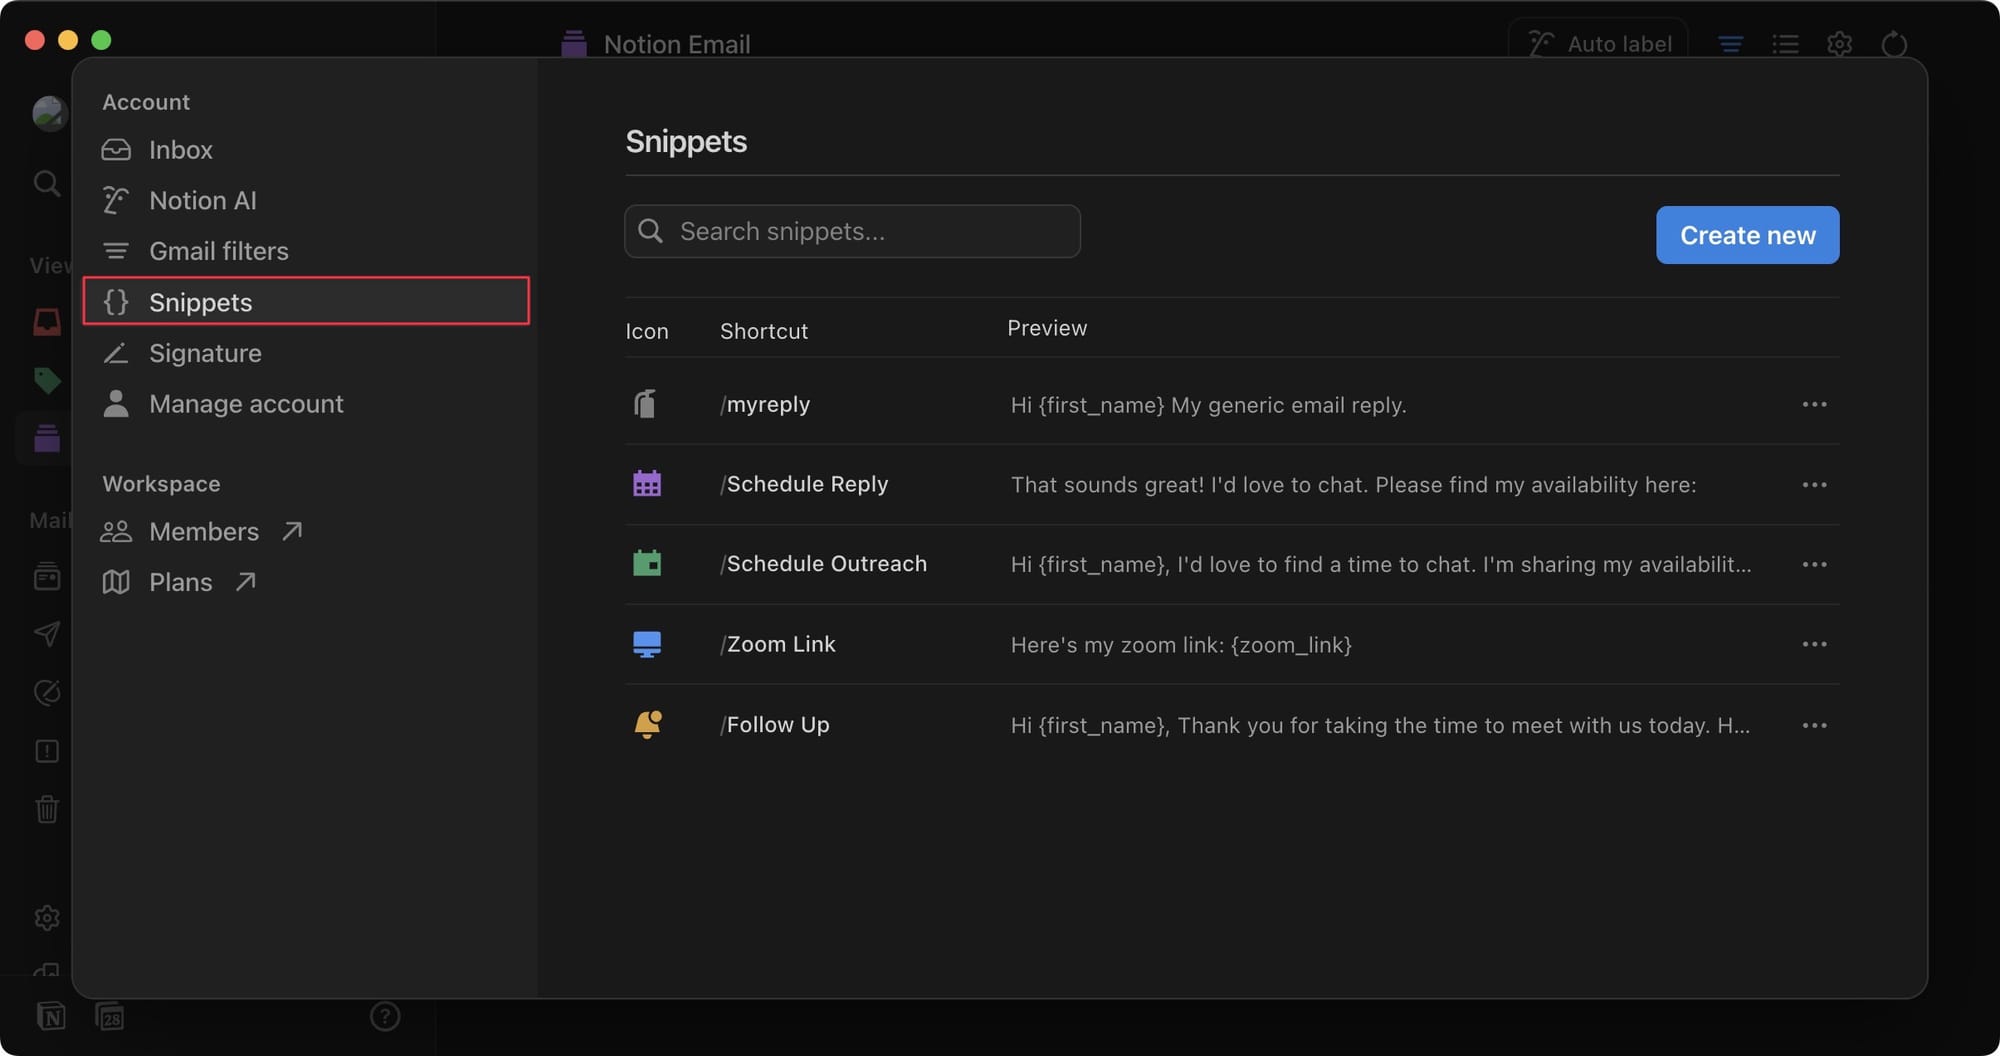
You can access this feature by going to Settings → Snippets. There are a couple of pre-built ones, and you can create your own. I have added a generic email reply that should automatically insert the sender's first name.
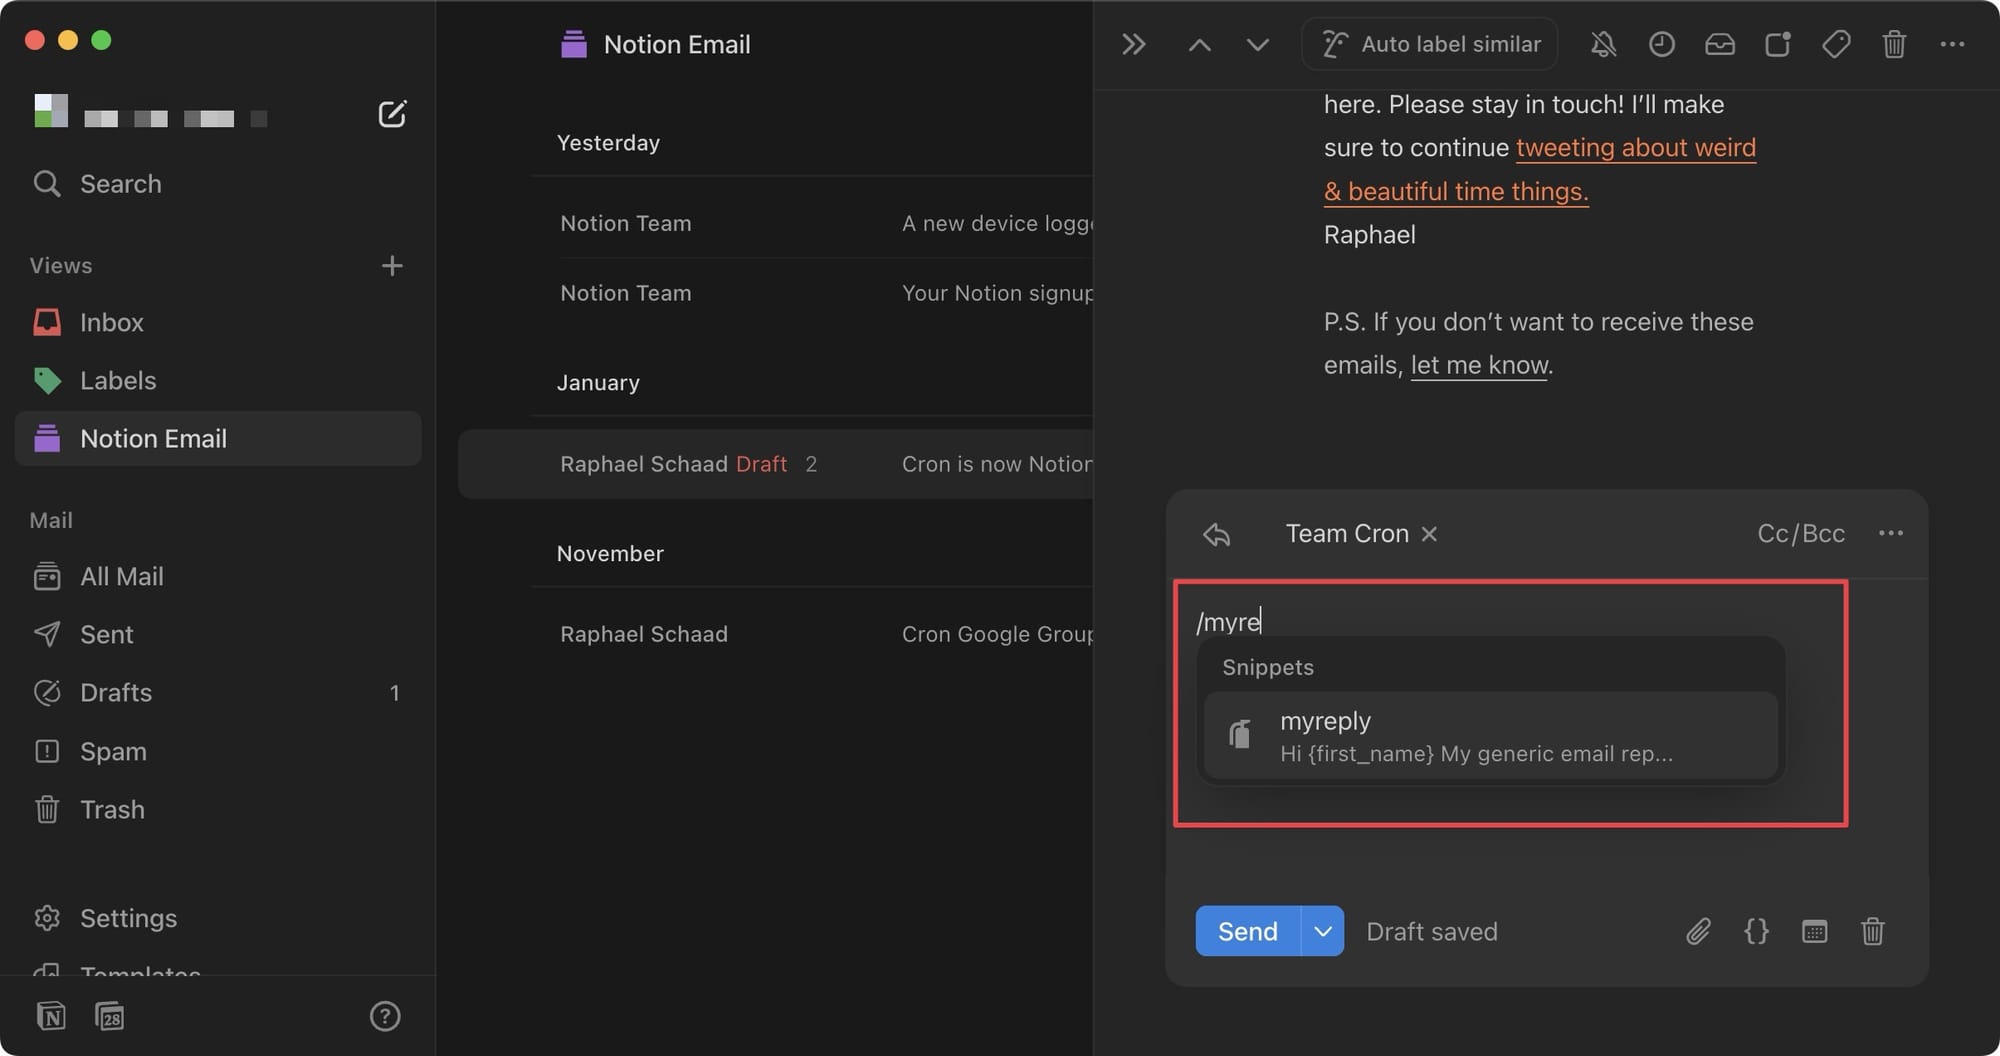
You can access your formatting tools and snippets with a Slash '/' command. Notice that as soon as I hit enter, it added the name automatically.
Templates
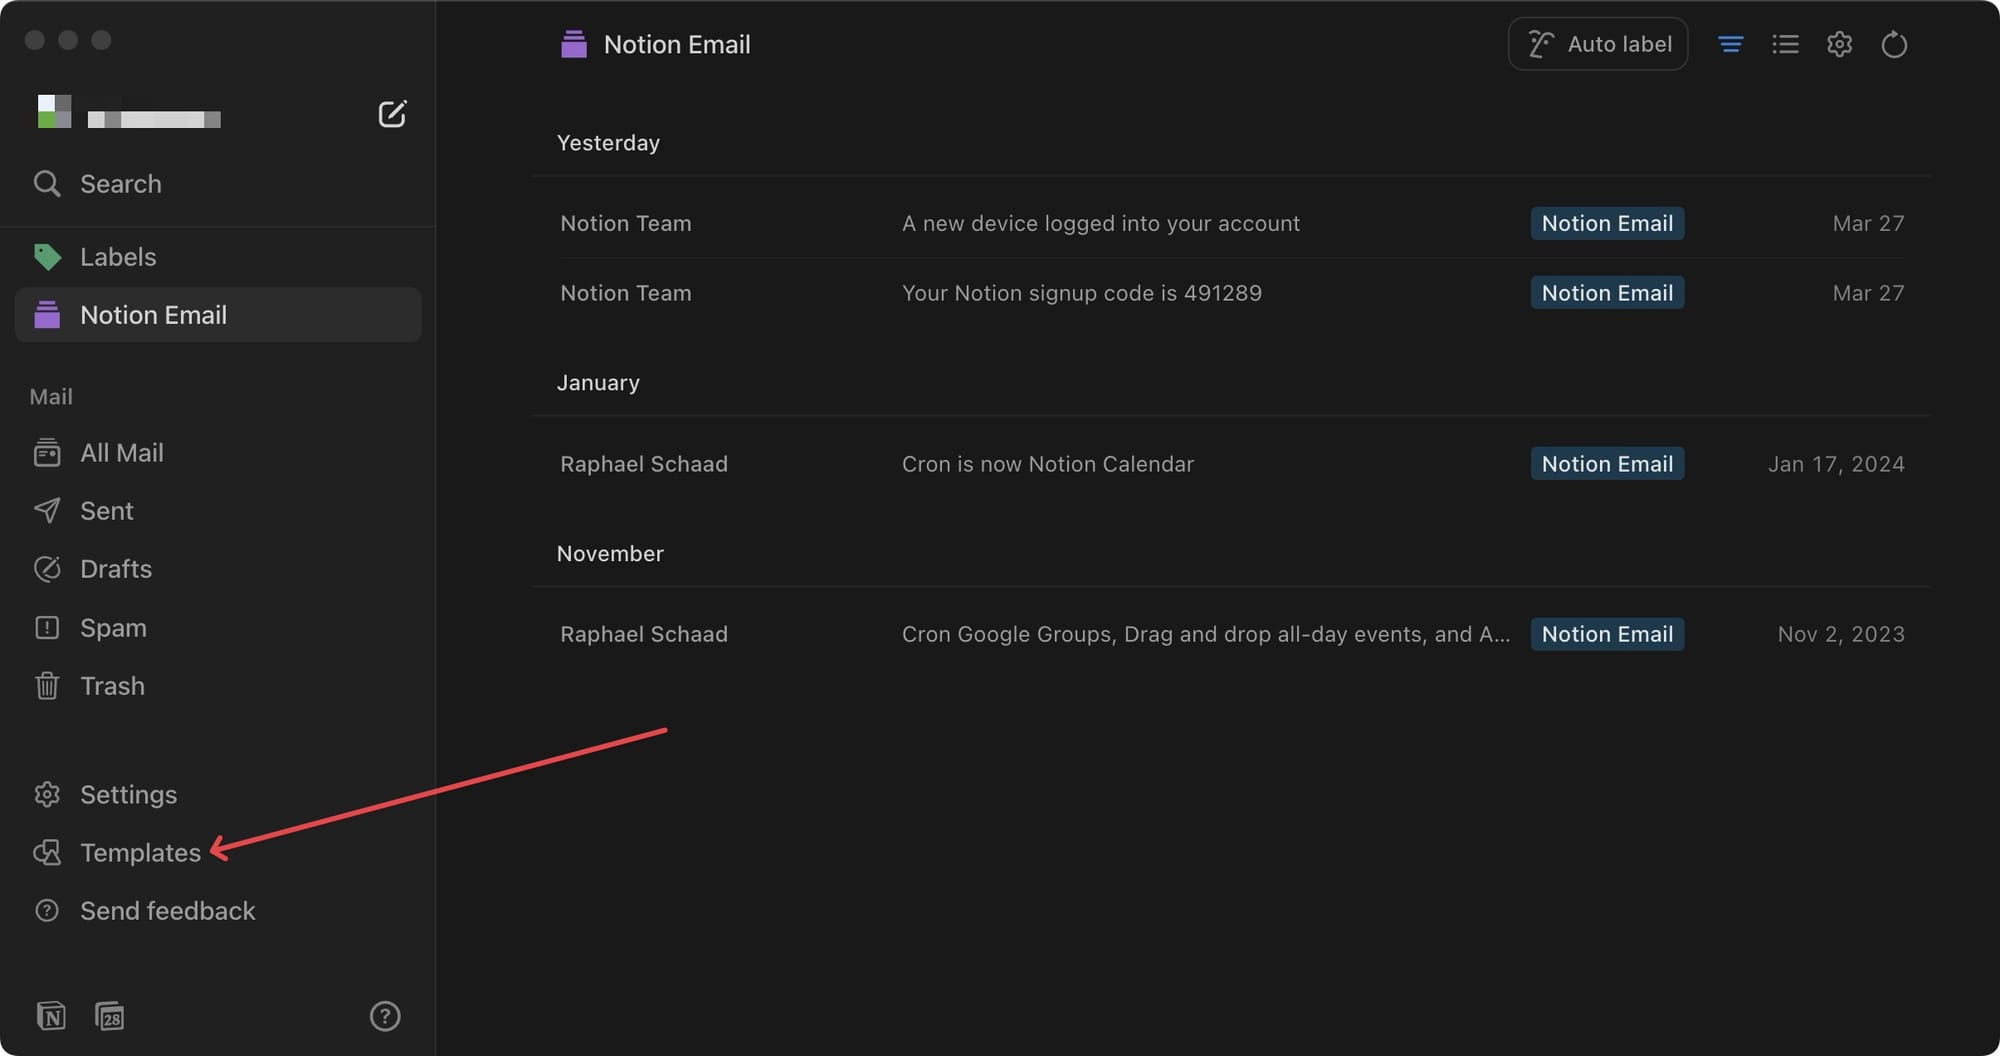
The final feature I want to show is the Templates feature. Templates allow you to view your emails in different views. There are tons of templates that you can use based on your needs.
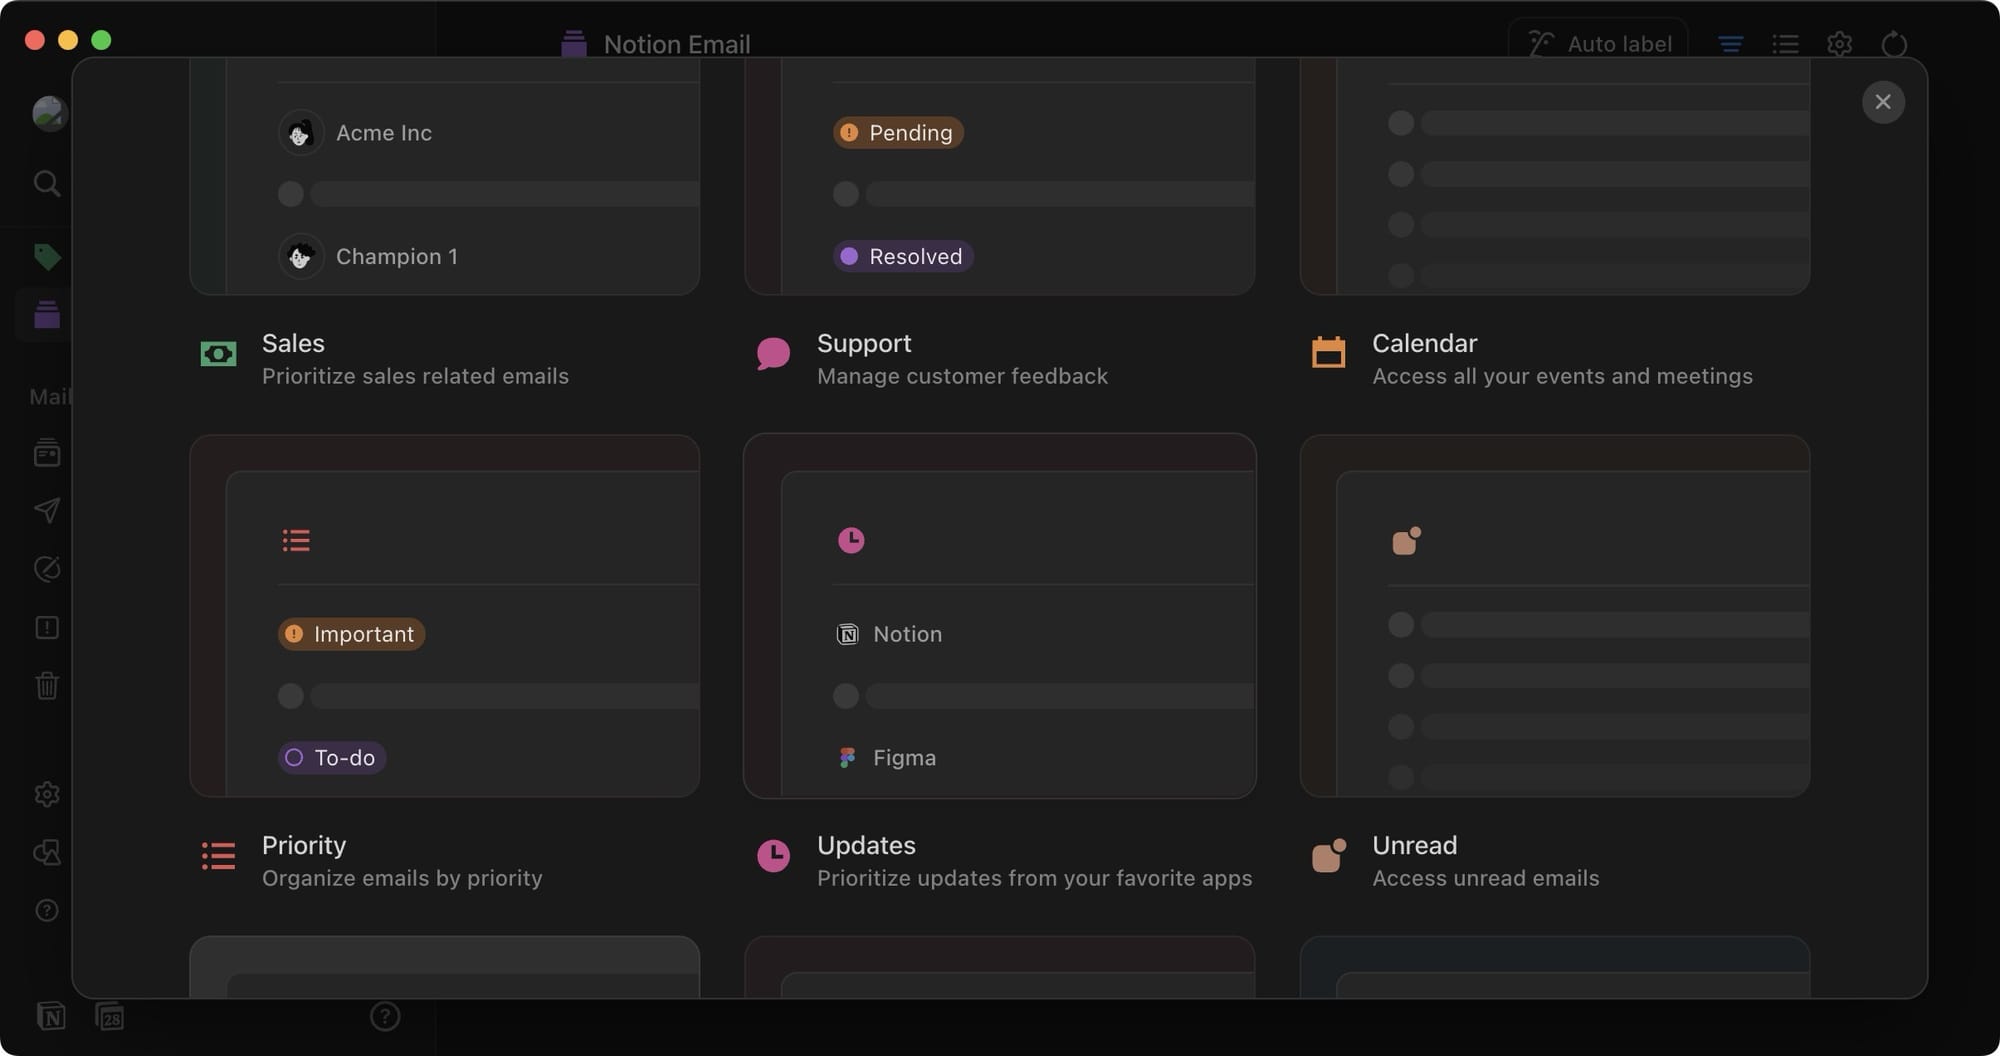
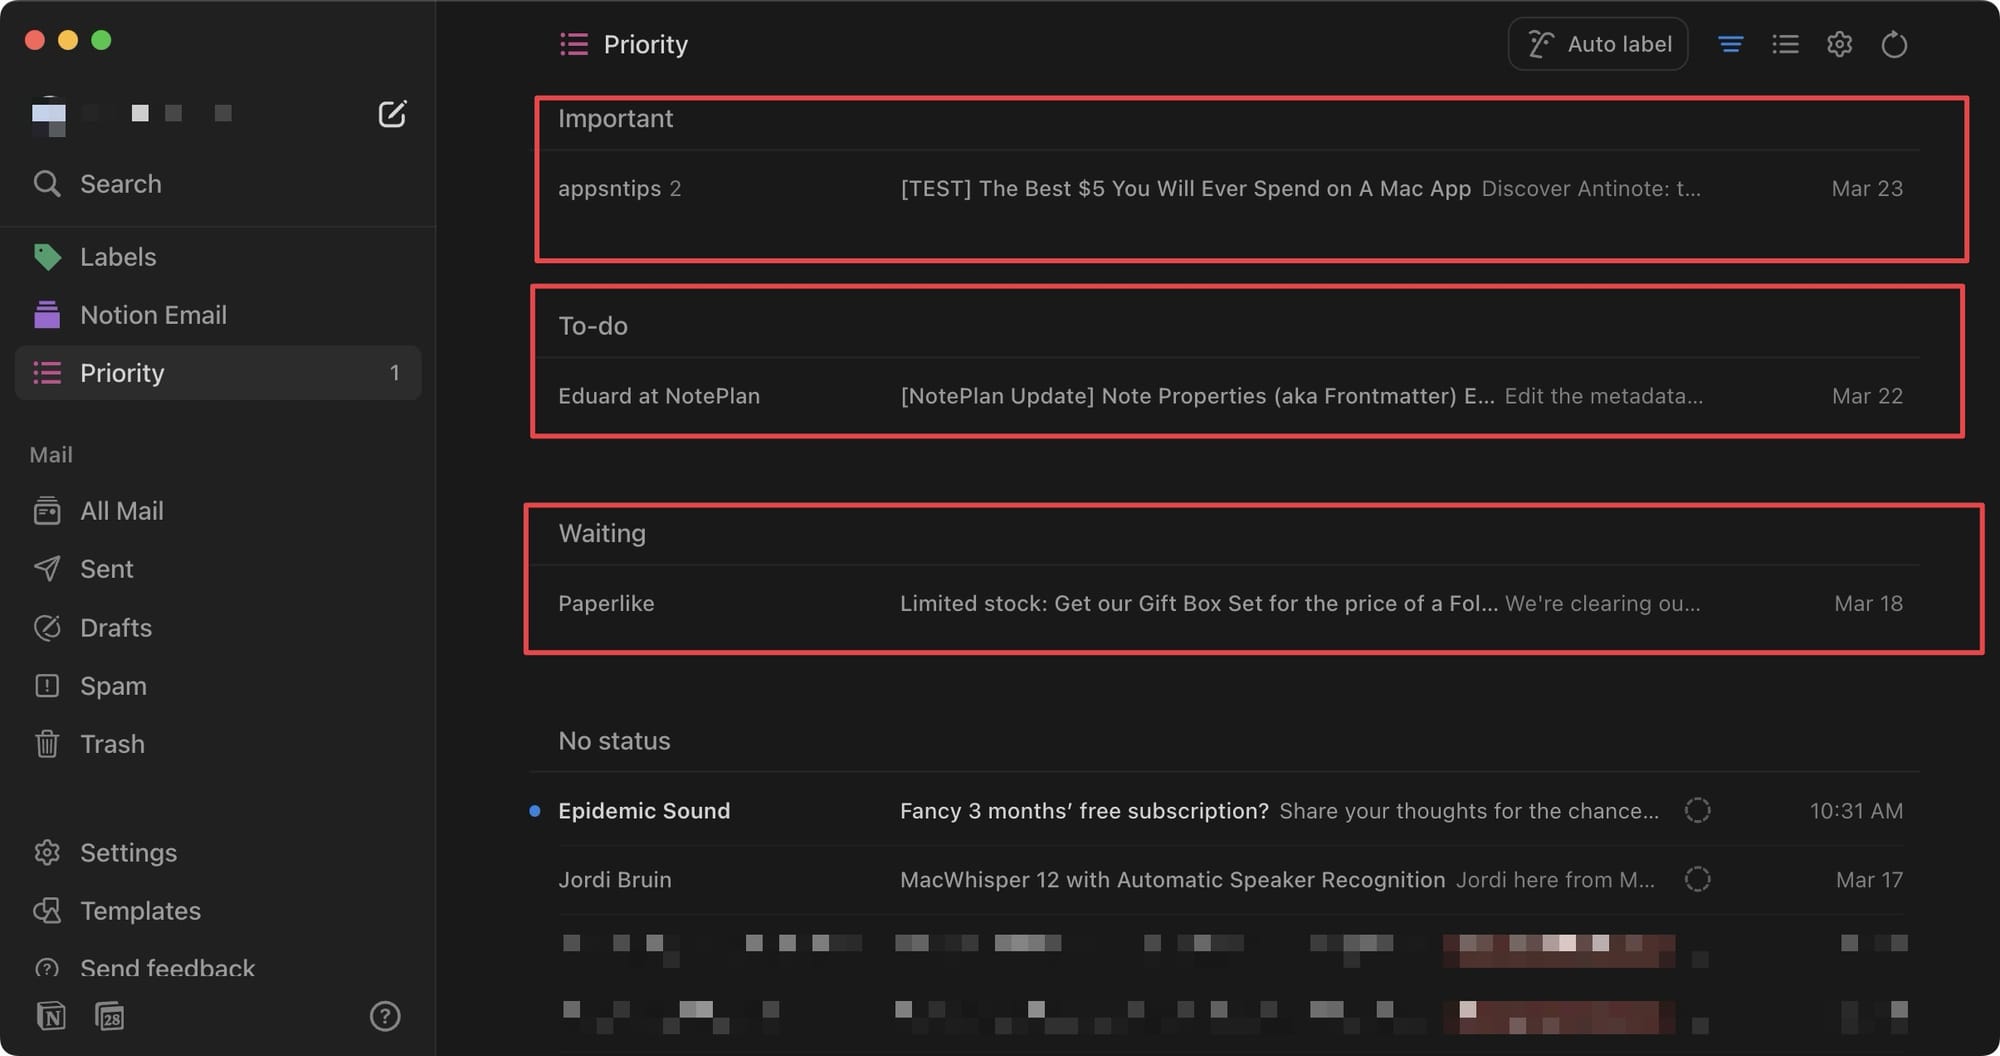
I will show the Priority template. This one lets you sort your emails based on priority. When you add this template, all the emails will be under the No status section. You can then drag and drop these emails into different sections based on priority.
One big drawback
In beta, Notion Mail currently has a big drawback. I cannot add multiple accounts as each account has to be separately added to the waitlist and receive approval. That means, I cannot add my other email accounts to Notion Mail right now, which means I cannot use it, for now.
That ends our first impression coverage of the Notion Mail app. Before you go, you can click here to view our favorite $5 app for Mac.
