ESR iPhone 15 Pro Screen Protector: Installation and Review
Protect your iPhone with ESR screen protector: Installation tips and a detailed review of its quality and durability.
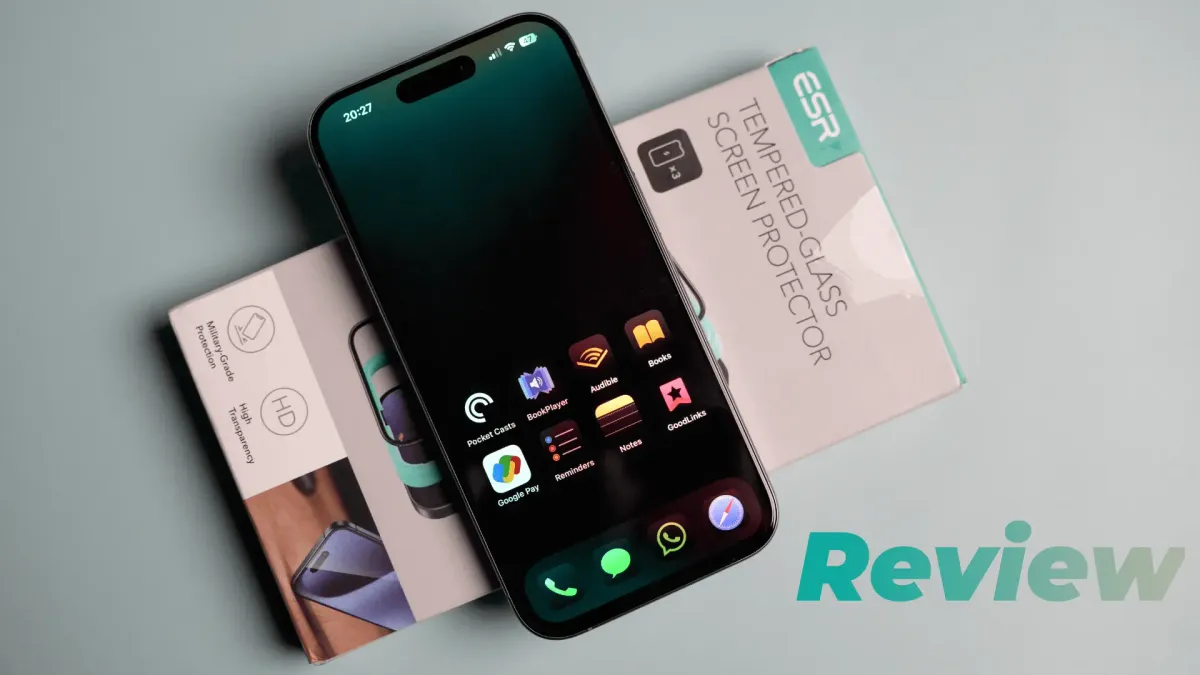
Your iPhone’s display costs a lot. You will spend half your iPhone’s original price to repair a cracked screen. On the other hand, most screen protectors cost a couple of dollars. So, it makes sense to use a screen protector on your iPhone to save yourself from a mini financial disaster.
The ESR iPhone 15 Pro screen protector costs only $15.99 and contains a pack of 3 screen protectors - meaning - it costs only $5 and change for one screen protector. I will show you how to install this screen protector on your iPhone and review it.
Which screen protector is good for your iPhone?
It might seem hard to decipher which screen protector you should buy for your iPhone as they all claim to do the same thing. In my decade of using screen protectors on several iPhone models, I have realized that costly screen protectors offer diminishing returns.
Yes, a 30−50 premium screen protector offers slightly tougher glass and better oleophobic coating, but for most users, your basic screen protectors from brands like ESR and Spigen are more than enough. I have added the buying links for this ESR screen protector, along with some other good options in the video description.
Installing ESR screen protector on iPhone 15 Pro
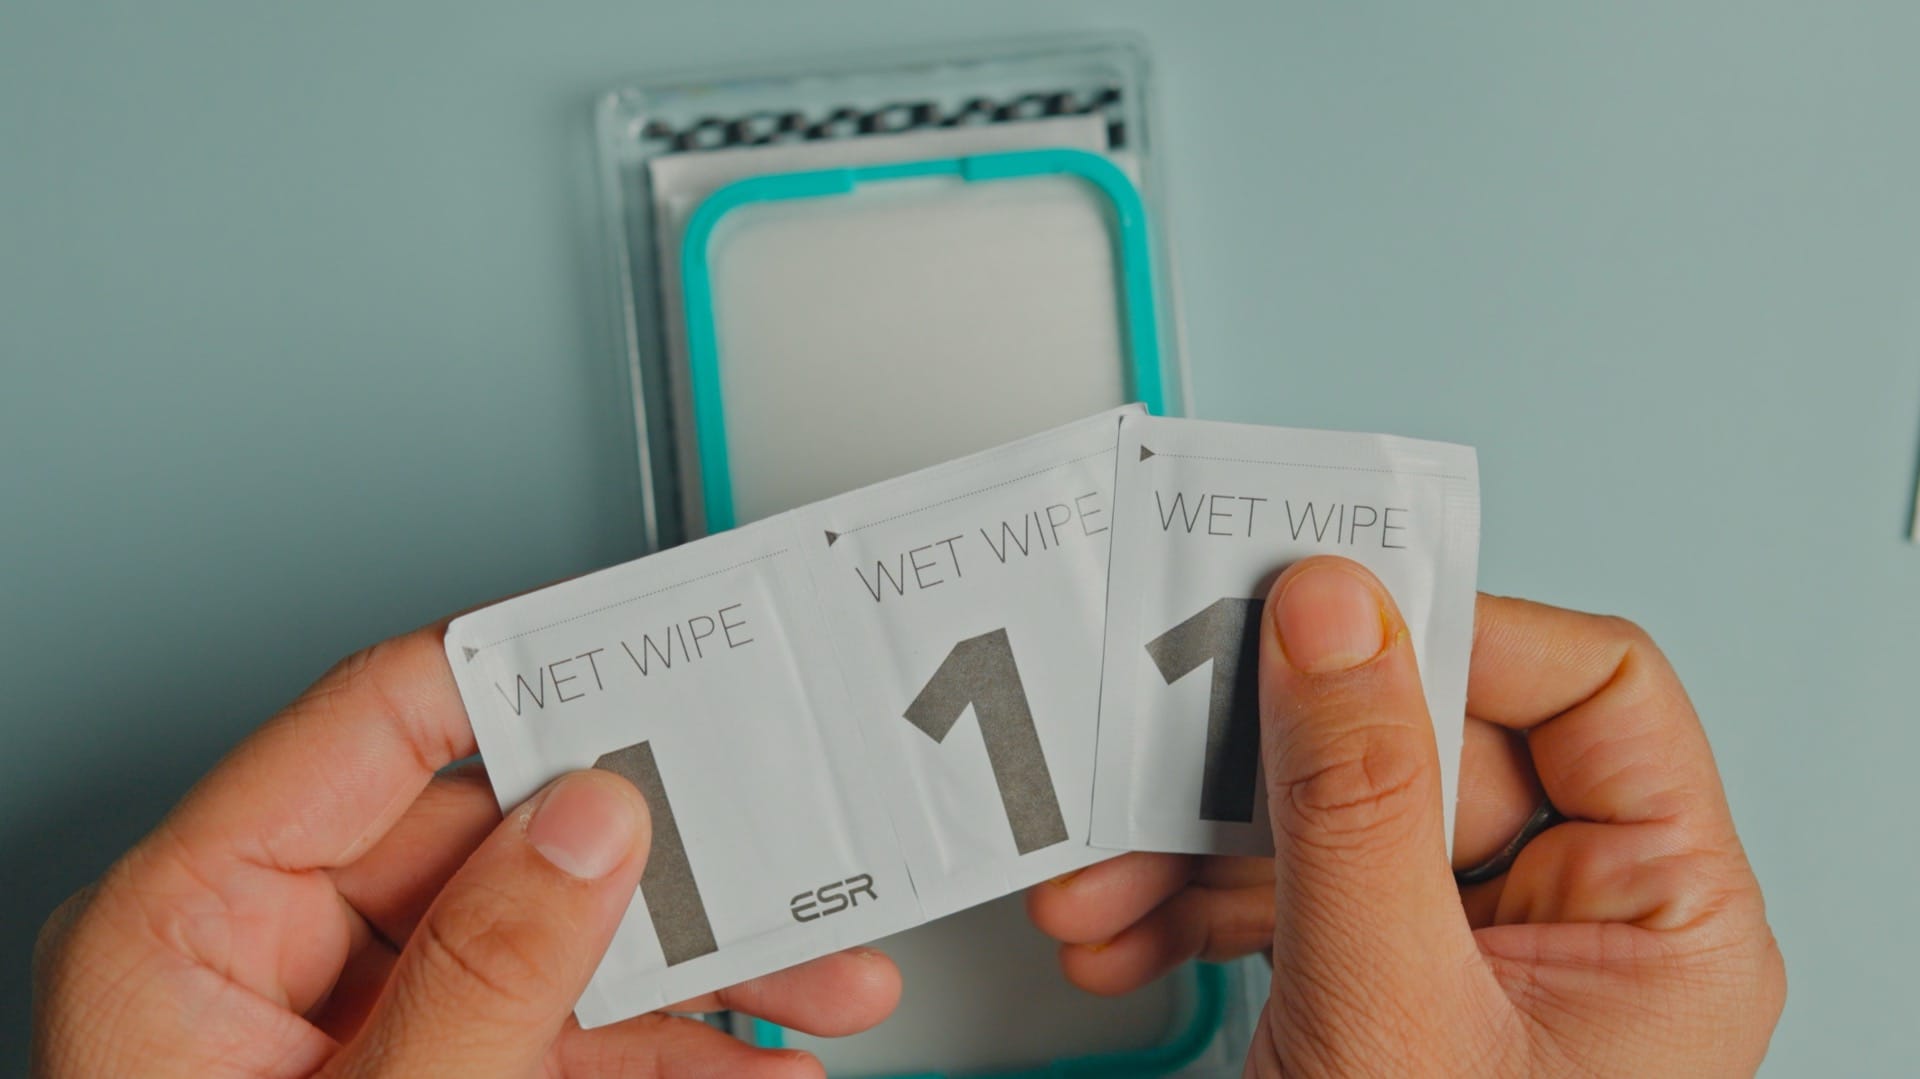
I will start the installation process by unboxing the screen protector. We got a set of wet wipes, a couple of dust stickers, a microfiber cloth, and three screen protectors.
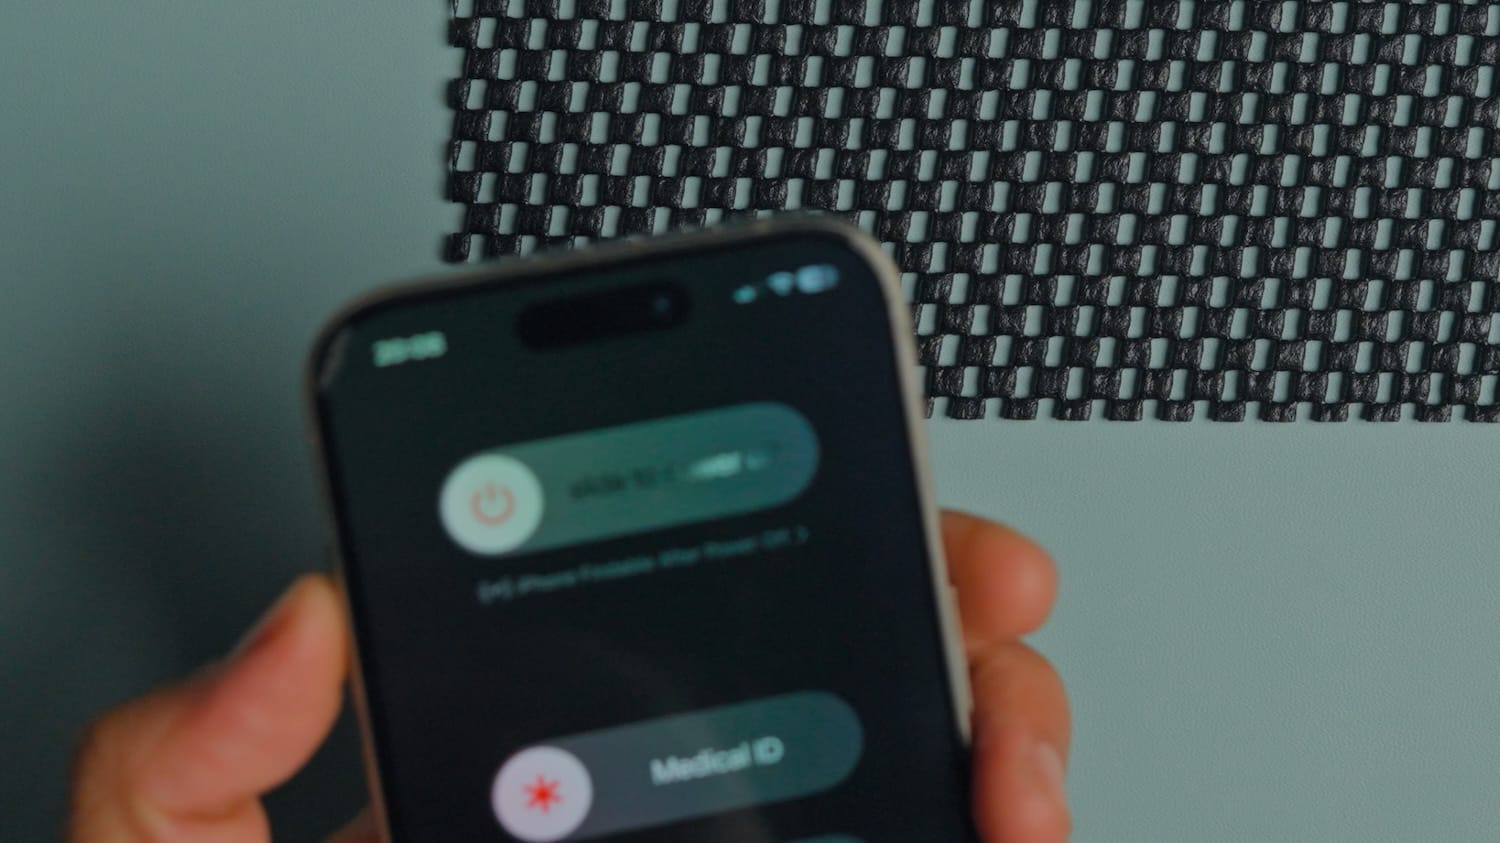
Start the installation by turning off the iPhone, as we don’t want the display to distract us. Also, turn off any fan or air conditioner in your room to minimize air turbulence and flying dust particles.
Lay down the foam sheet and put your iPhone on top of it. Grab one of the wet wipes and rub the glass to clean it. Spend a minute on this process to properly clean your iPhone’s display.
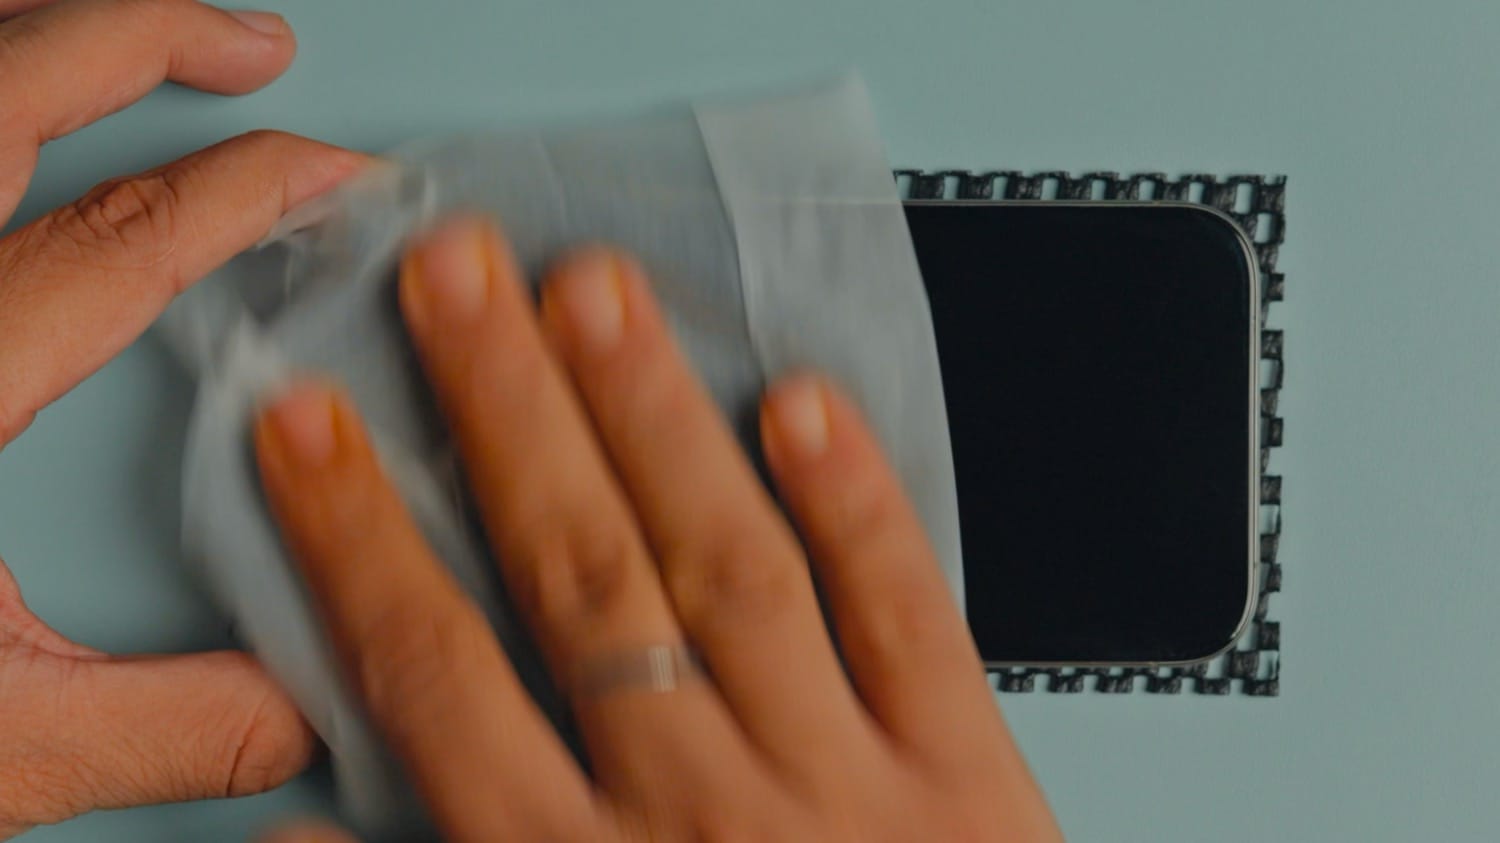
Now, use the microfiber cloth to dry the display.
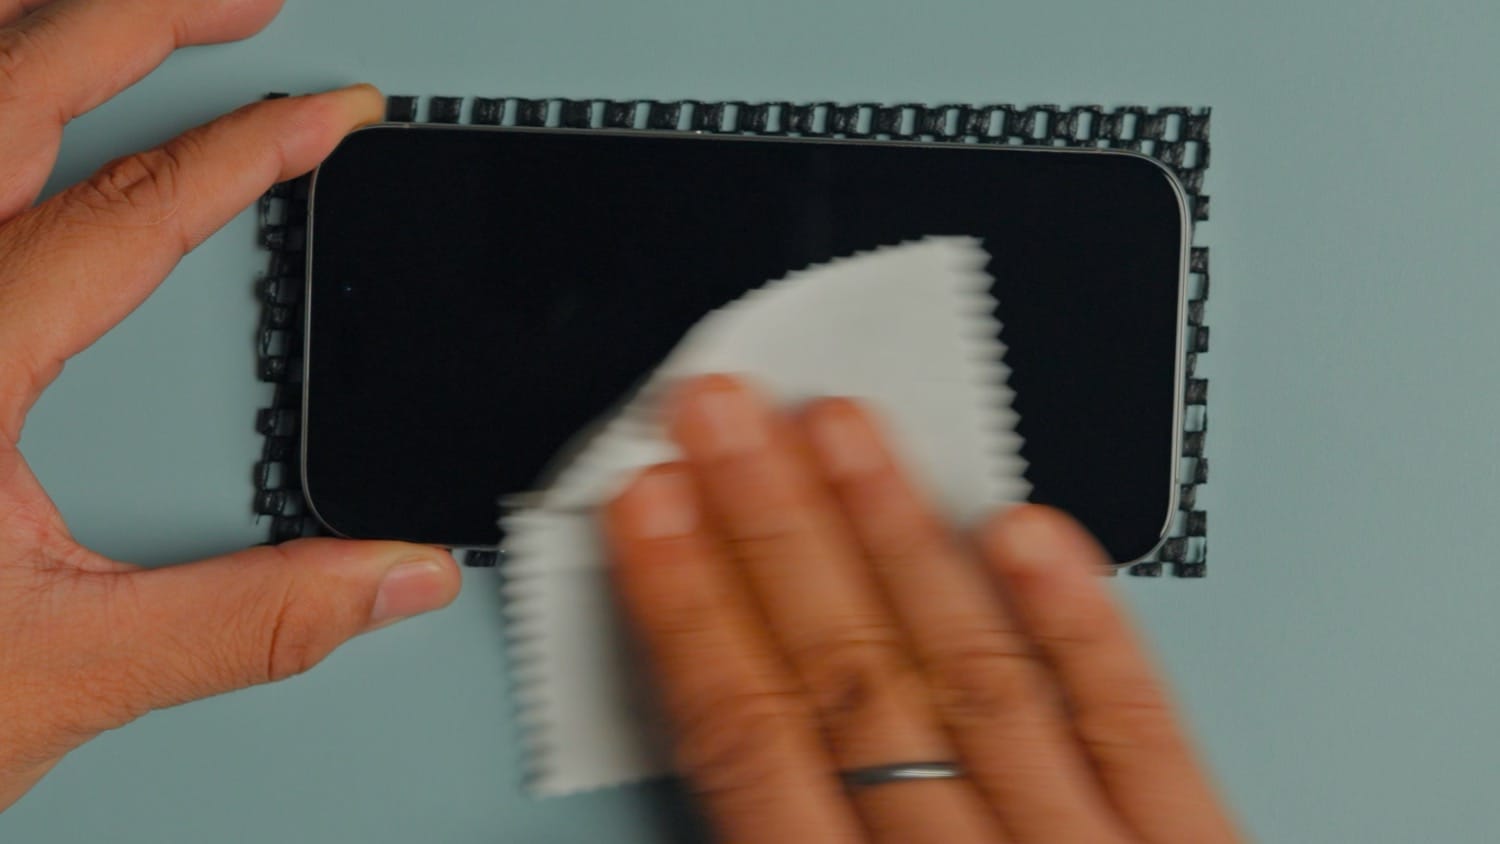
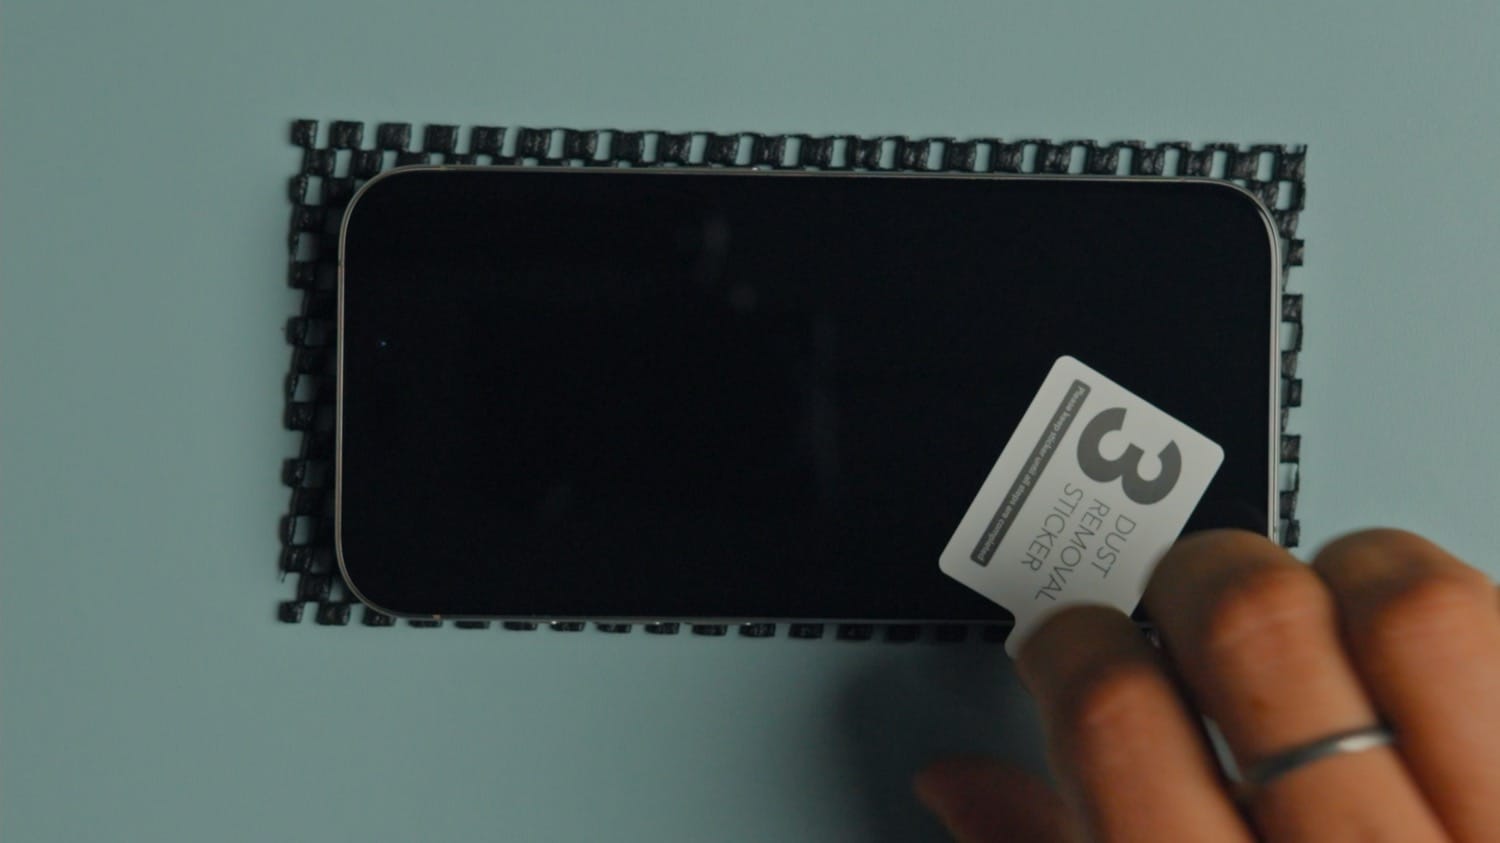
Even if you don’t see any dust particles, take a dust sticker and generously use it to remove any dust particles that might have settled on the display.
Now comes the fun part. Pick the alignment frame and set it on top of the iPhone. Push slightly with your fingers until you hear a snap, indicating that it’s in place.
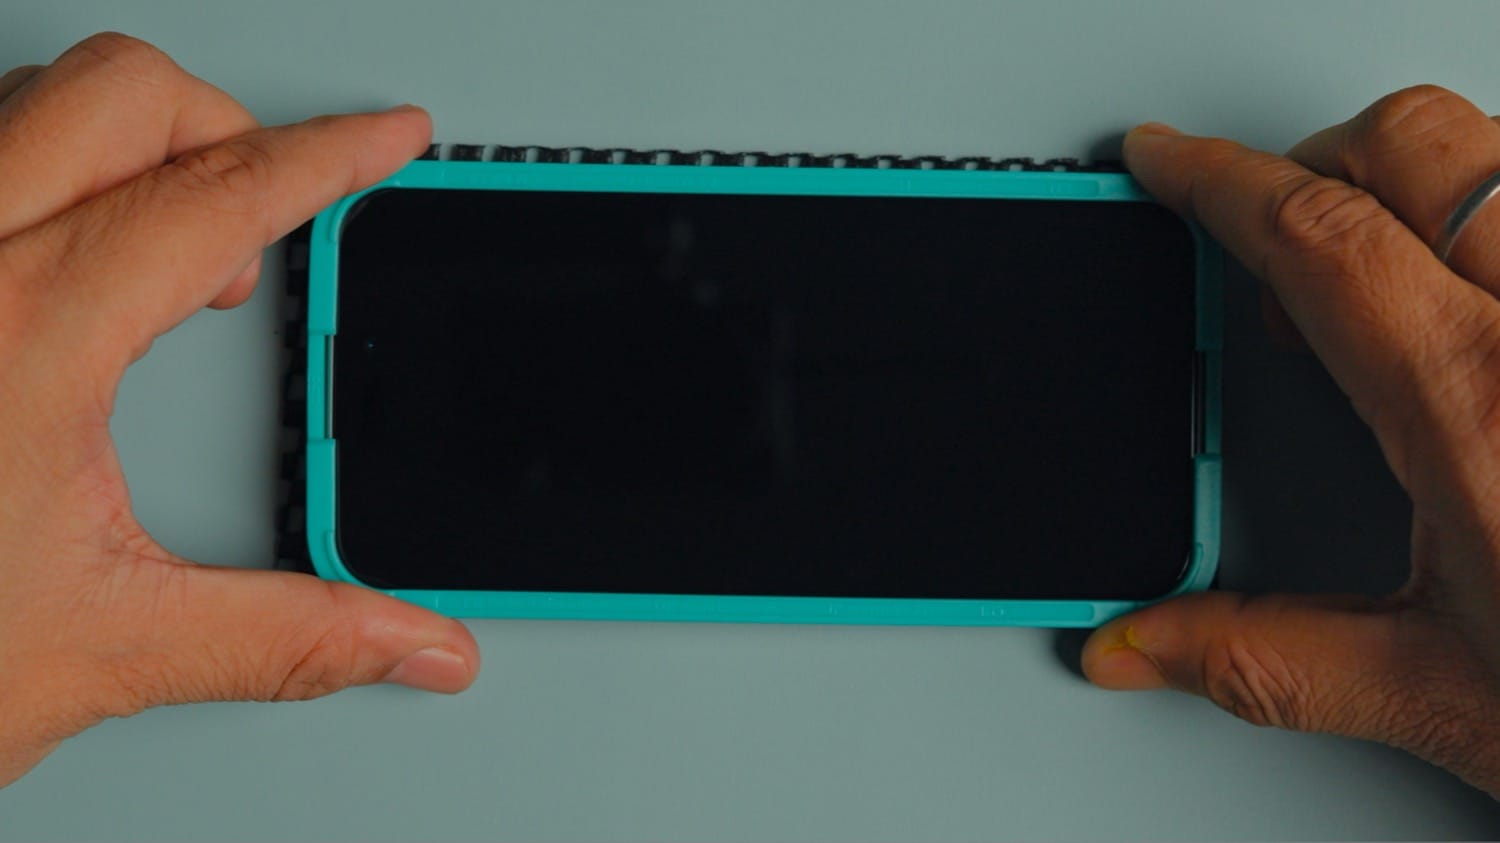
Finally, take the screen protector and peel away its protective sticker. Make sure your fingers don’t touch the sticky part when handling it. Hold down your iPhone and gently push the top edge of the screen protector against the installation frame.
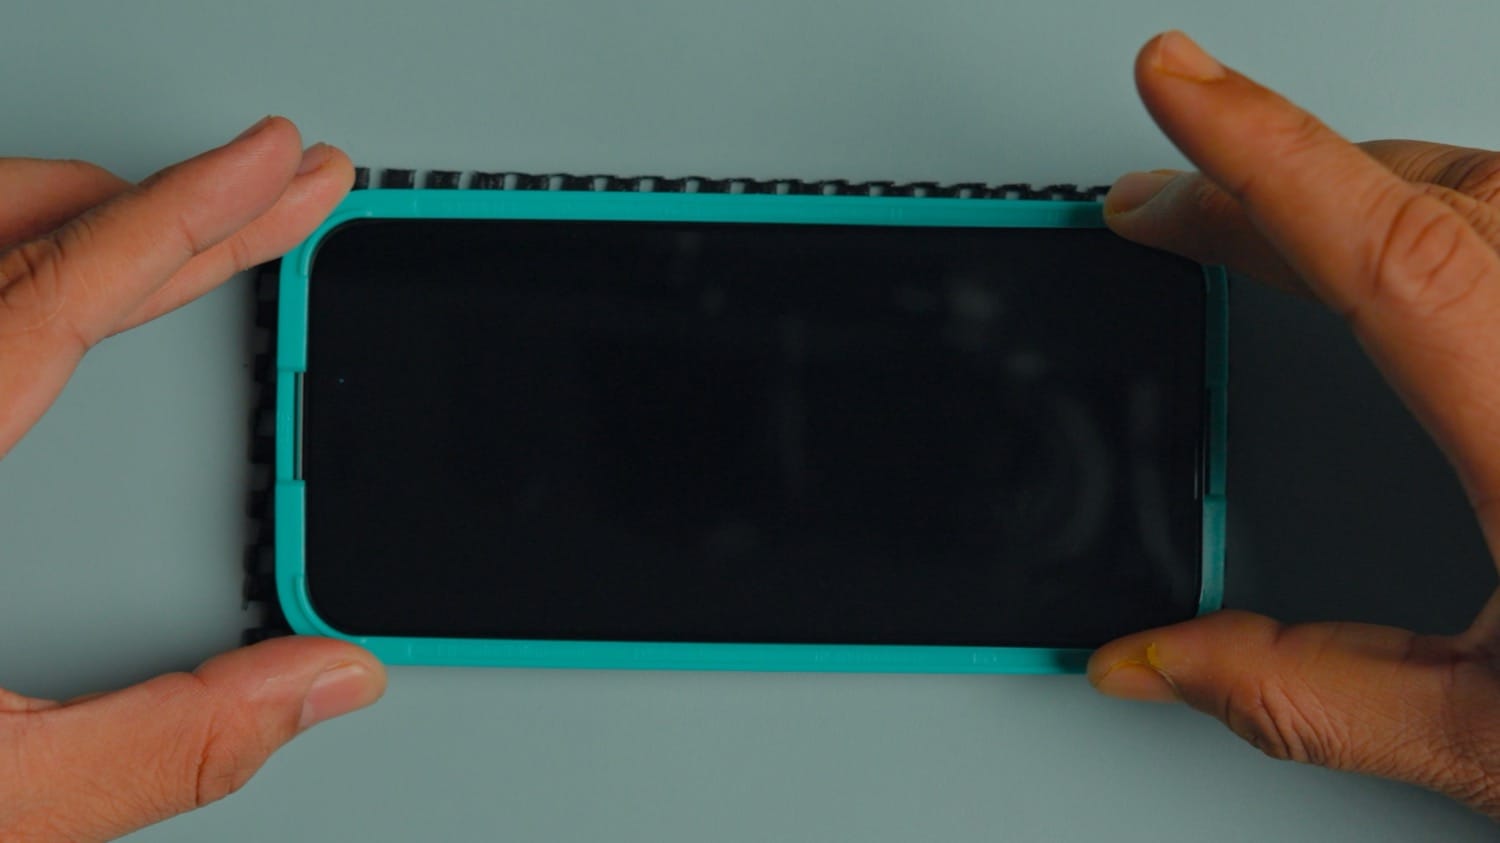
Once you feel it’s in place, slowly let go of the screen protector. Press and swipe in the middle of the iPhone’s display. I do this so the adhering process starts from the center, pushing the bubbles on the edges, making them easier to push out if needed.
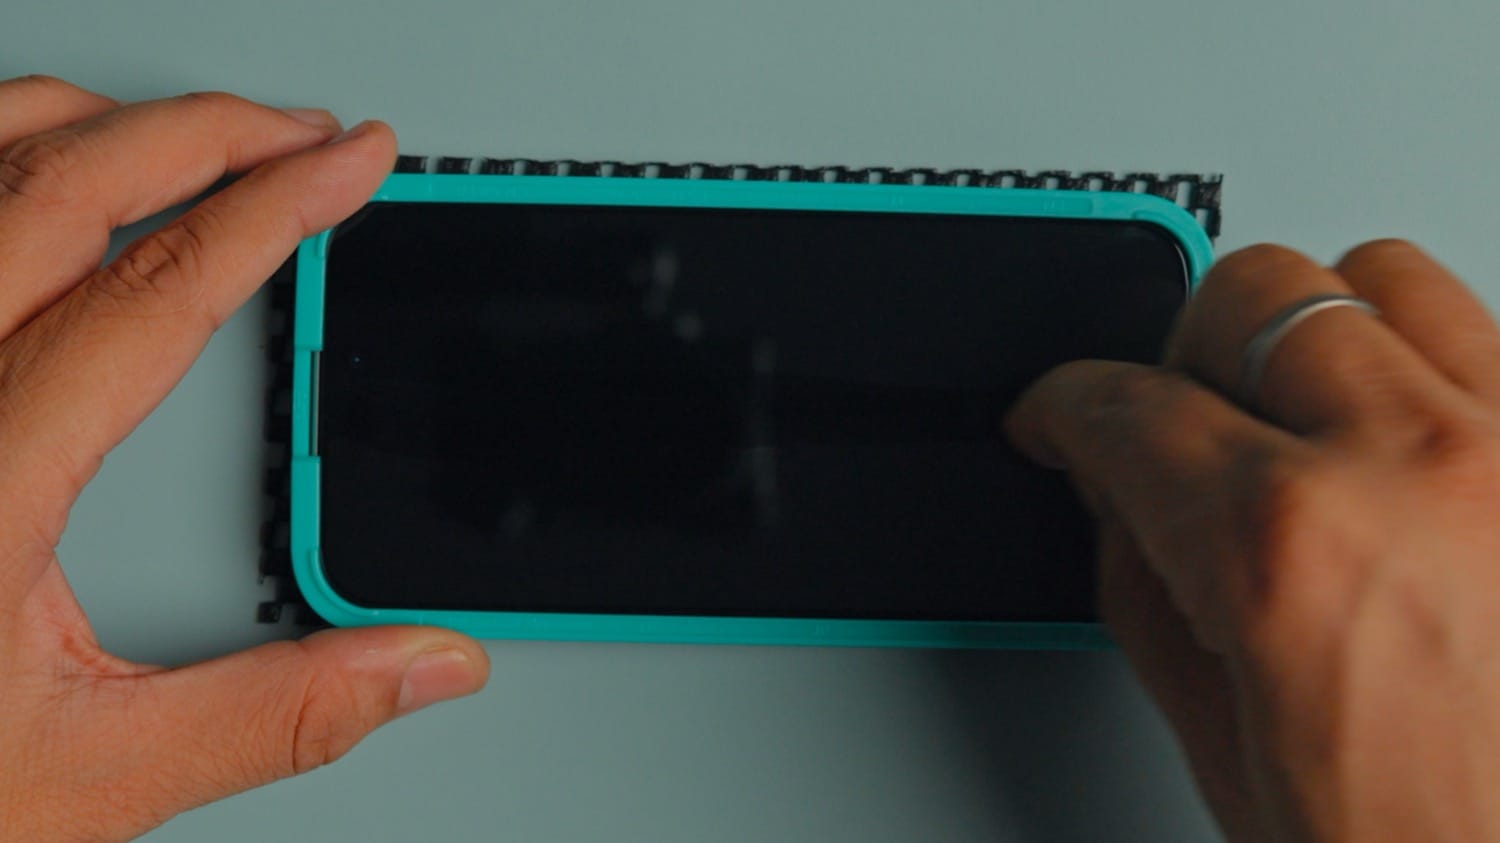
Thankfully, this installation has been perfect. There’s not even a single bubble. If you encounter any bubbles, use a credit card and squeeze them out the edges.
ESR screen protector review
I purchased the same pack of ESR screen protectors with my iPhone, and the three of them lasted me till today, so I have a fair idea about their quality.
The ESR screen protector survived several falls before it broke, and I had to replace it. Granted, I had my trusty Grams28 leather case on, so it had extra protection. Still, all three of my ESR screen protectors never broke from the middle.
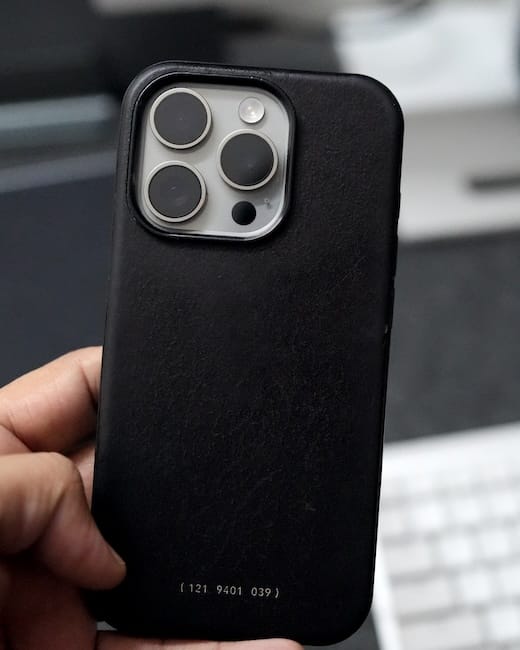
The only crack at the corner, and that I would say, is their only shortcoming. They are susceptible to damage with corner impacts. But nothing happened to my iPhone’s display, so they get the job done.
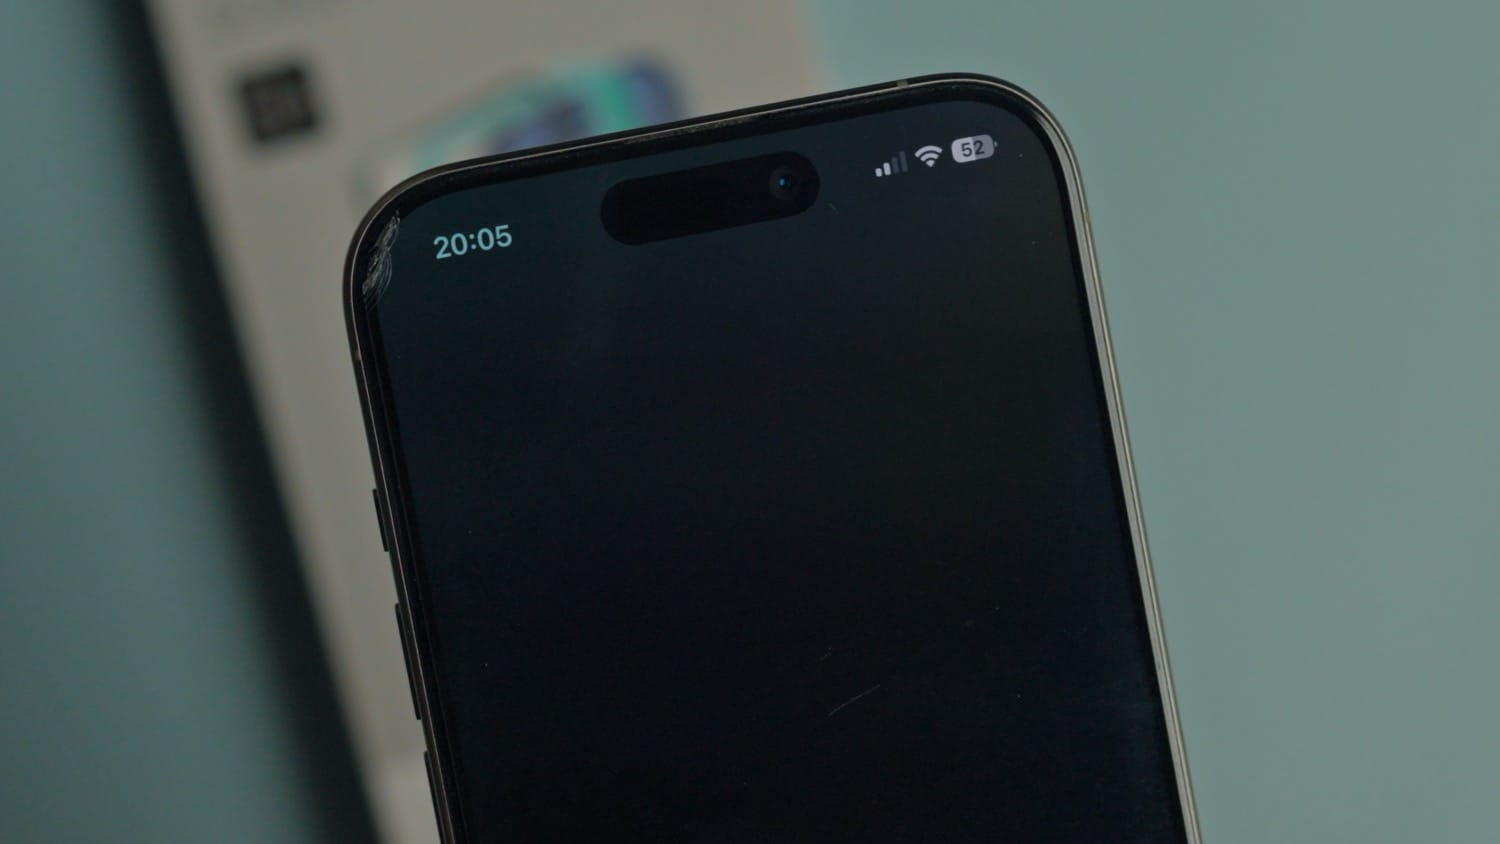
The oleophobic coating is not the best, but it’s not bad either. You only need to clean it once every week or so to remove any smudges and fingerprints.
Overall, for what it costs relative to the protection offered, I would say that the ESR screen protector for the iPhone is an excellent option for anyone looking to buy an affordable iPhone screen protector. If you liked this review, click here to read our review of the Spigen EZ Fit screen protector for iPad Pro.


